|
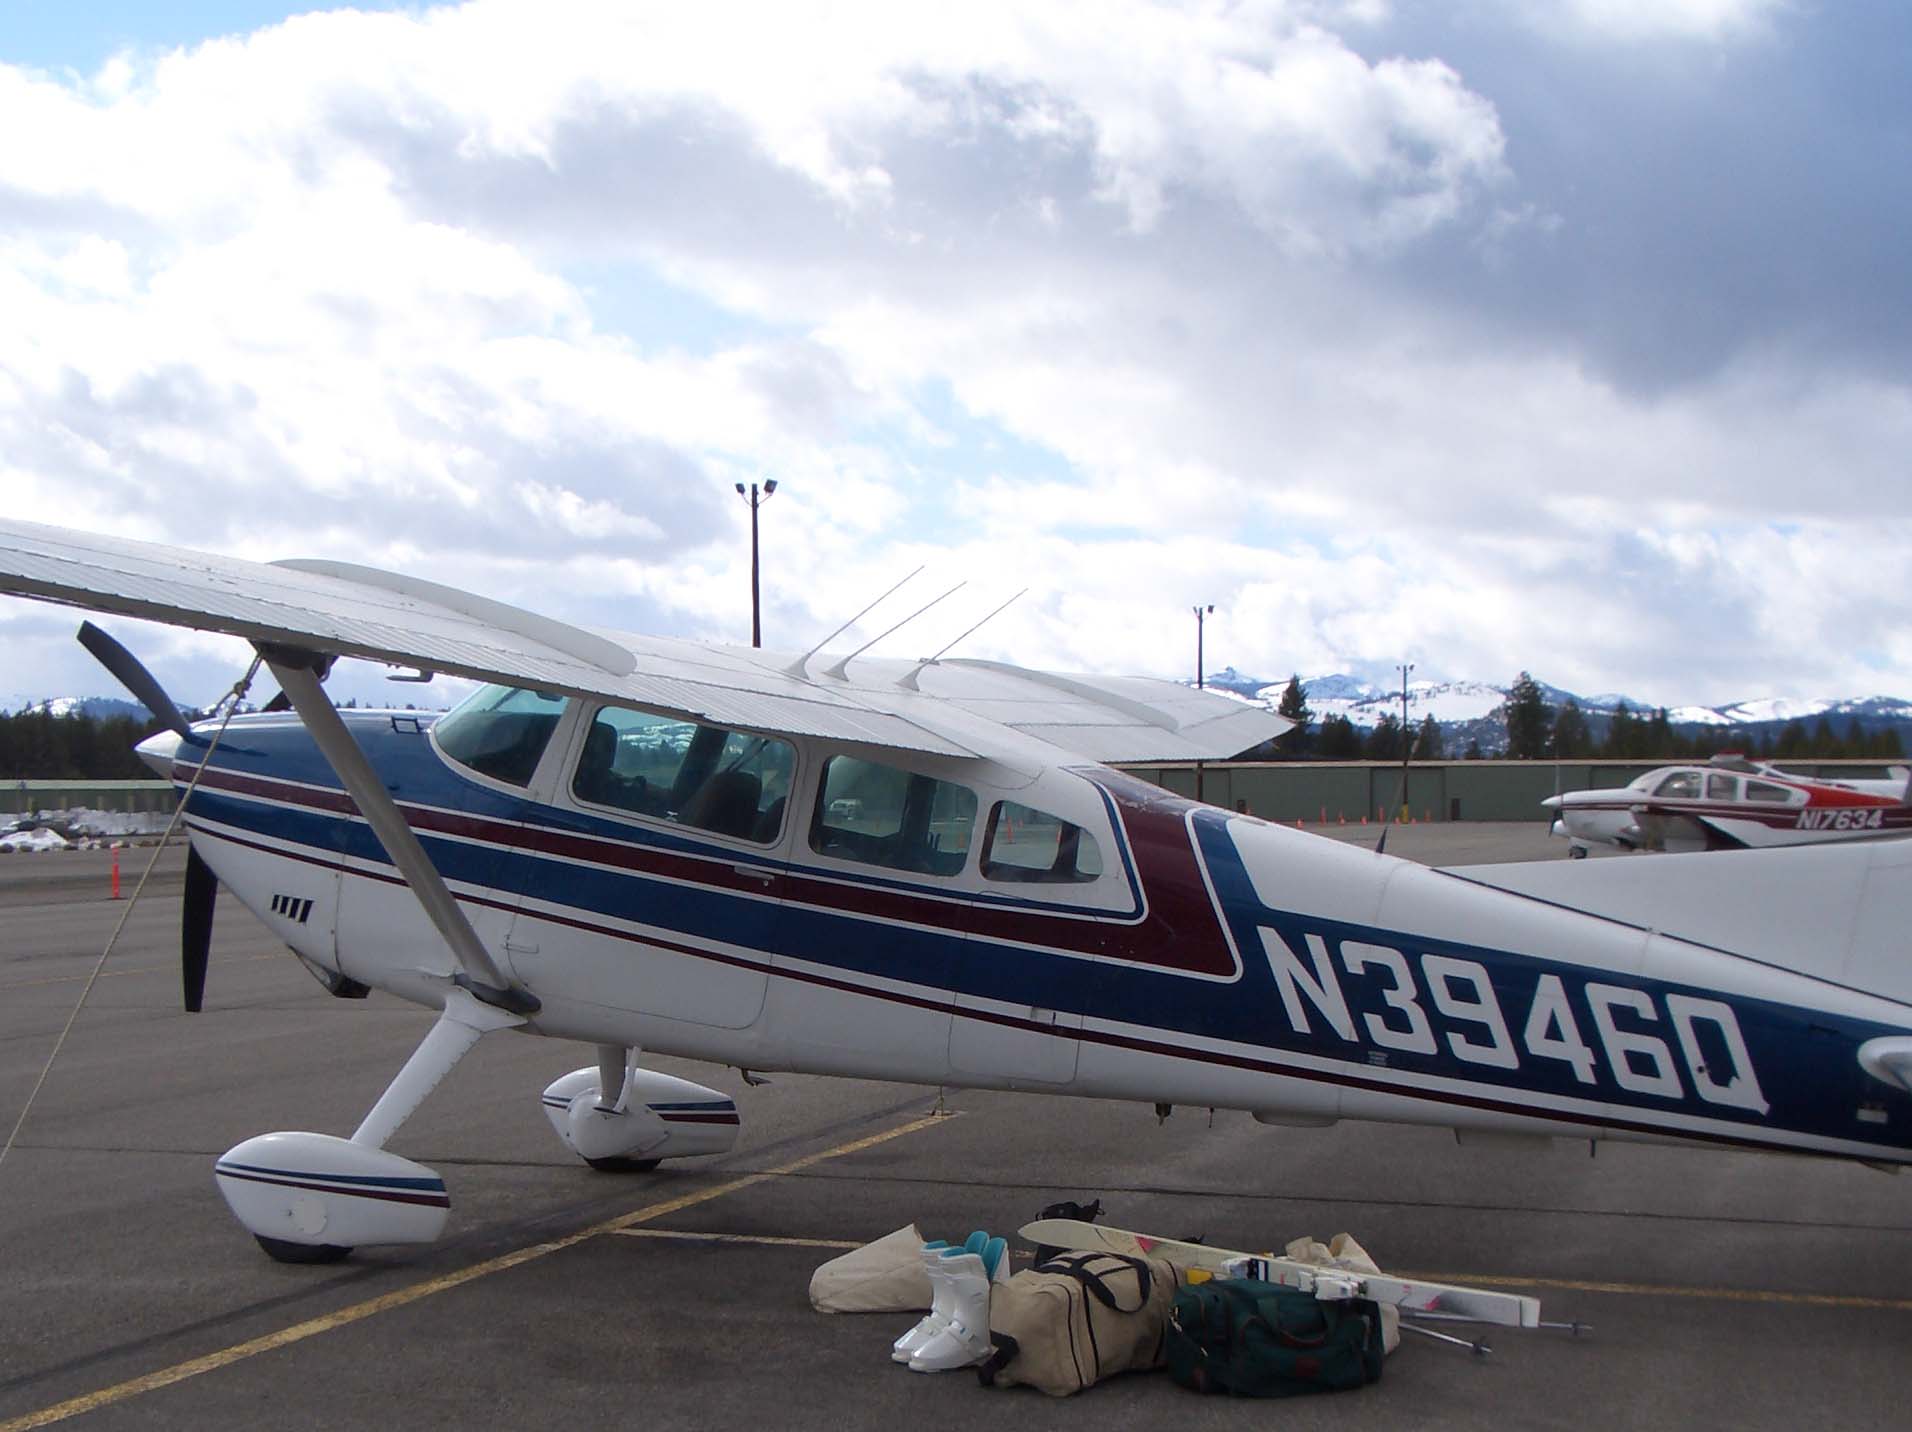
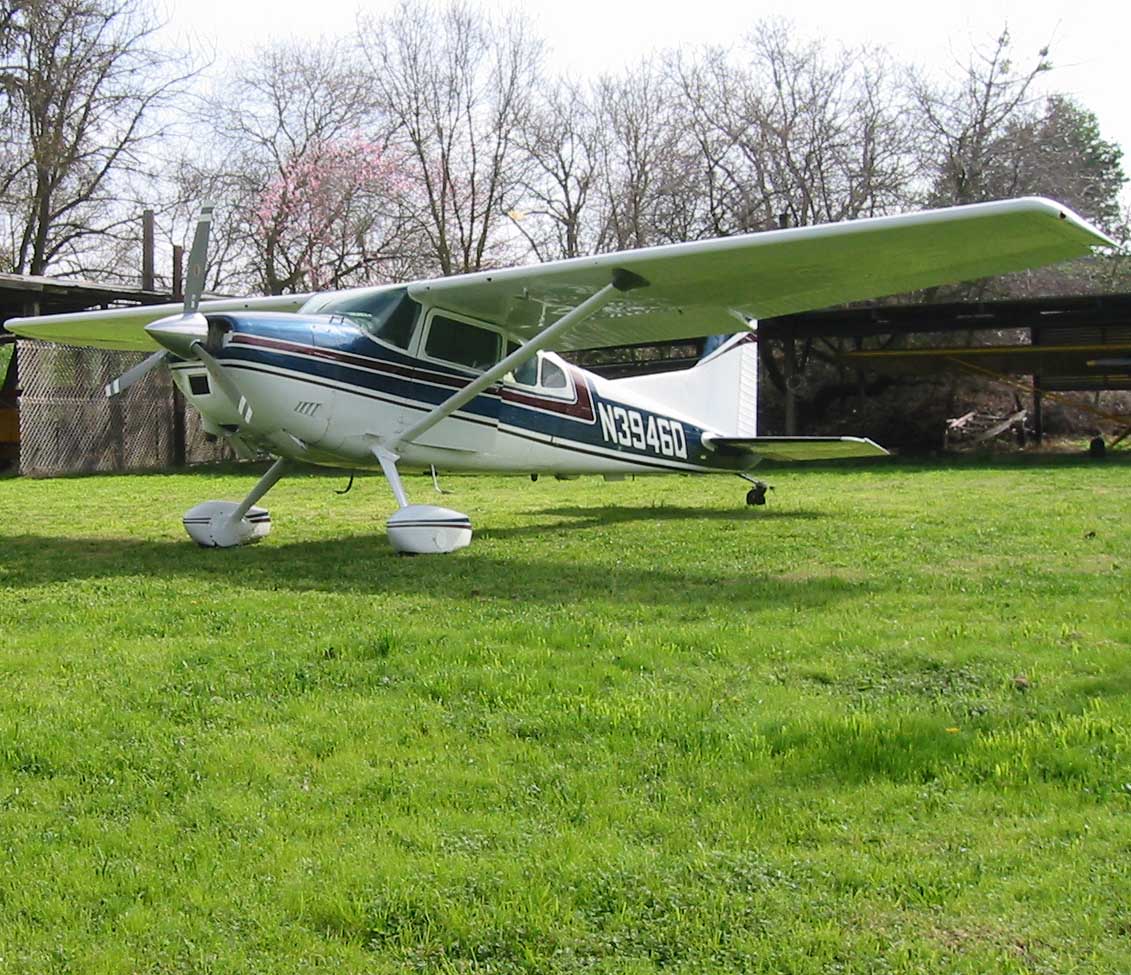
Cessna 185 (N3946Q) |
Specifications & equipment list Log books, manuals & STCs |
| Fastest 185 in the west! (See performance charts) | |
| 185 mph | 28,000 ft @ 11.6gph
16,000 ft @ 13.9gph |
| 185 knots | 28,000 ft @ 15.0gph (75% power) |

 |
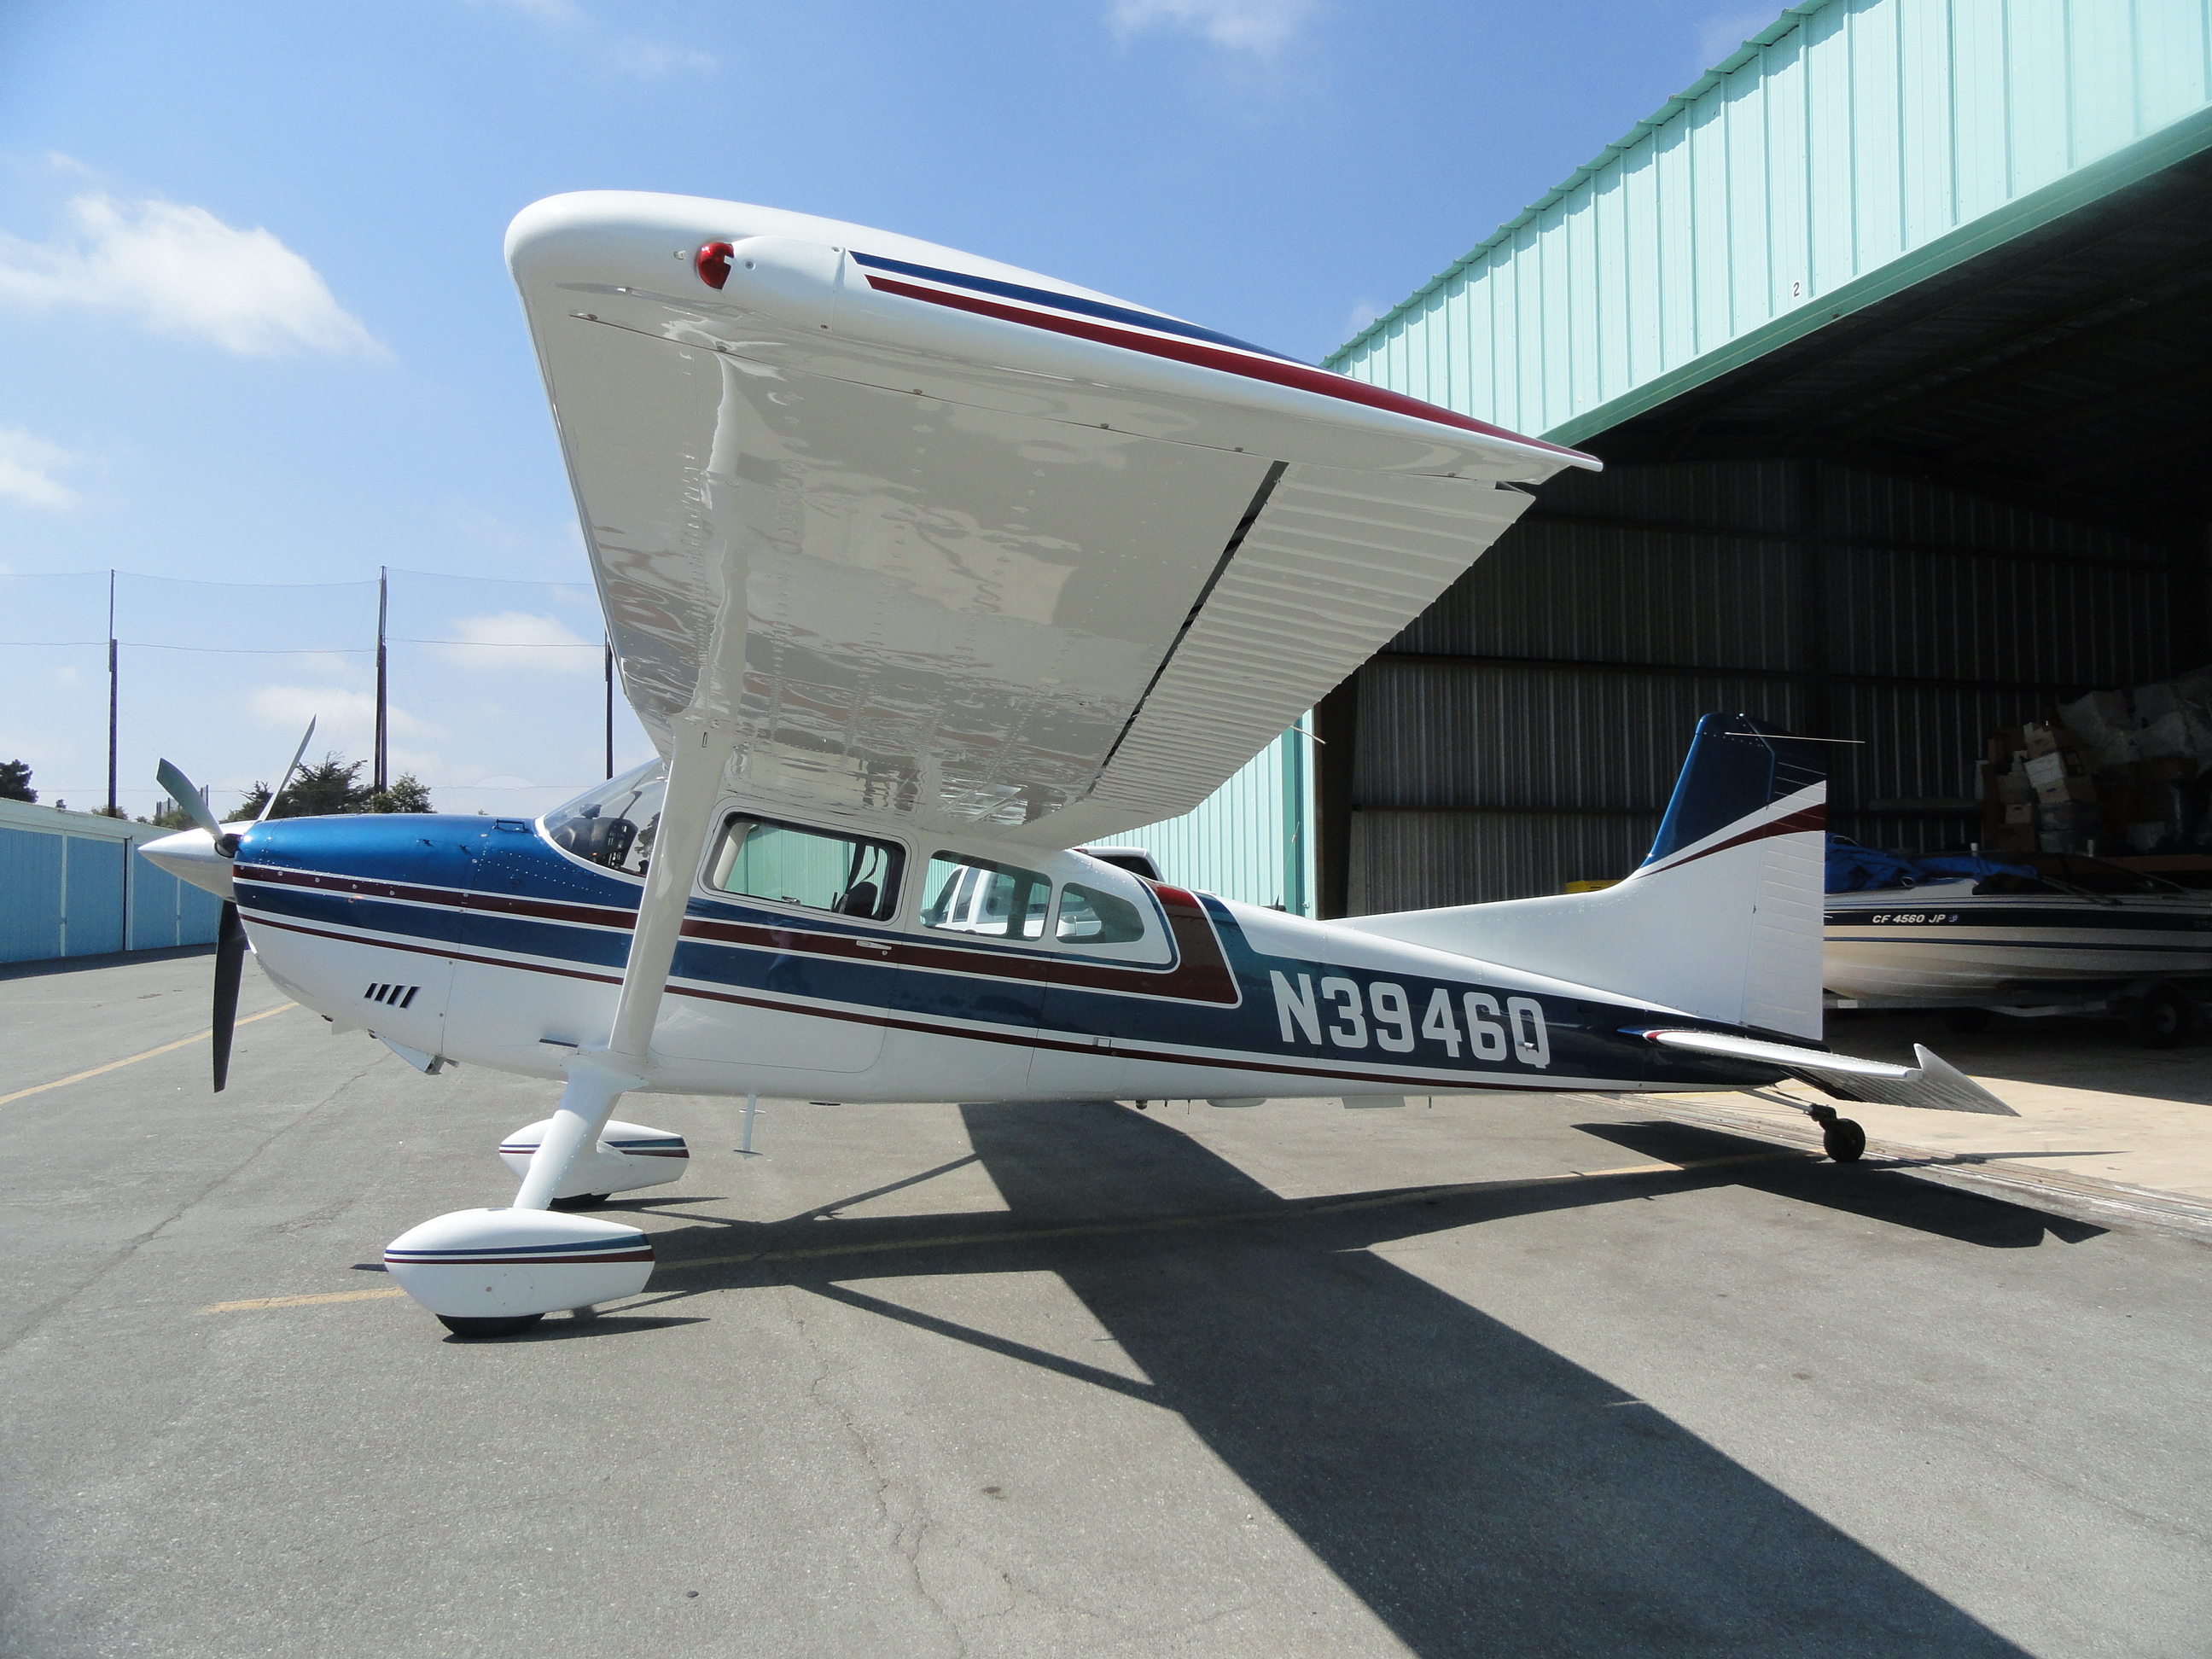
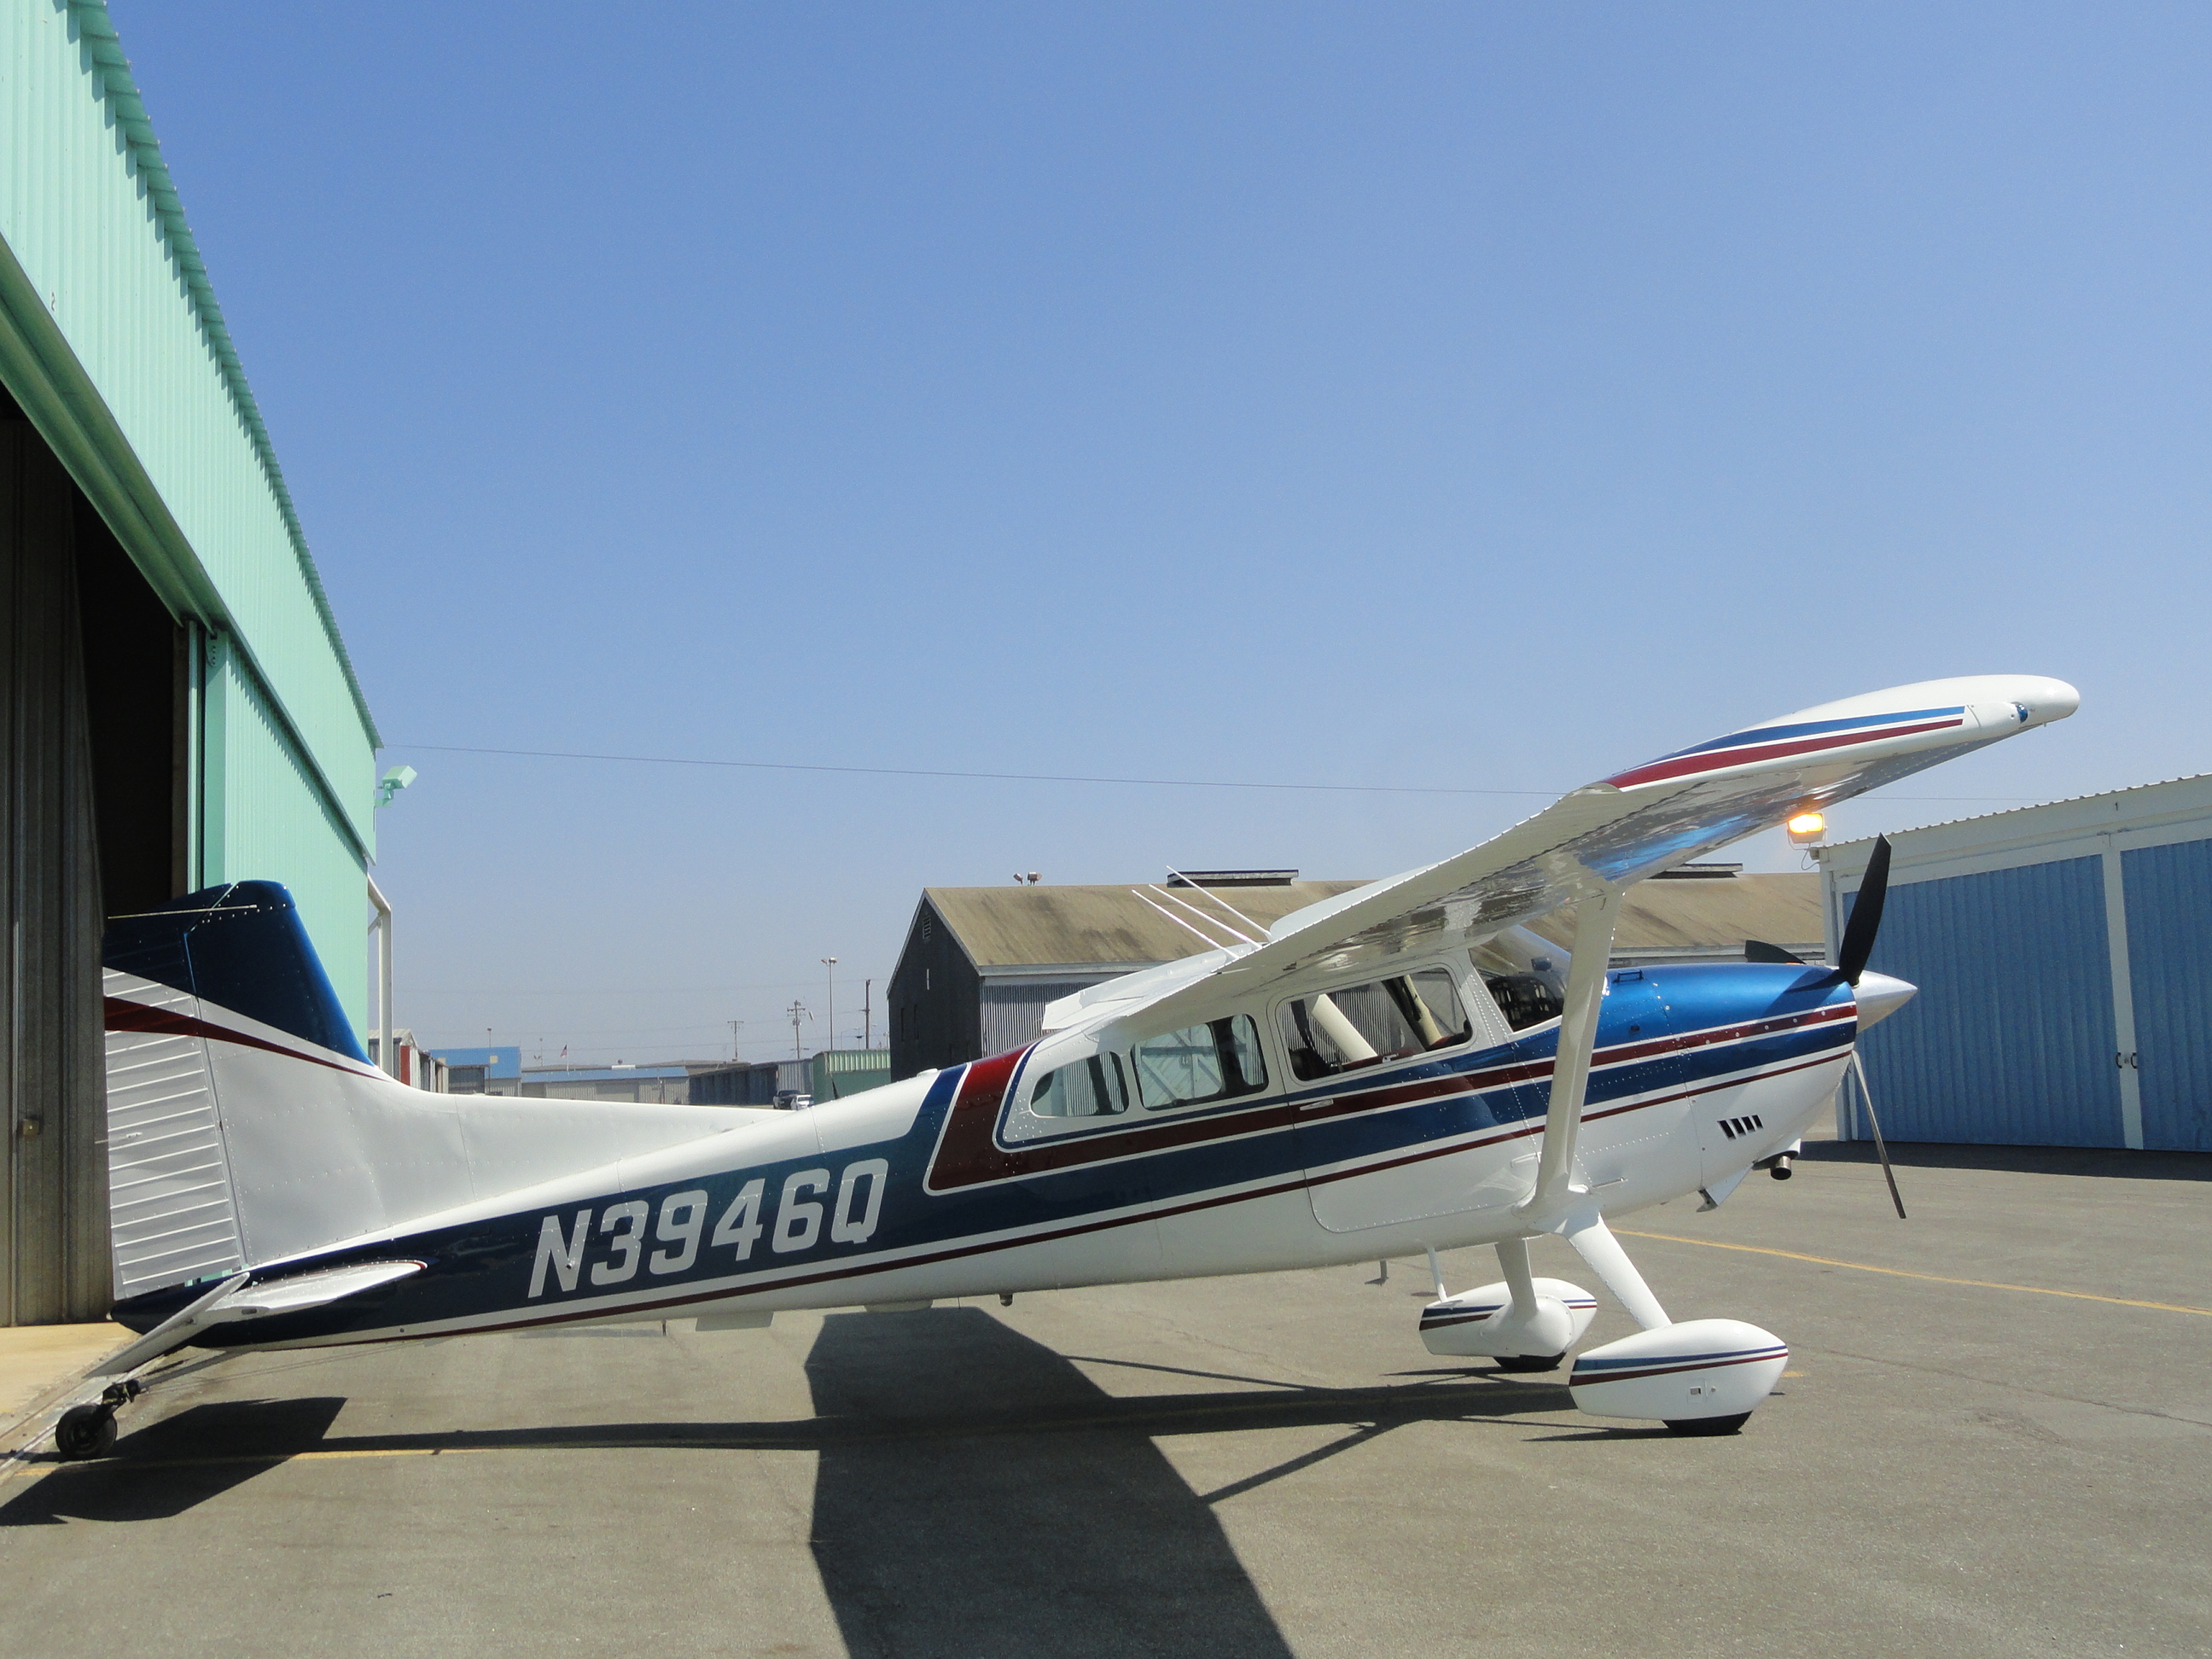
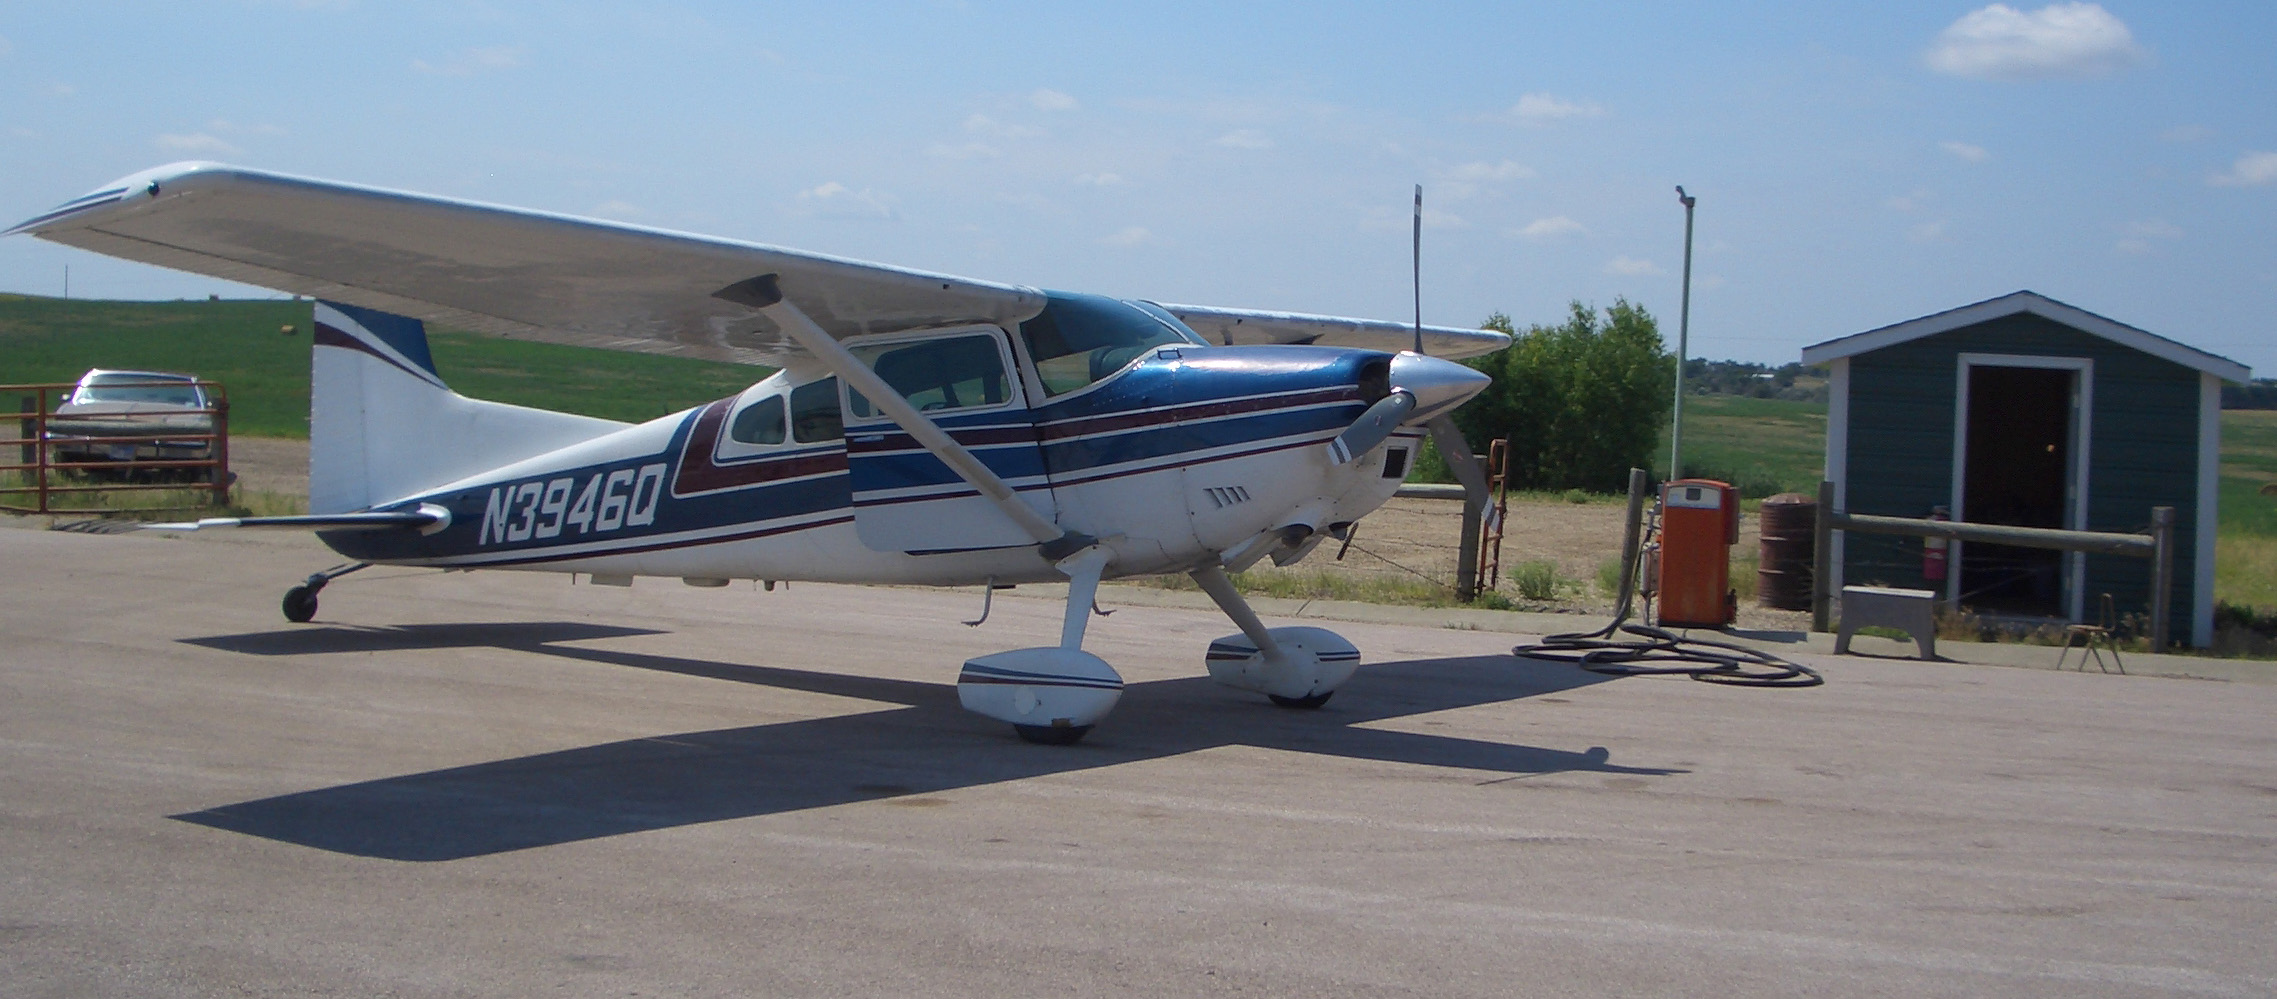
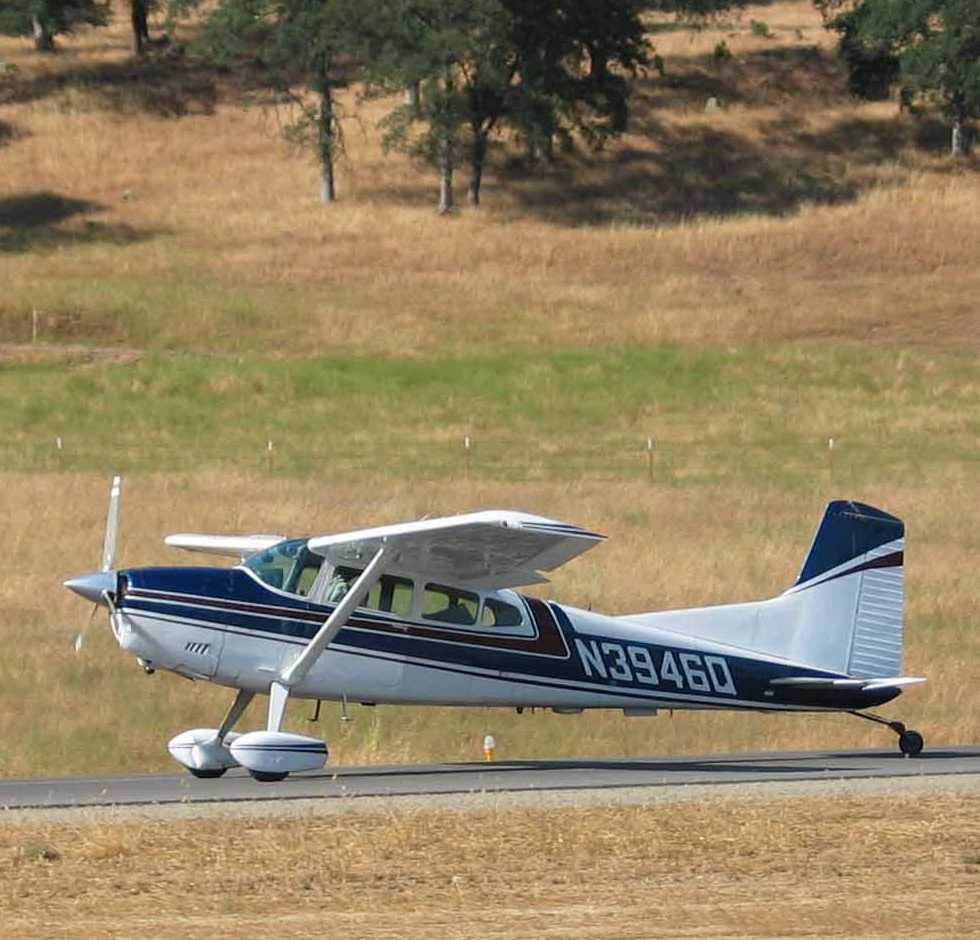
Two recent shots of the Cessna parked at Palo Alto Airport, which has been my home base since I bought the airplane in 1983. | 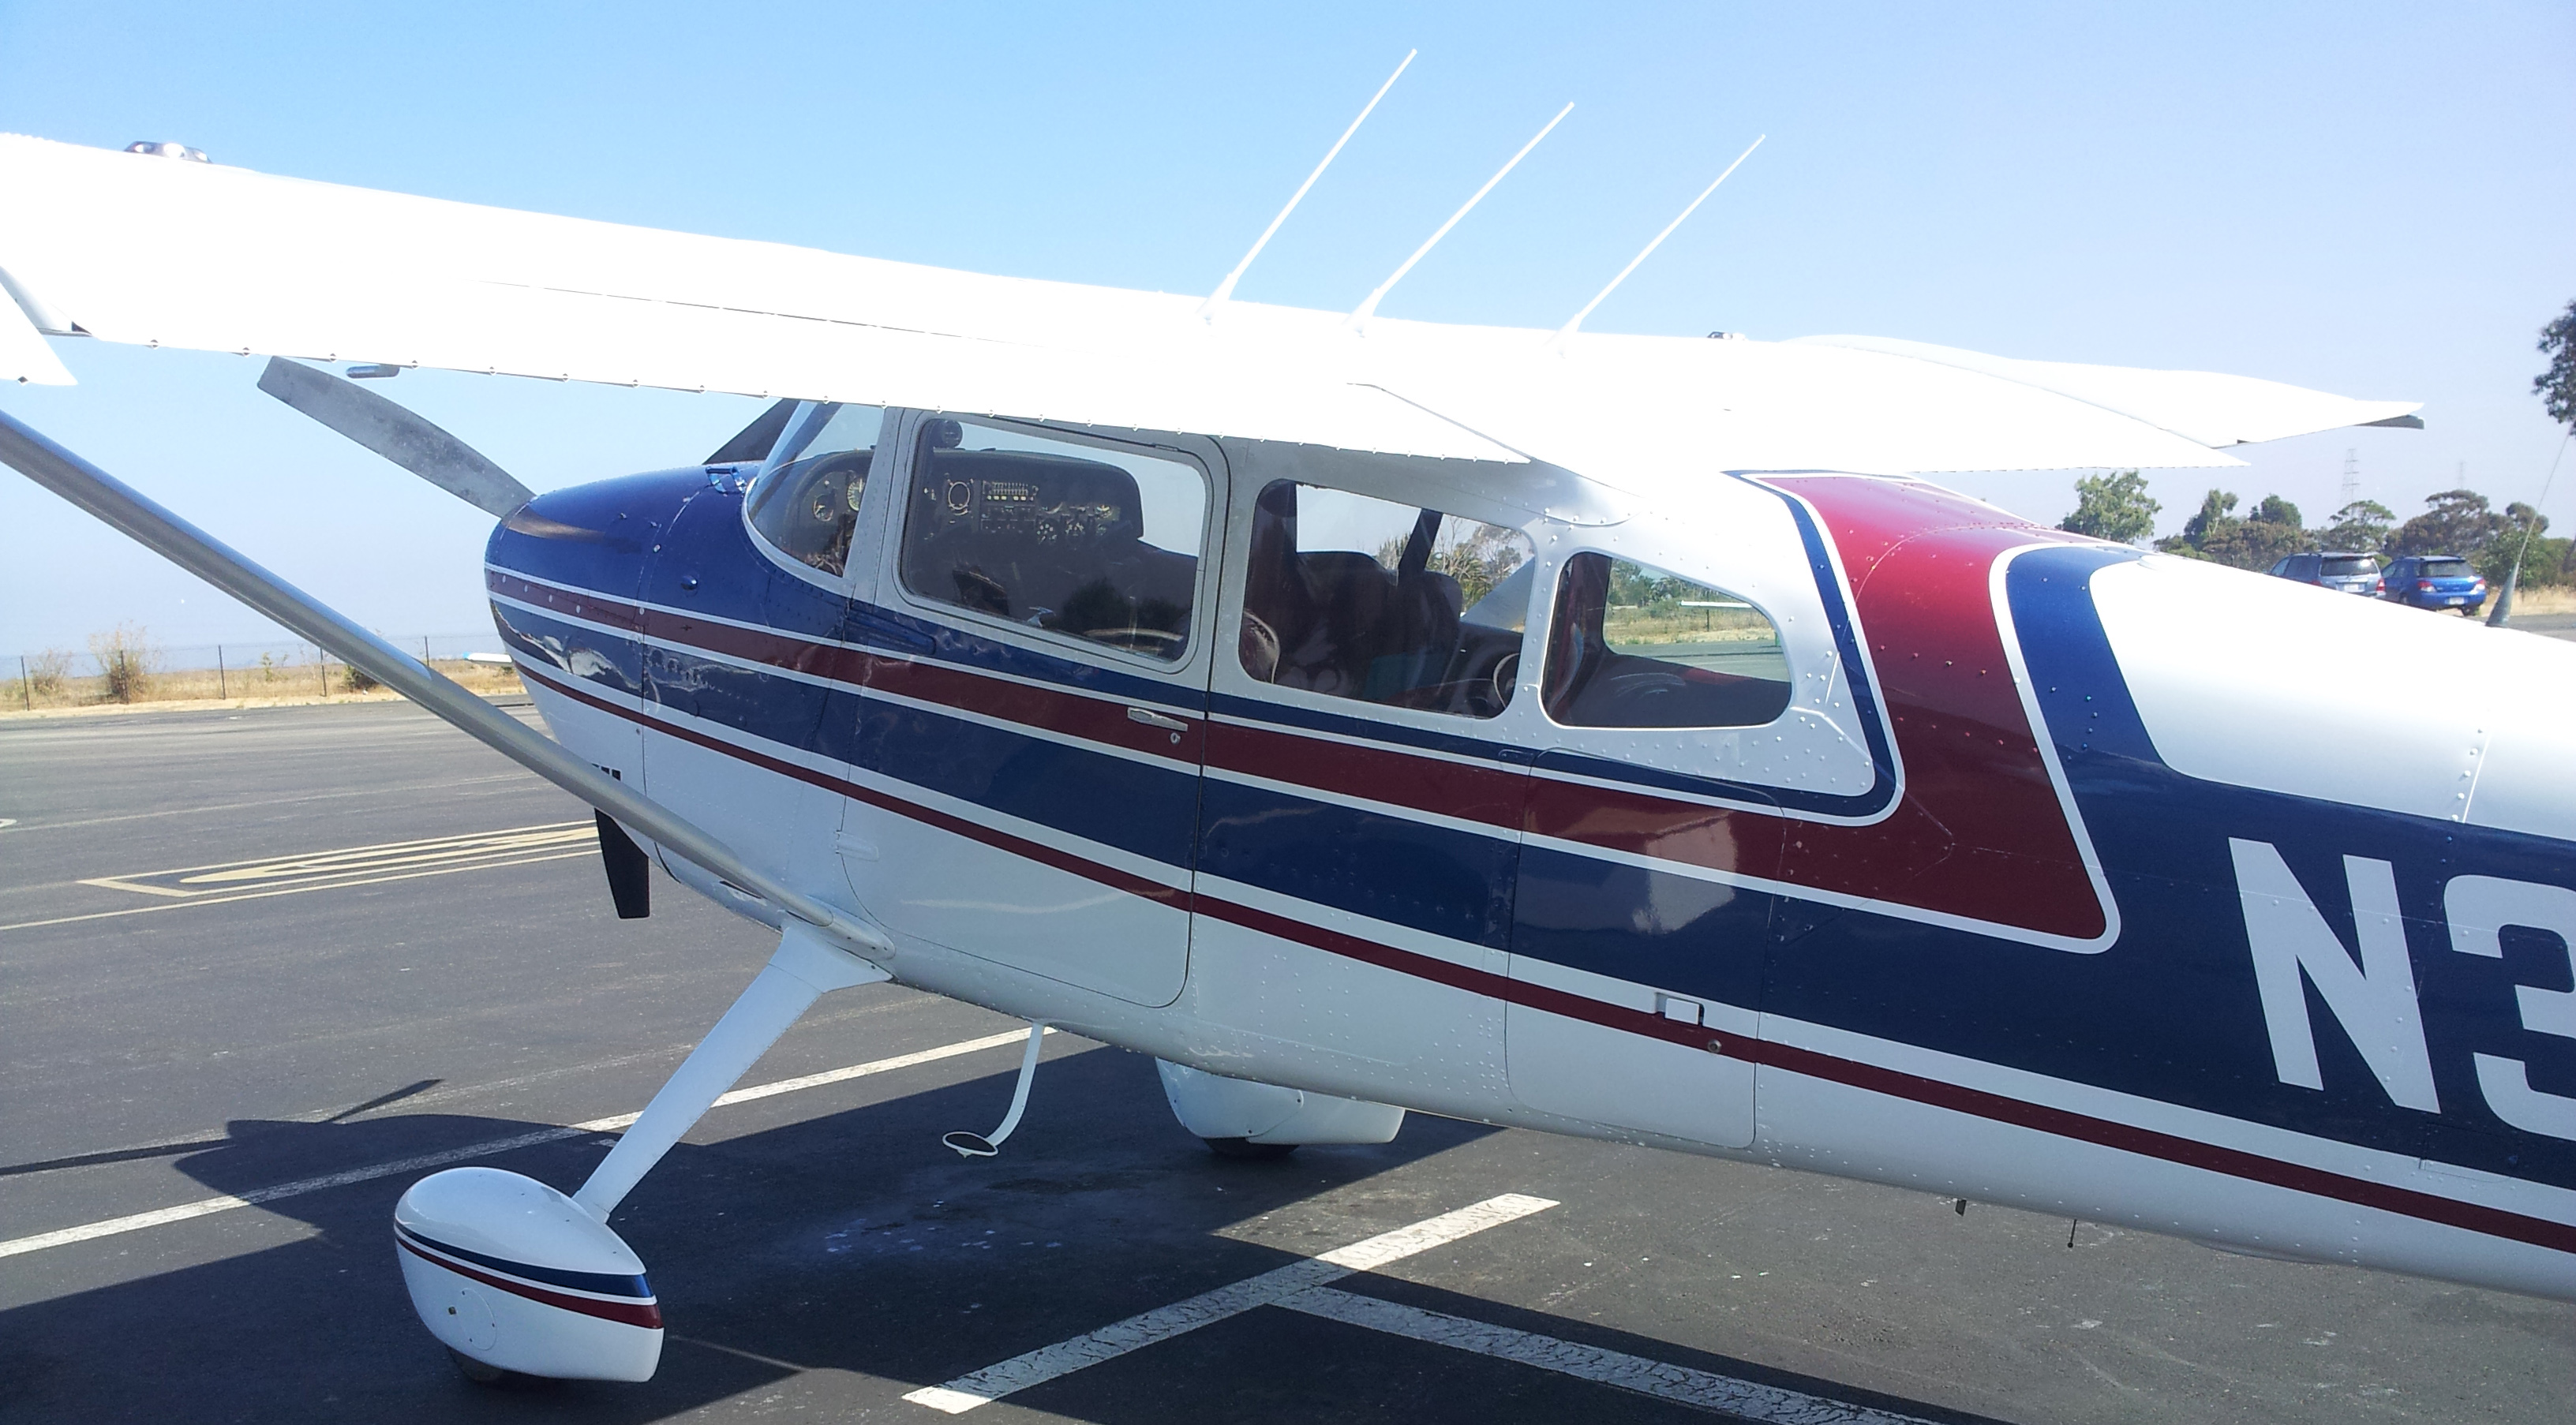 |
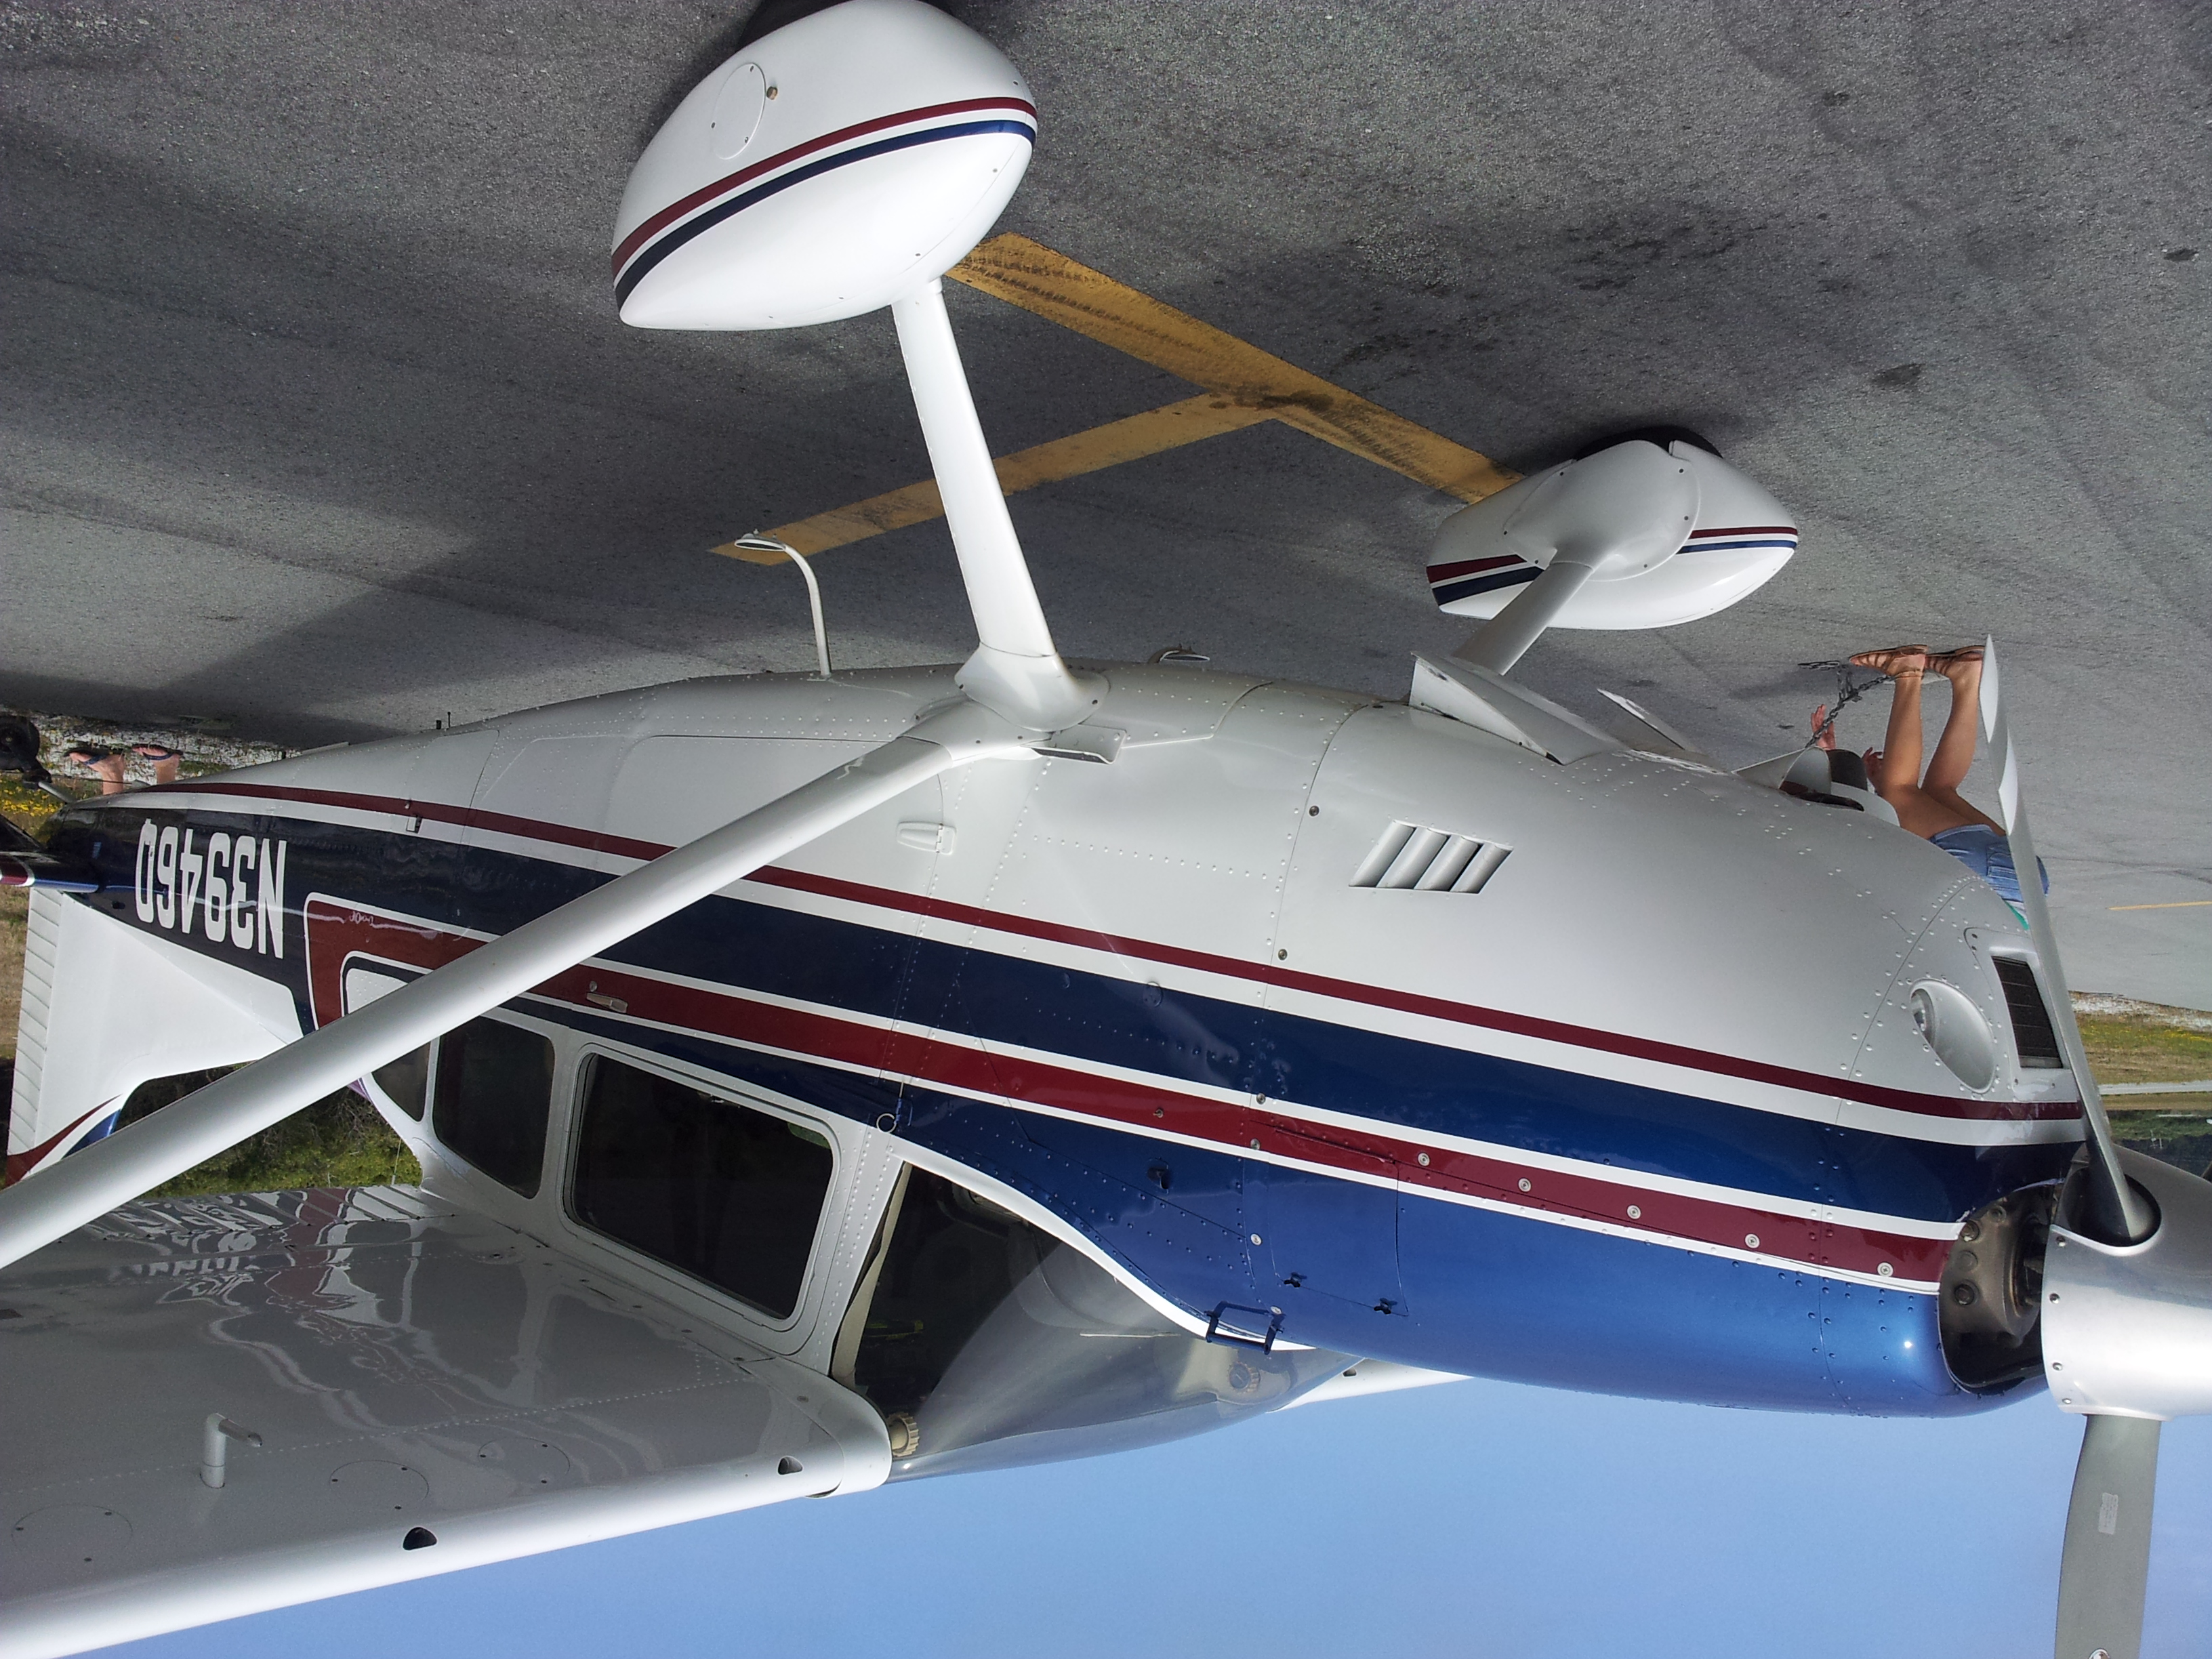 |
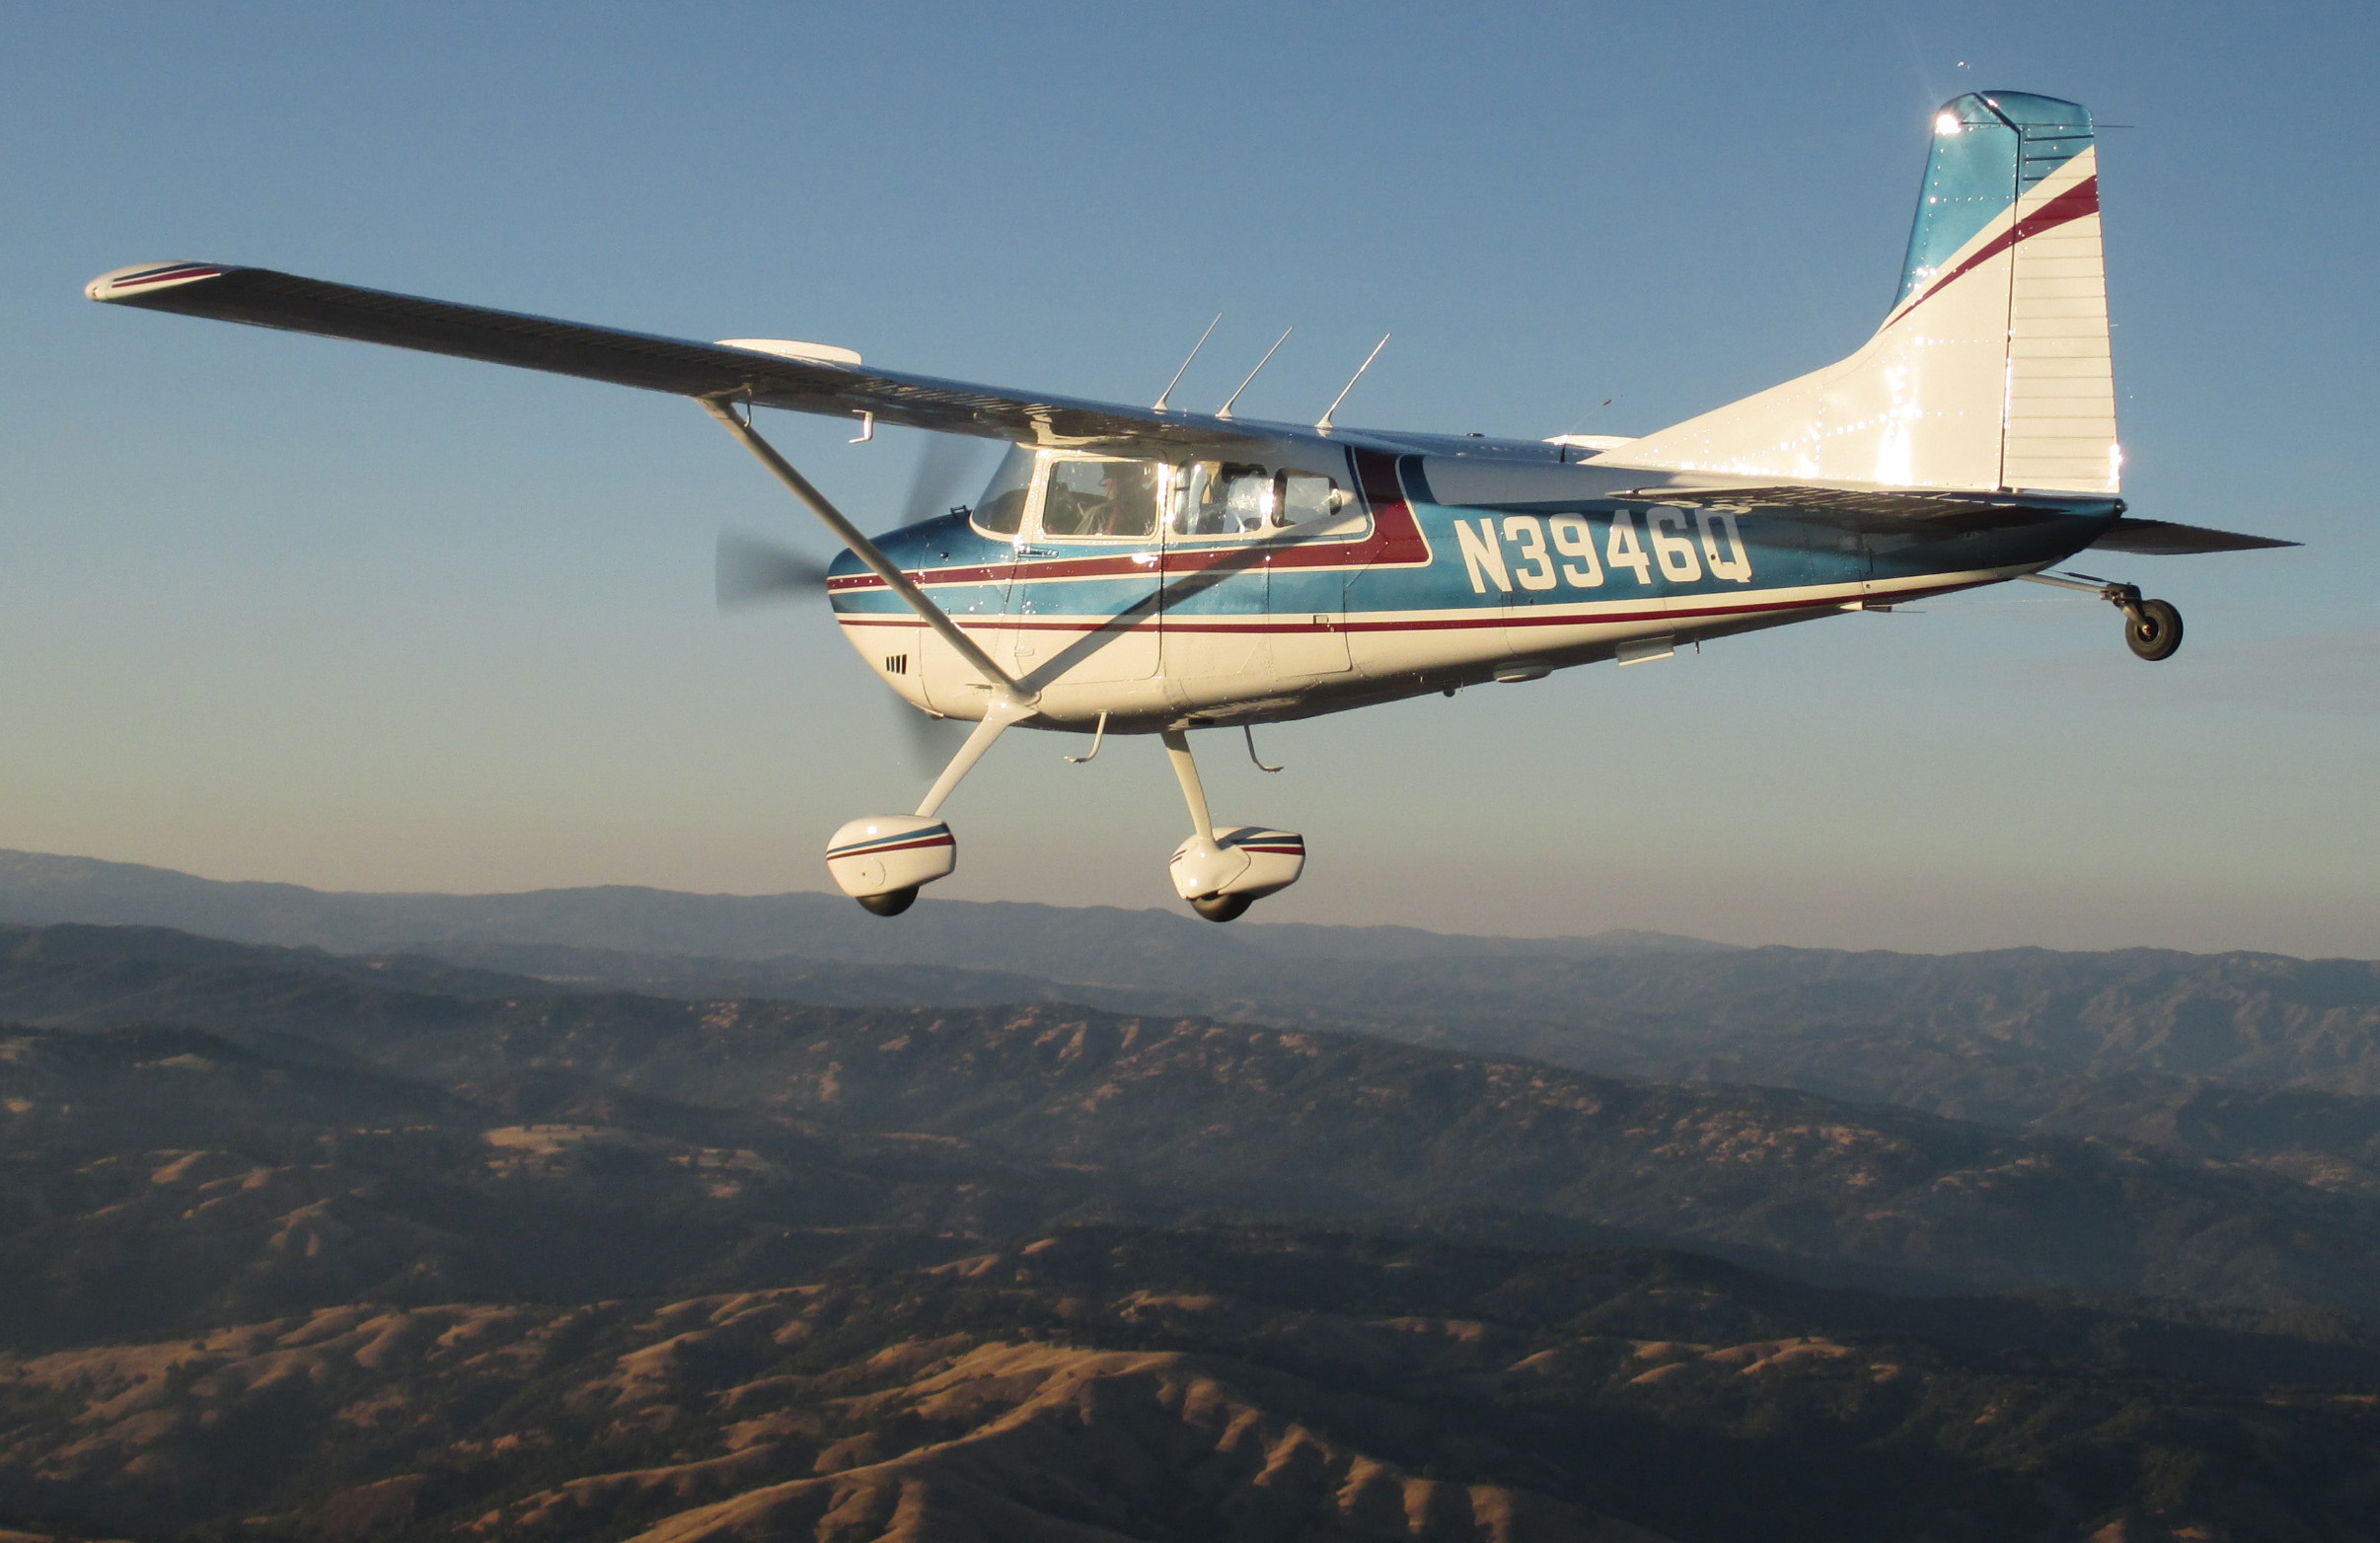
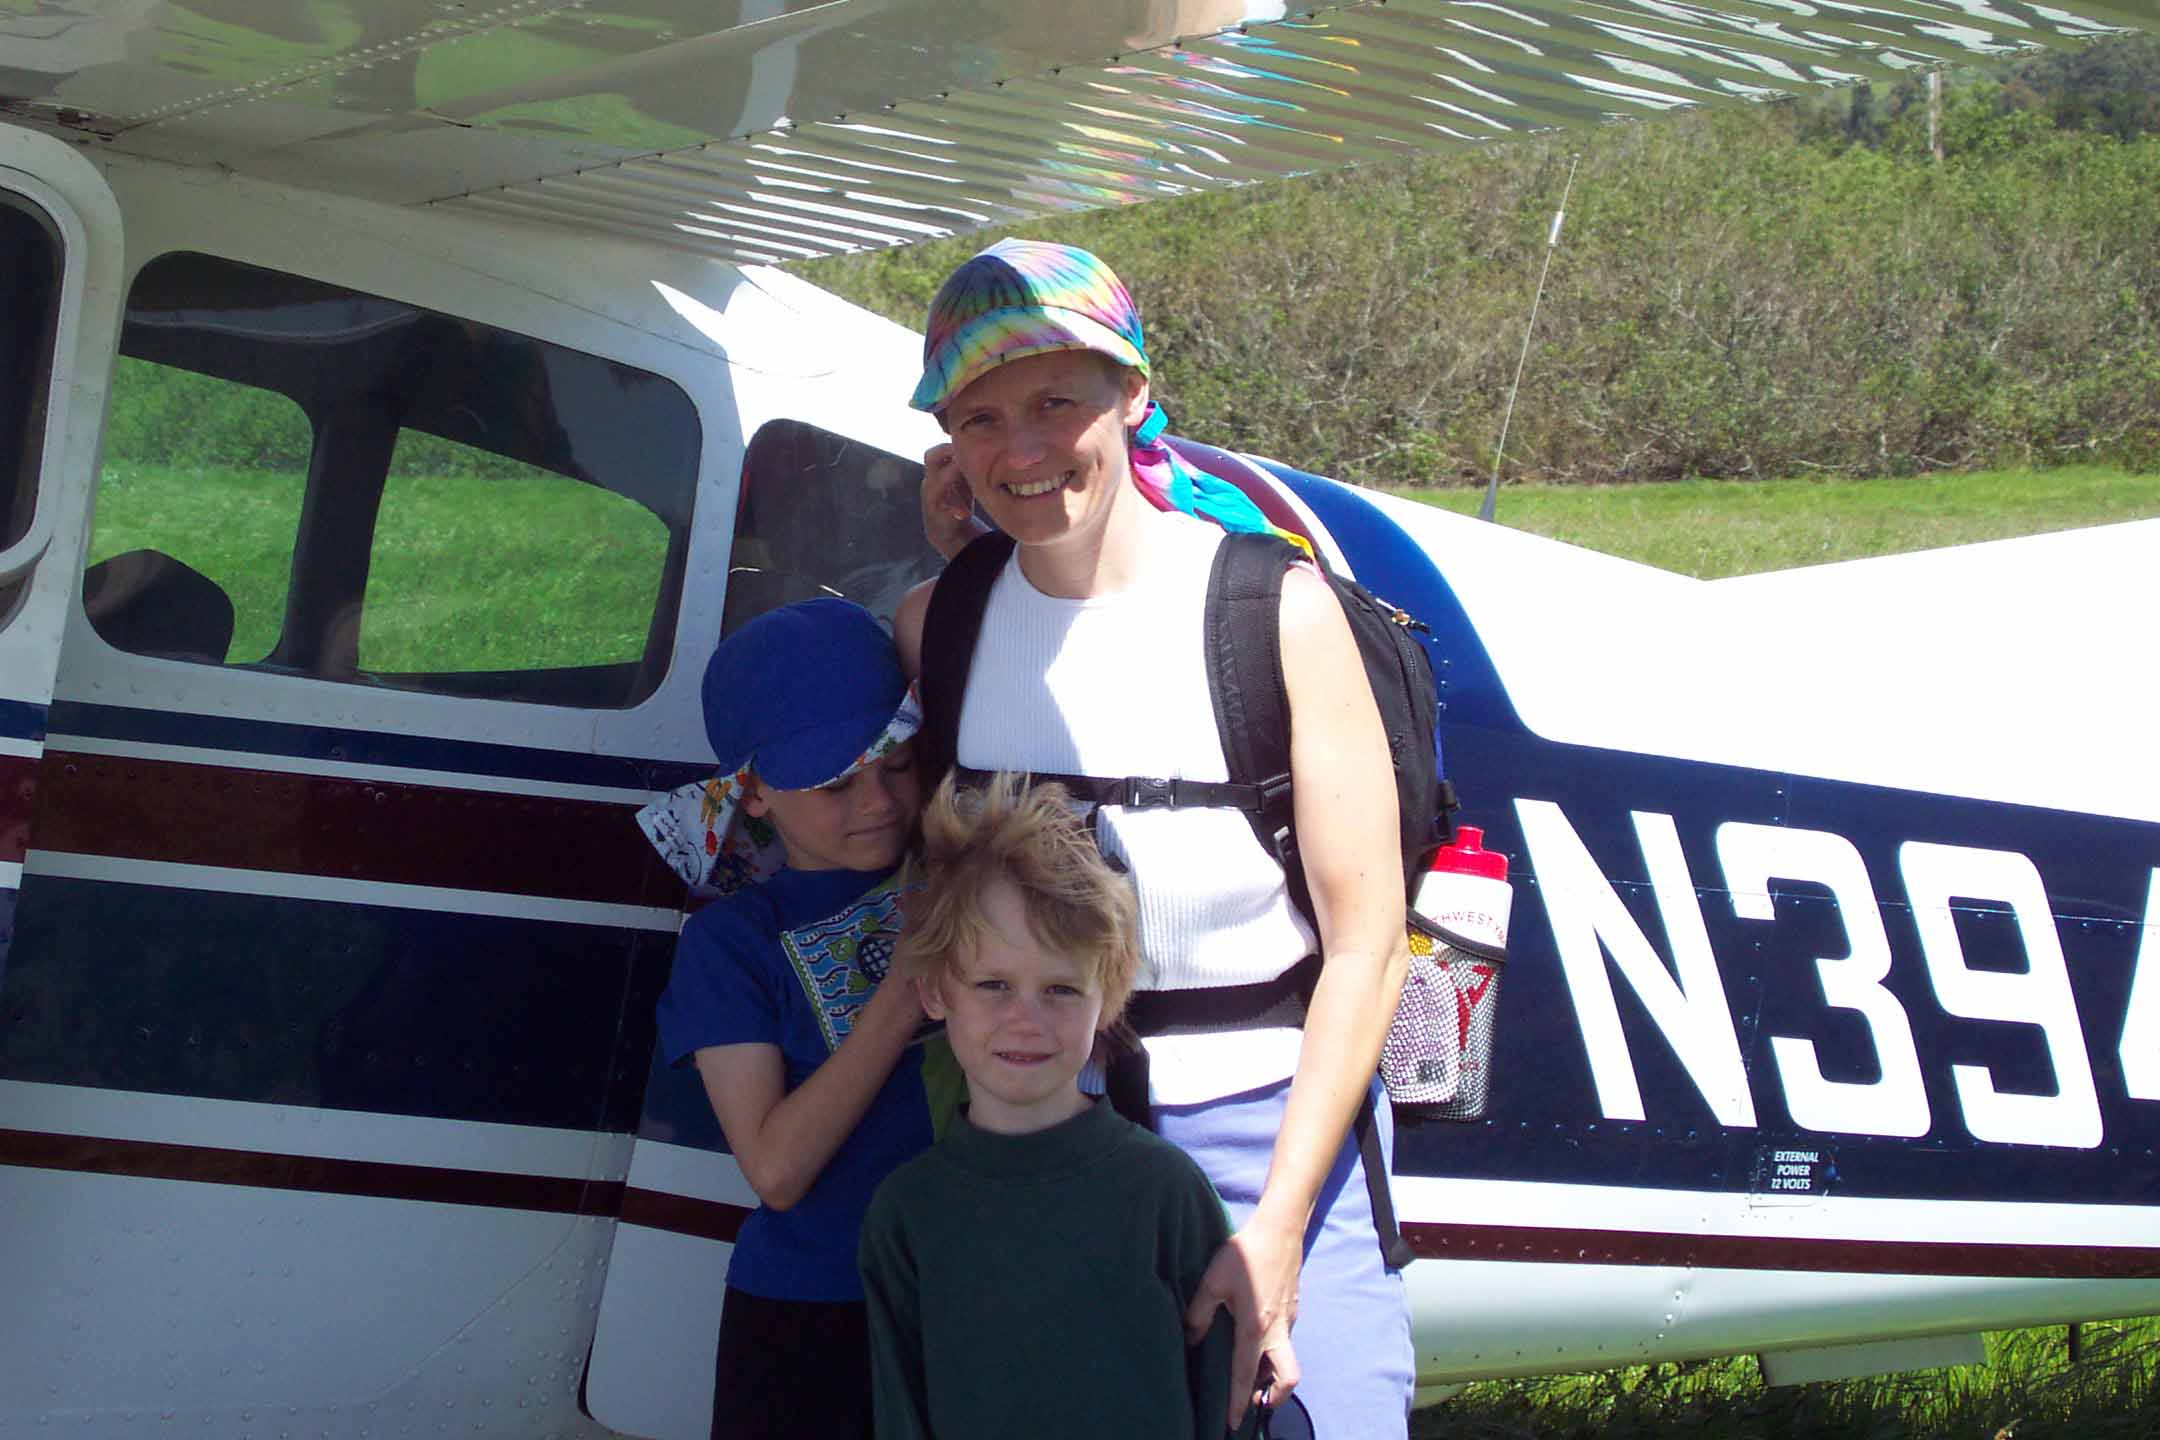
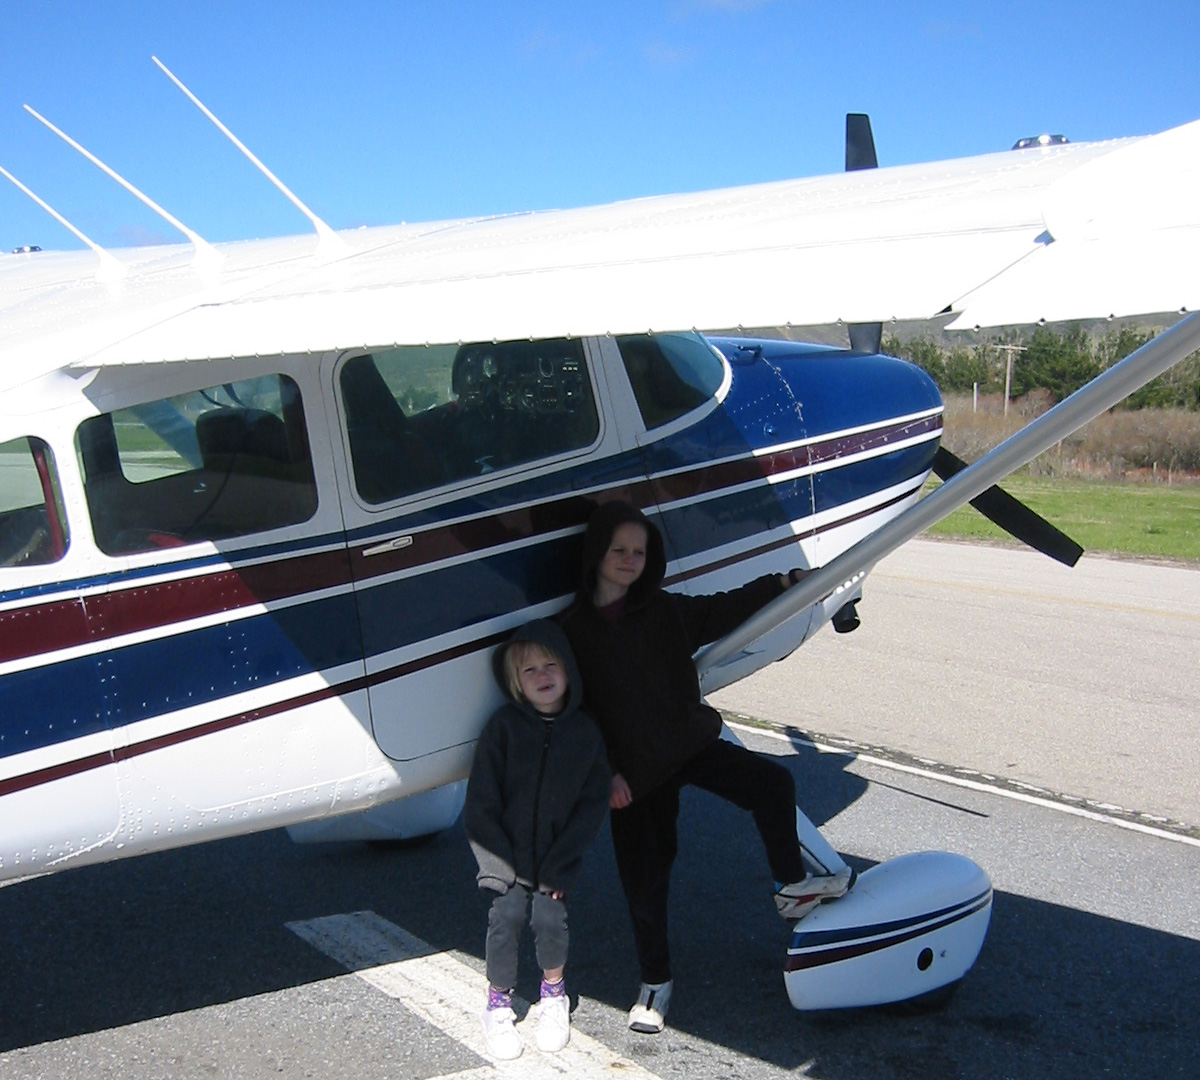
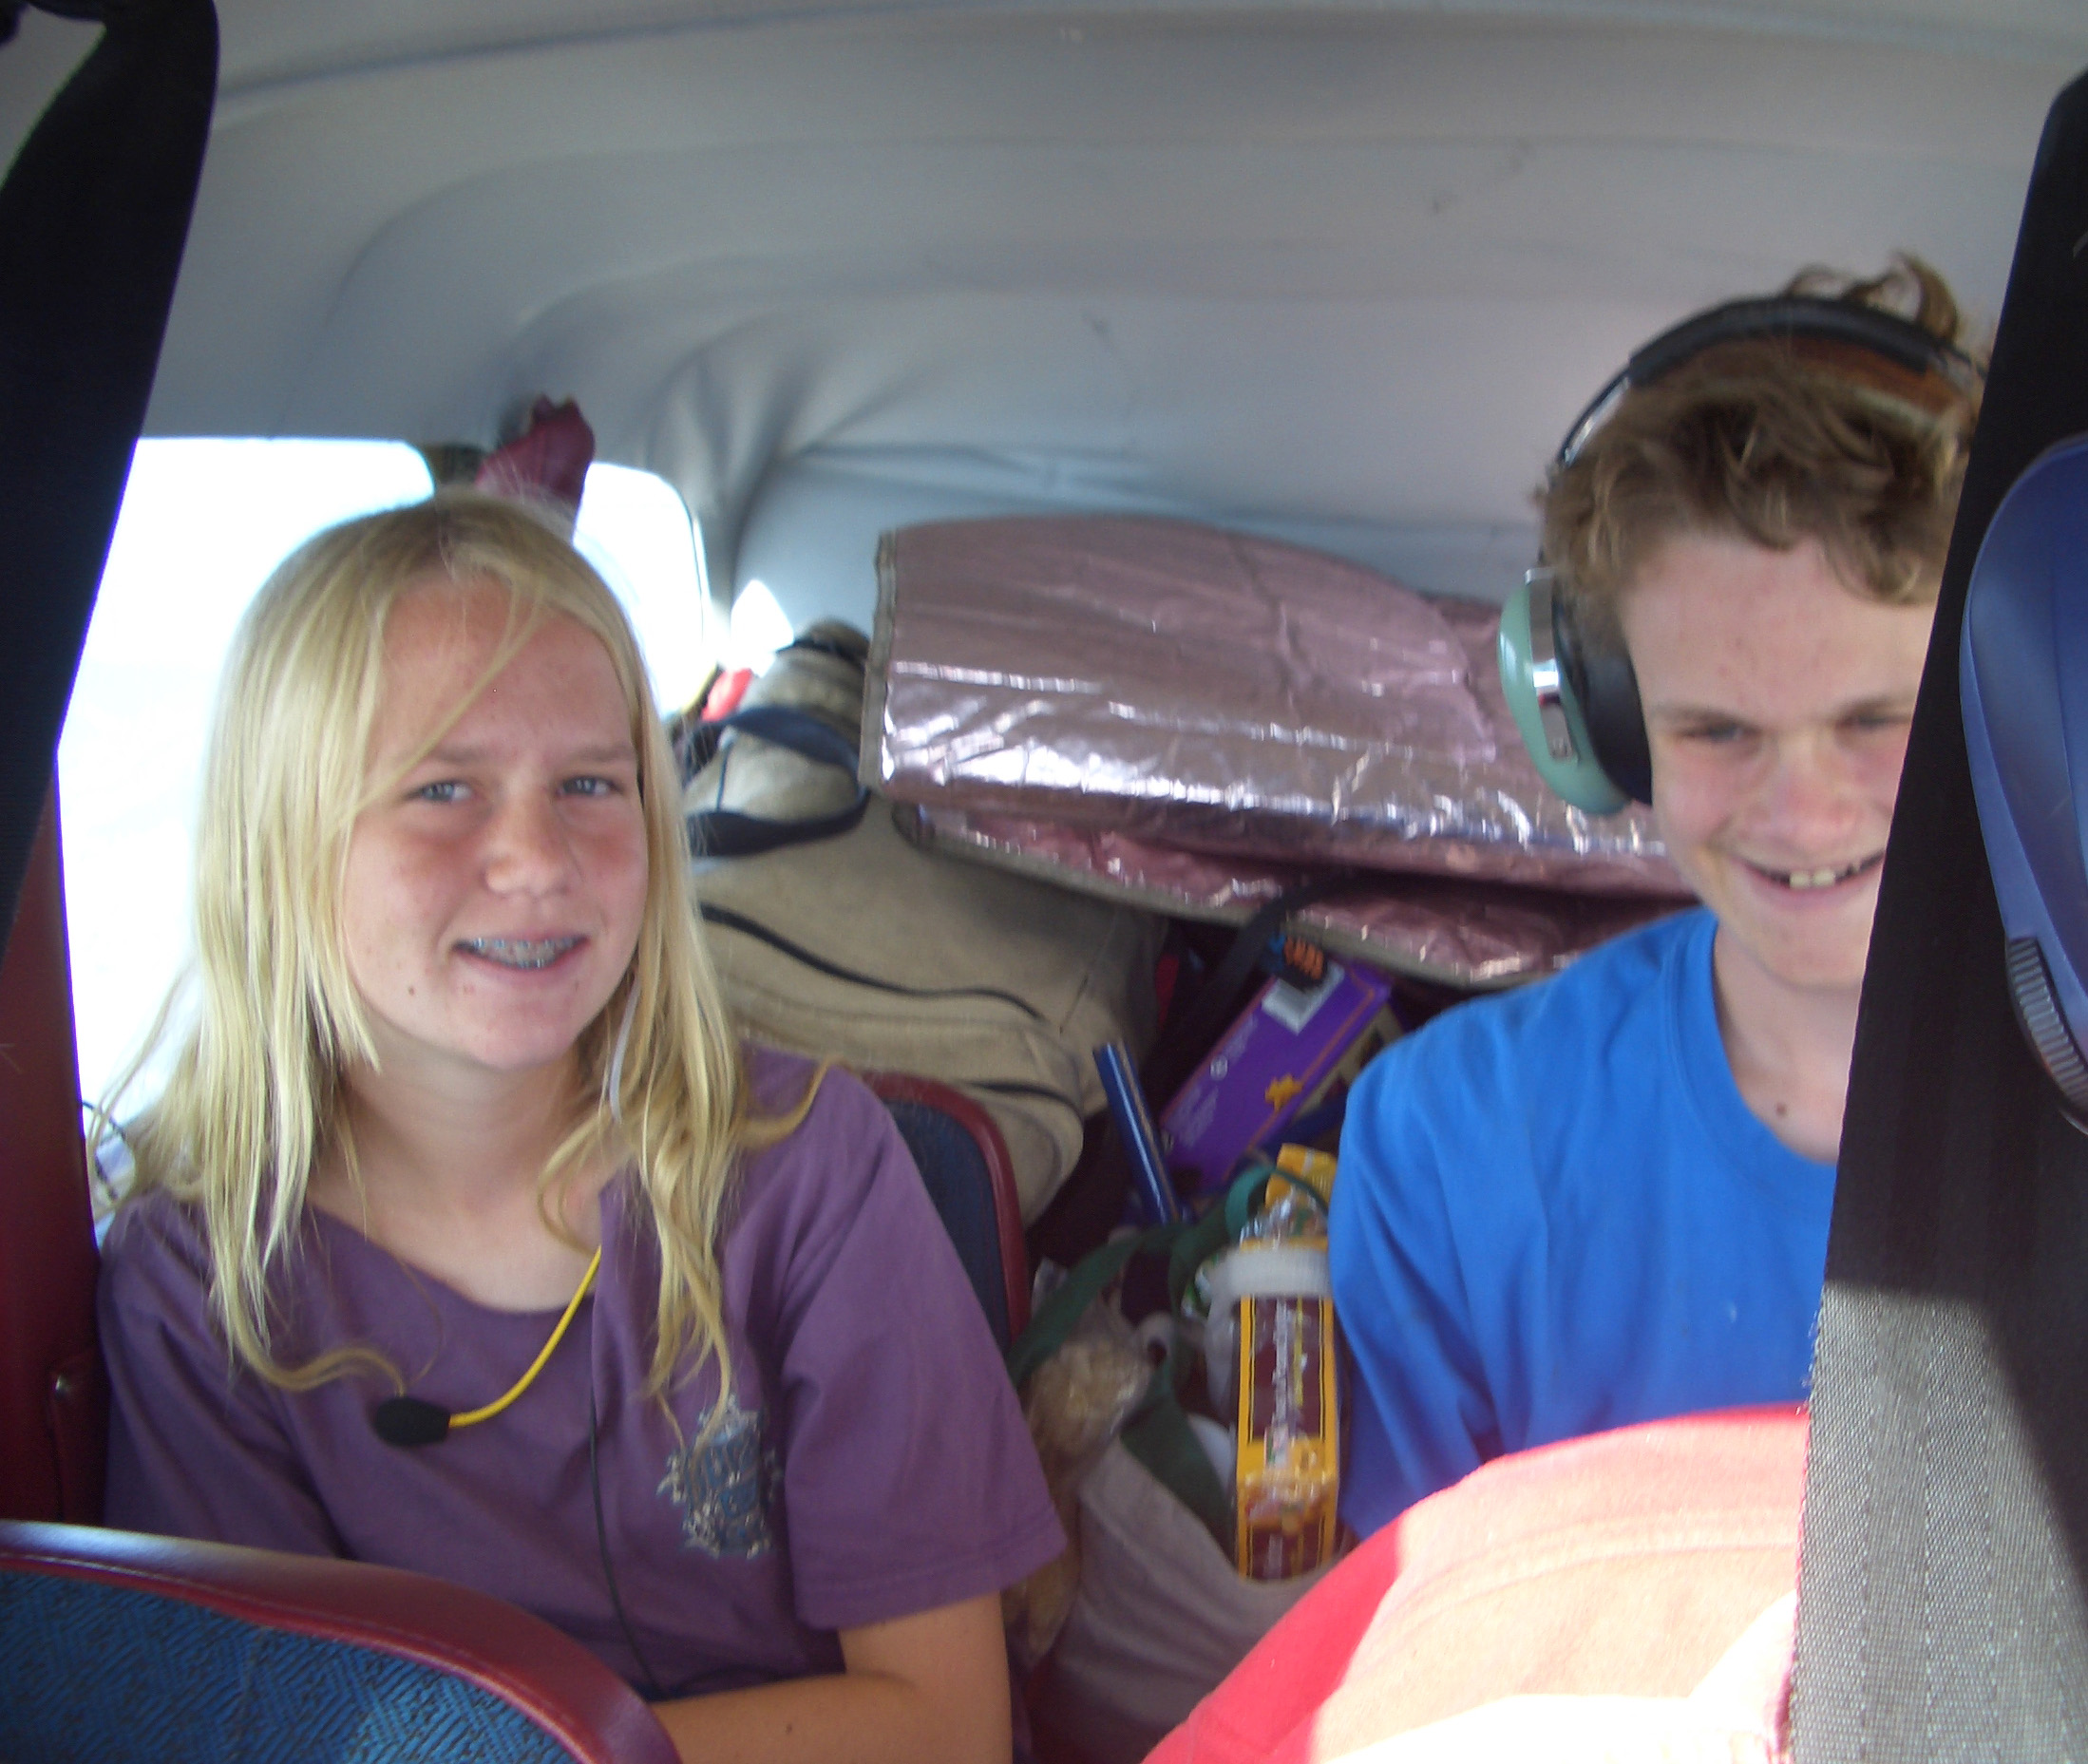
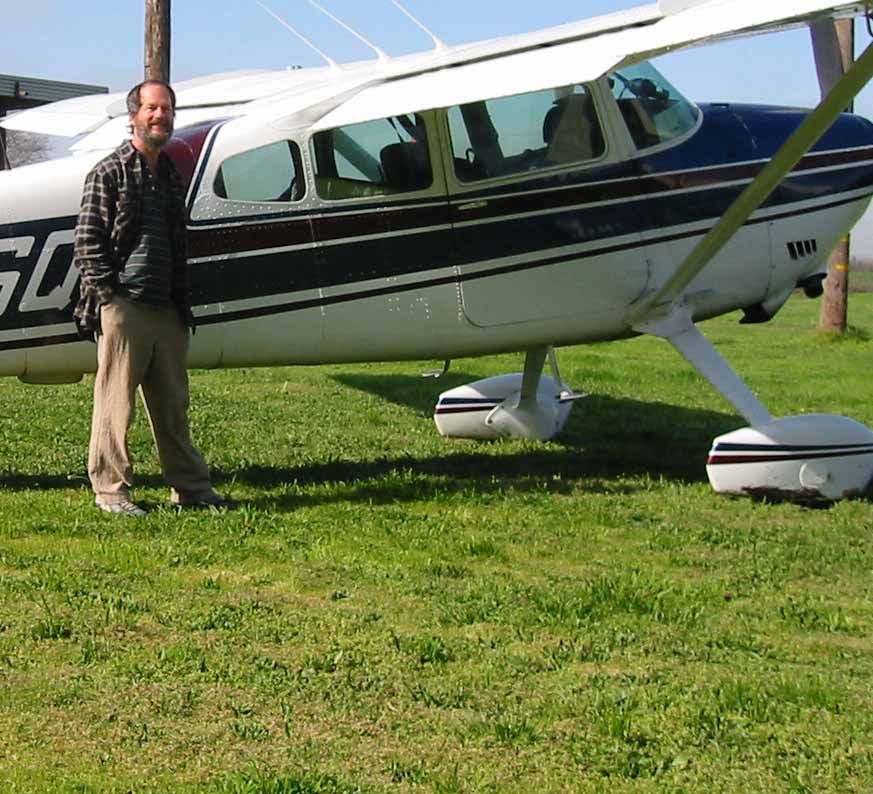
To the left is a recent picture (Aug‑2013) at Half Moon Bay airport - a favorite destination of mine for a weekend breakfast at the airport cafe followed by a walk to the beach. It's only a 15 minute flight from PAO, but at least it's far enough away to get the oil warmed up. The 3 pictures at the right are also at Half Moon Bay, but you can tell these are far older because my hair is not yet gray. Also those little kids in the pictures are now in college, which explains why I don't really need a four seater any more. (I'm looking at the smaller 2 seaters like the RV8.) | 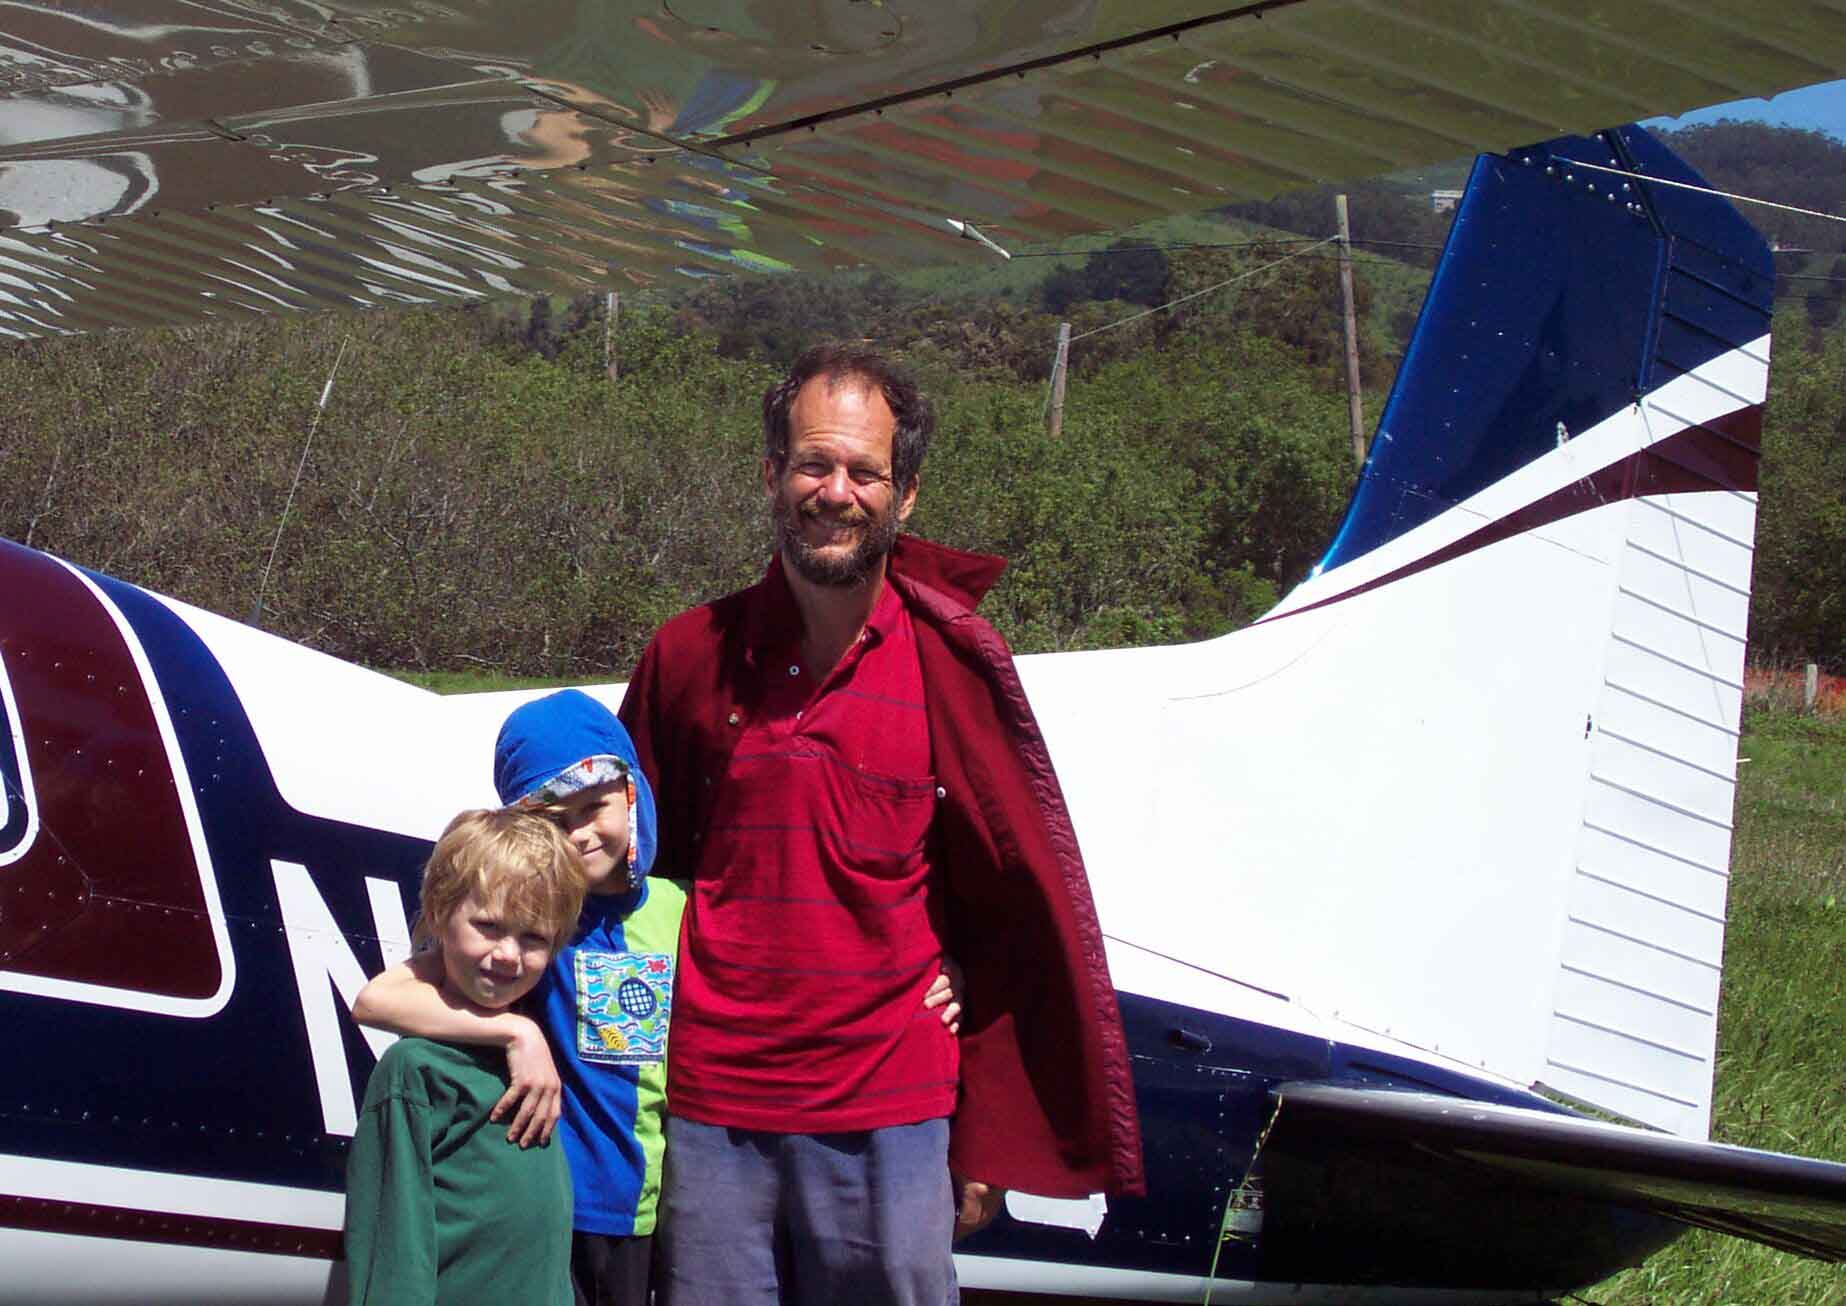 |
 | ||
 |
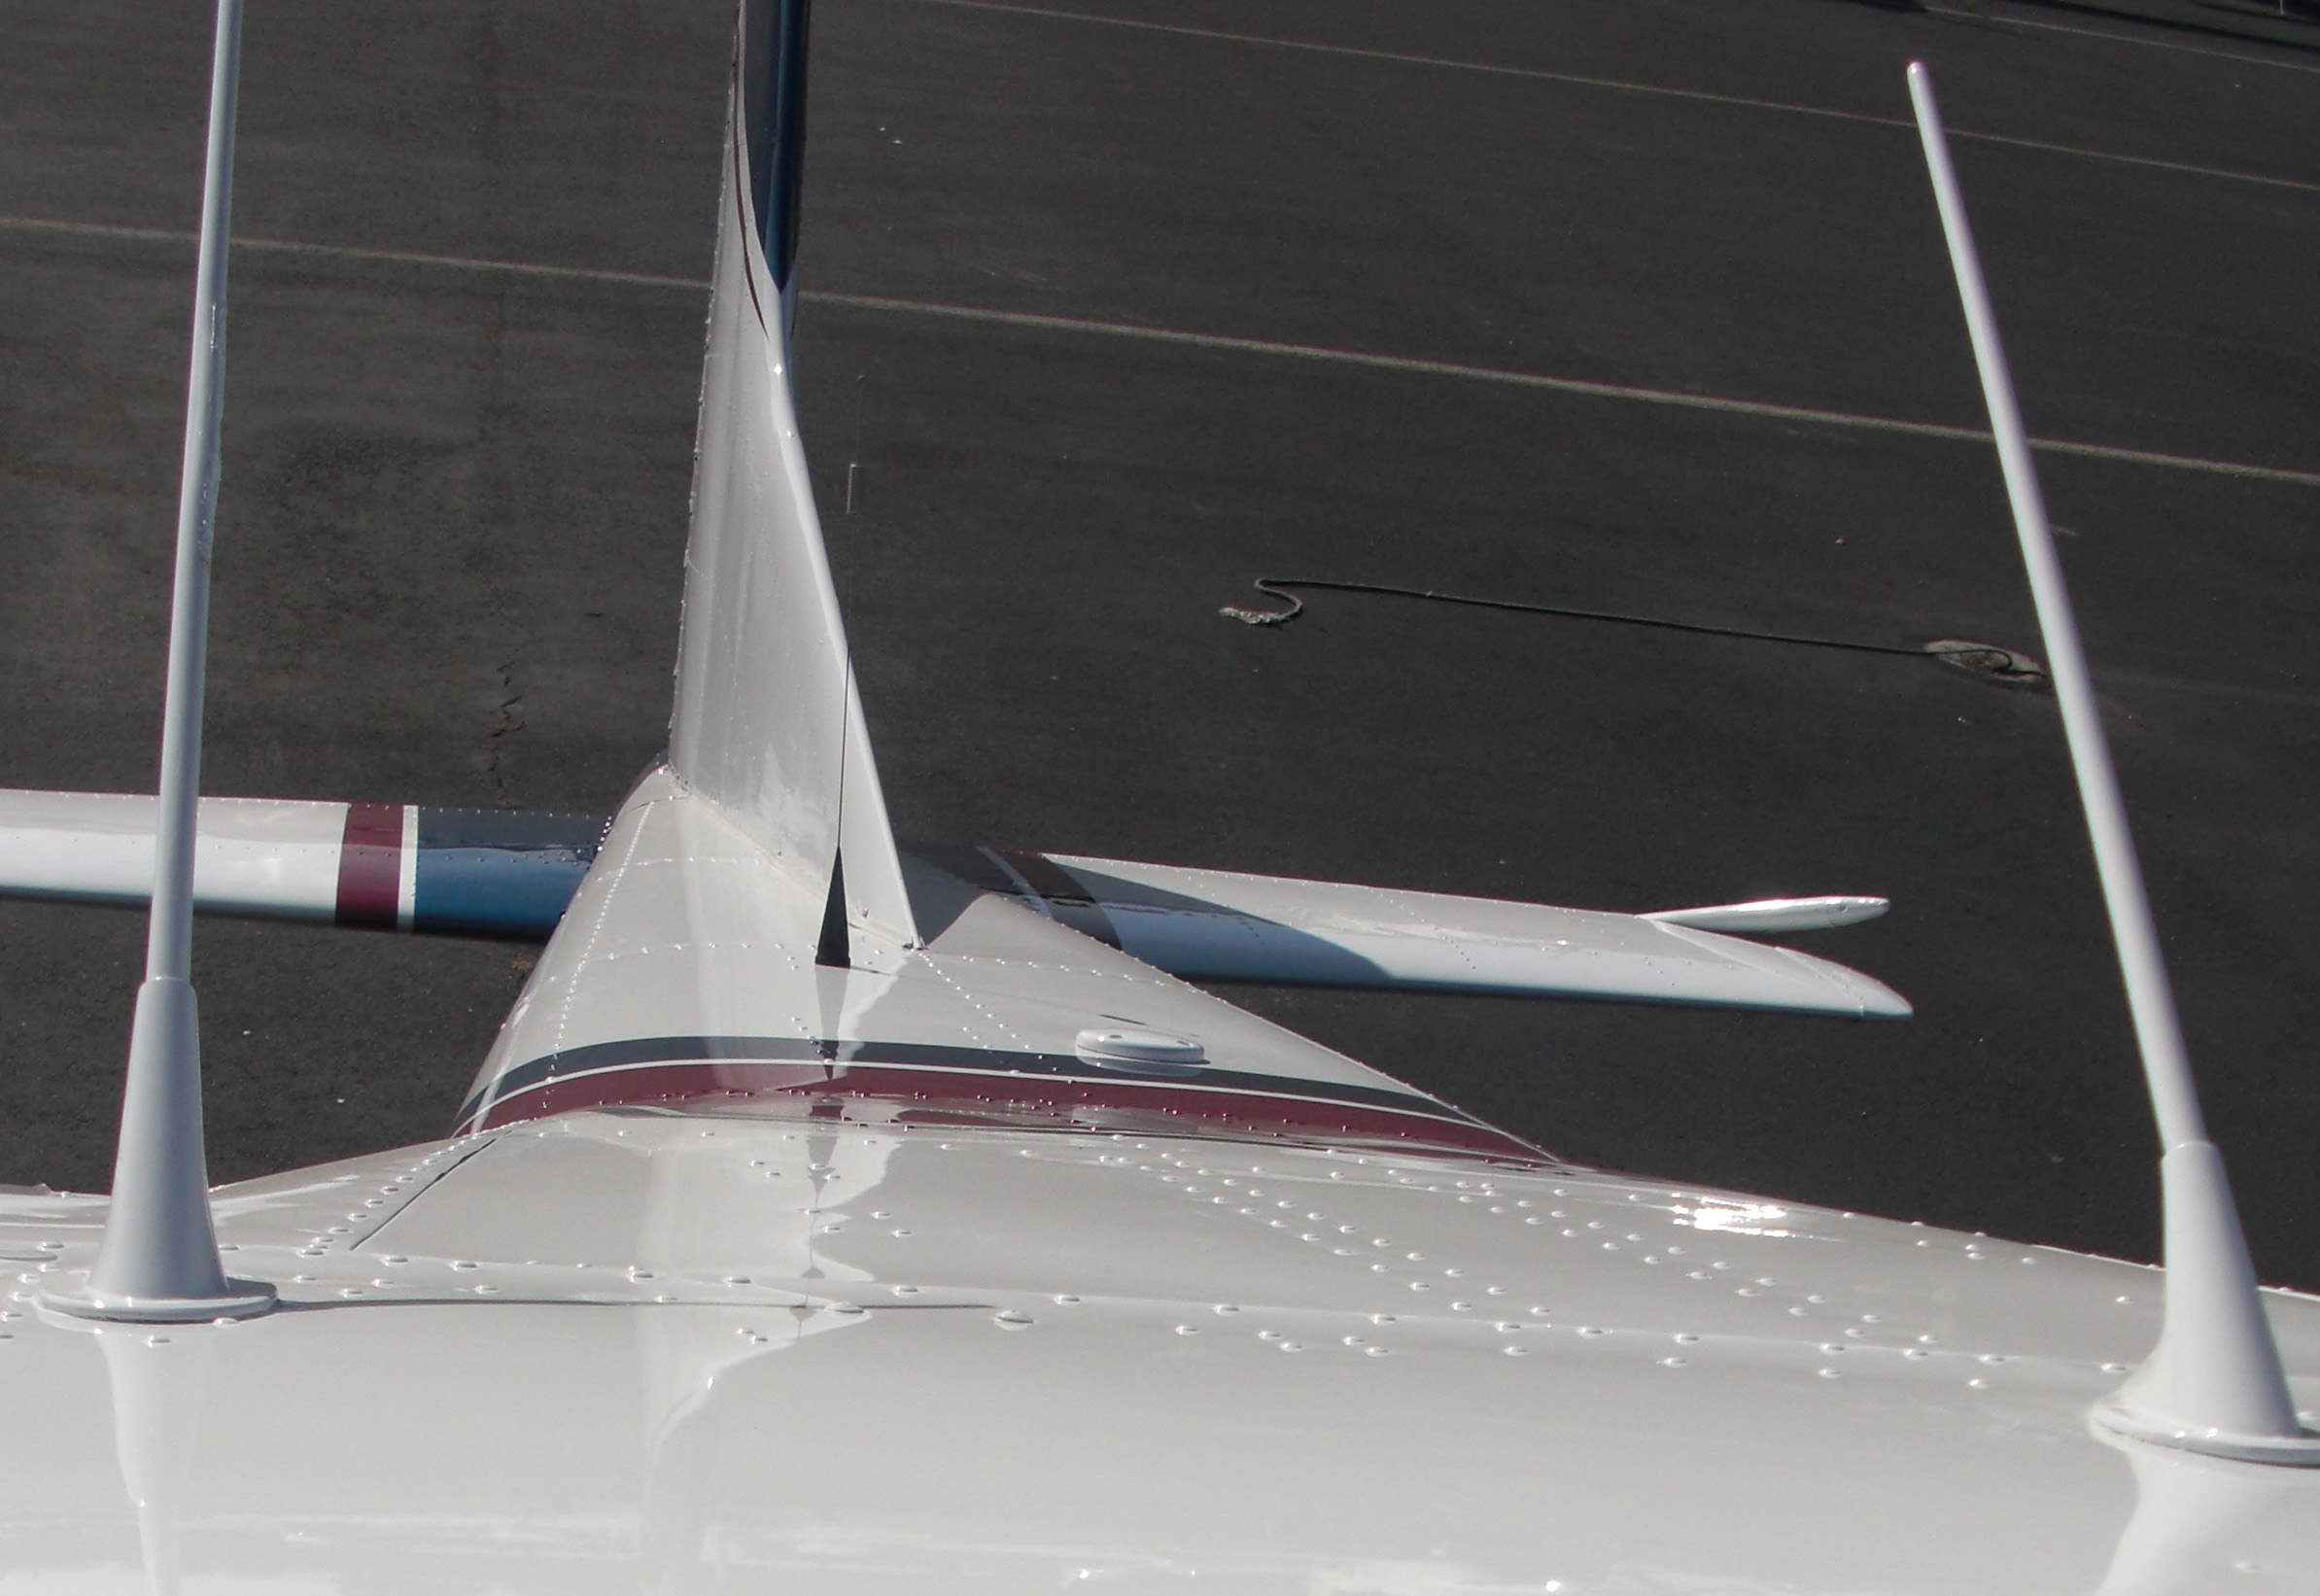 |
Top view of the airplane | 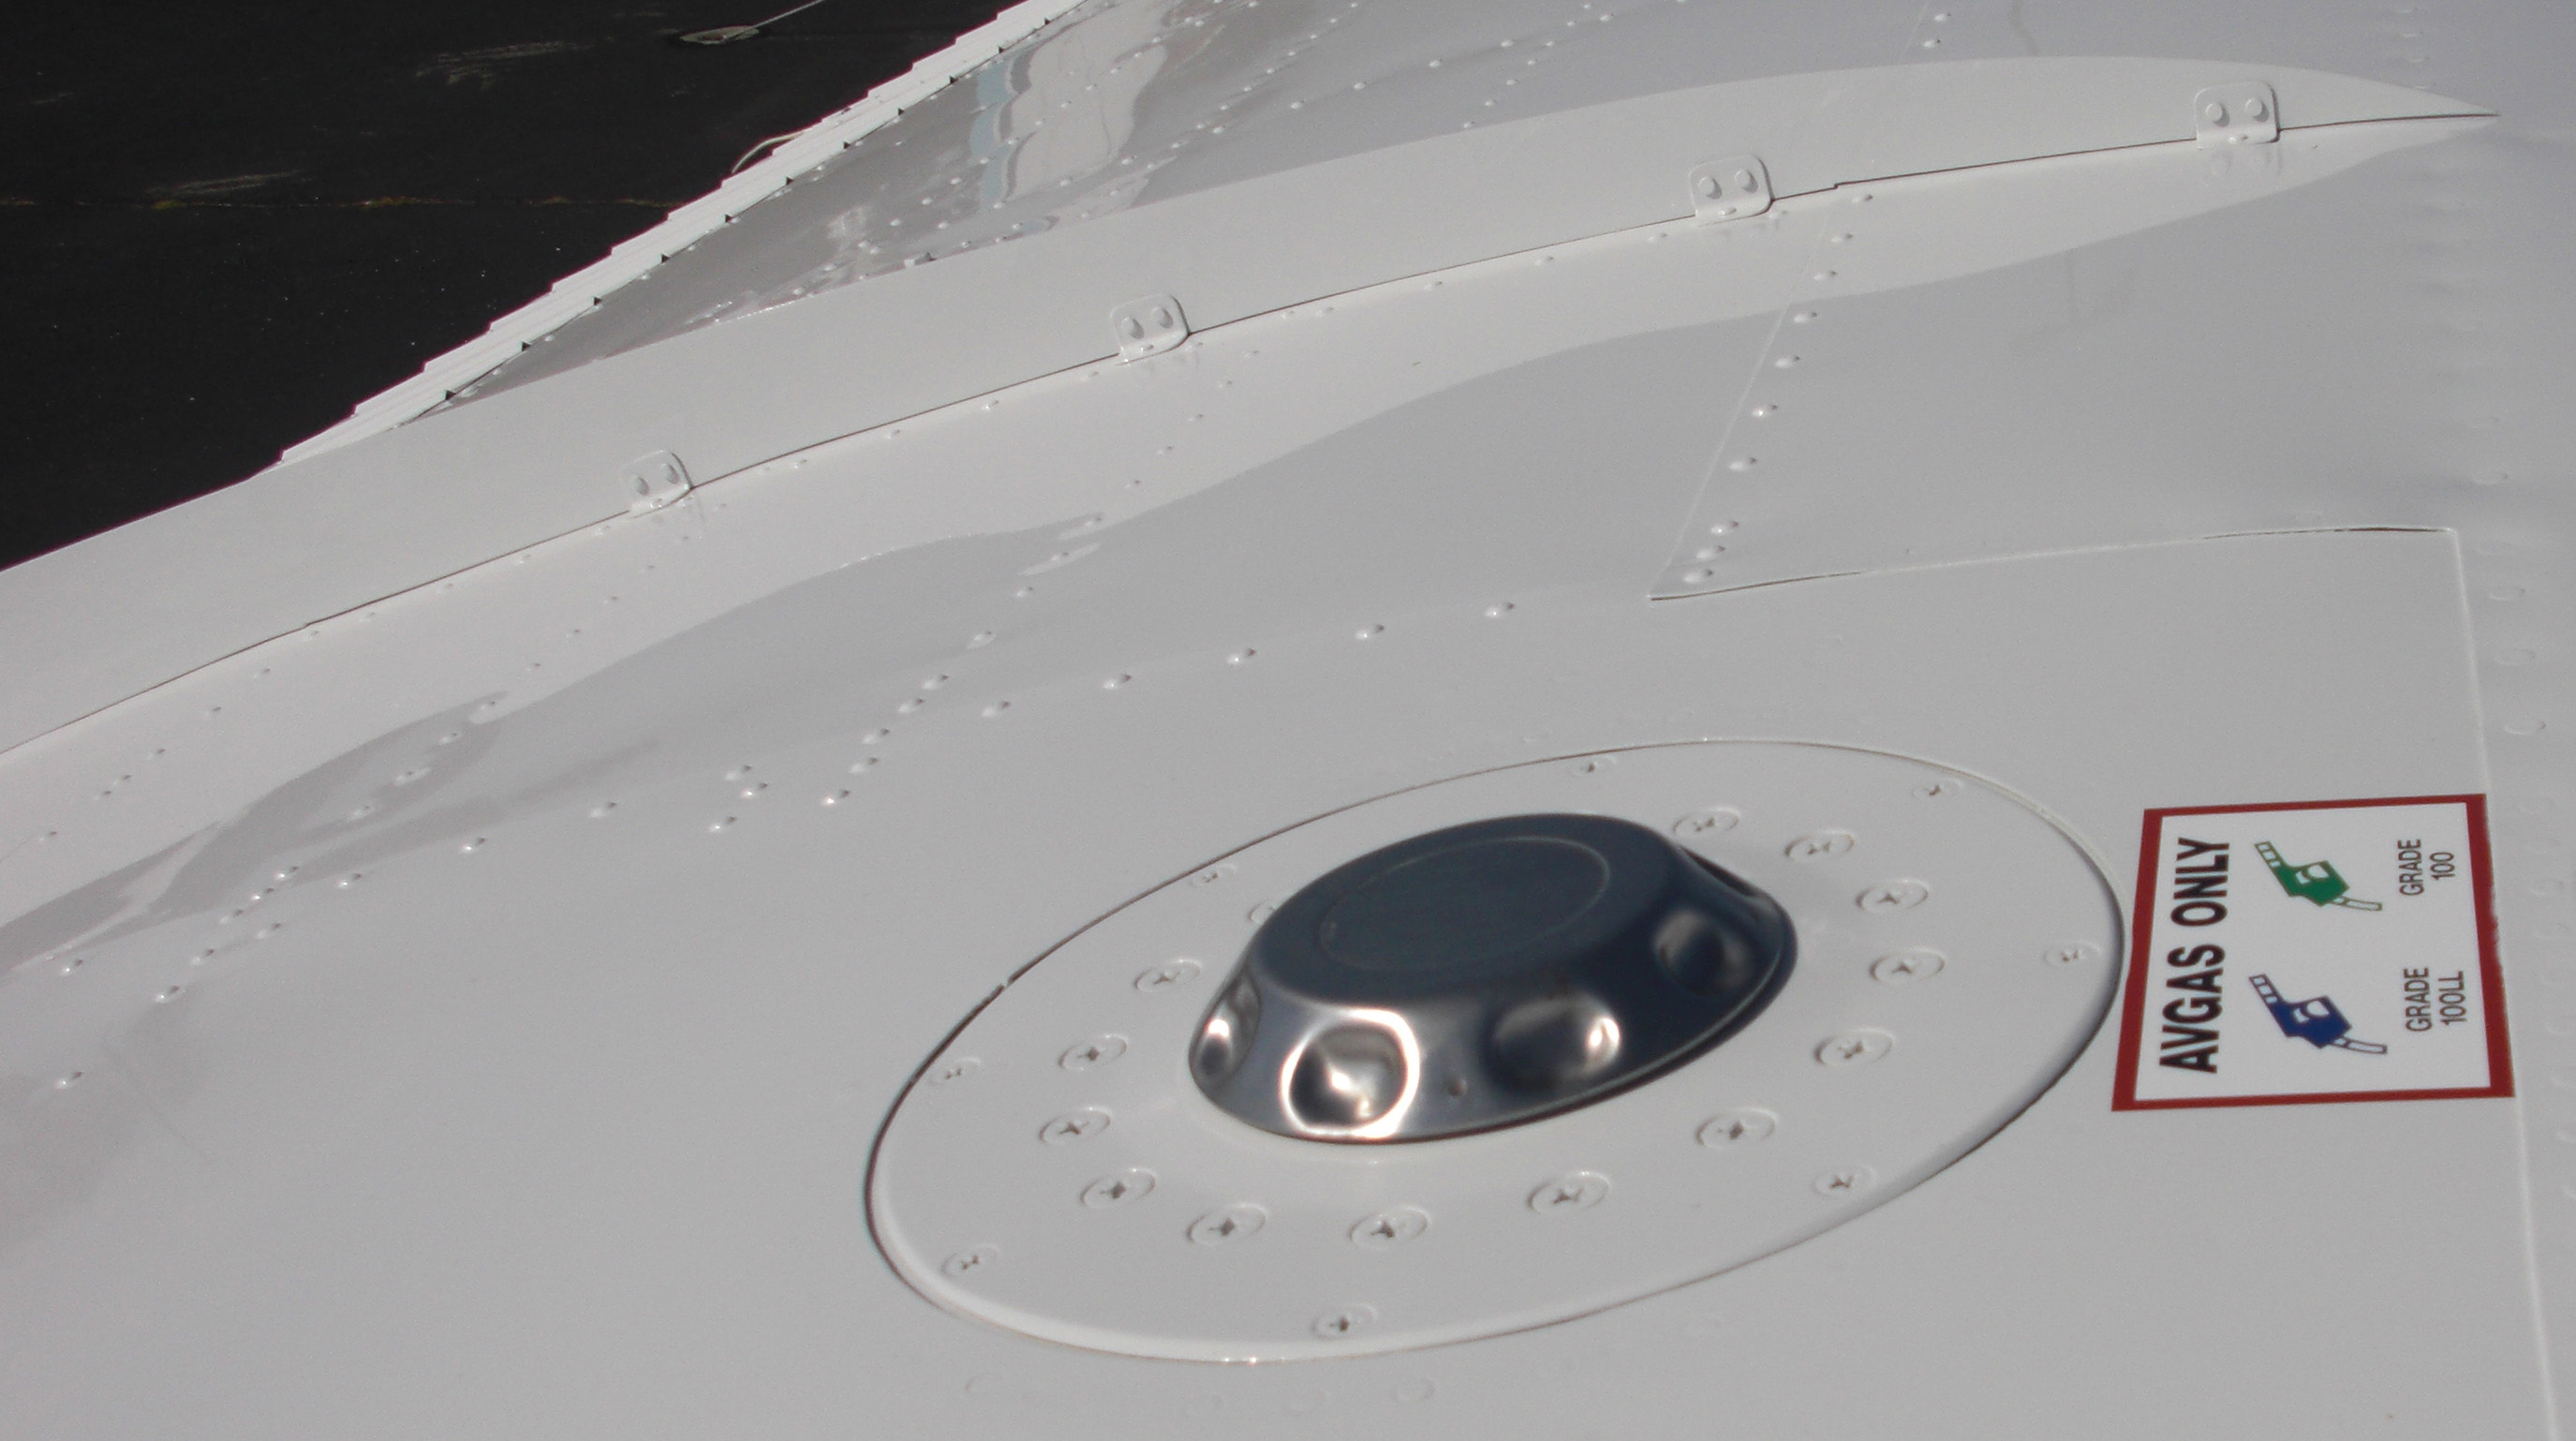 |
Right after an engine failure due to fuel exhaustion (which you can read about here) I decided to get these Monarch filler caps to prevent similar accidents. With these caps, fuel will not leak out even if you forget to screw the cap back on. The stall fences (part of the Robertson STOL kit) greatly improve slow speed handling. |
 |
These wheel pants and brake covers are very aerodynamic. They will laugh at you in Alaska, because they never see C185s with wheel pants, but the laughing will stop if they try to keep up with you. This airplane will pull away from them all. You can always remove the wheel pants to fly into the real rough stuff, but I have never found it necessary. For me, if it is so rough that my wheel pants won't survive, that's a good clue that I don't want to risk landing there. | 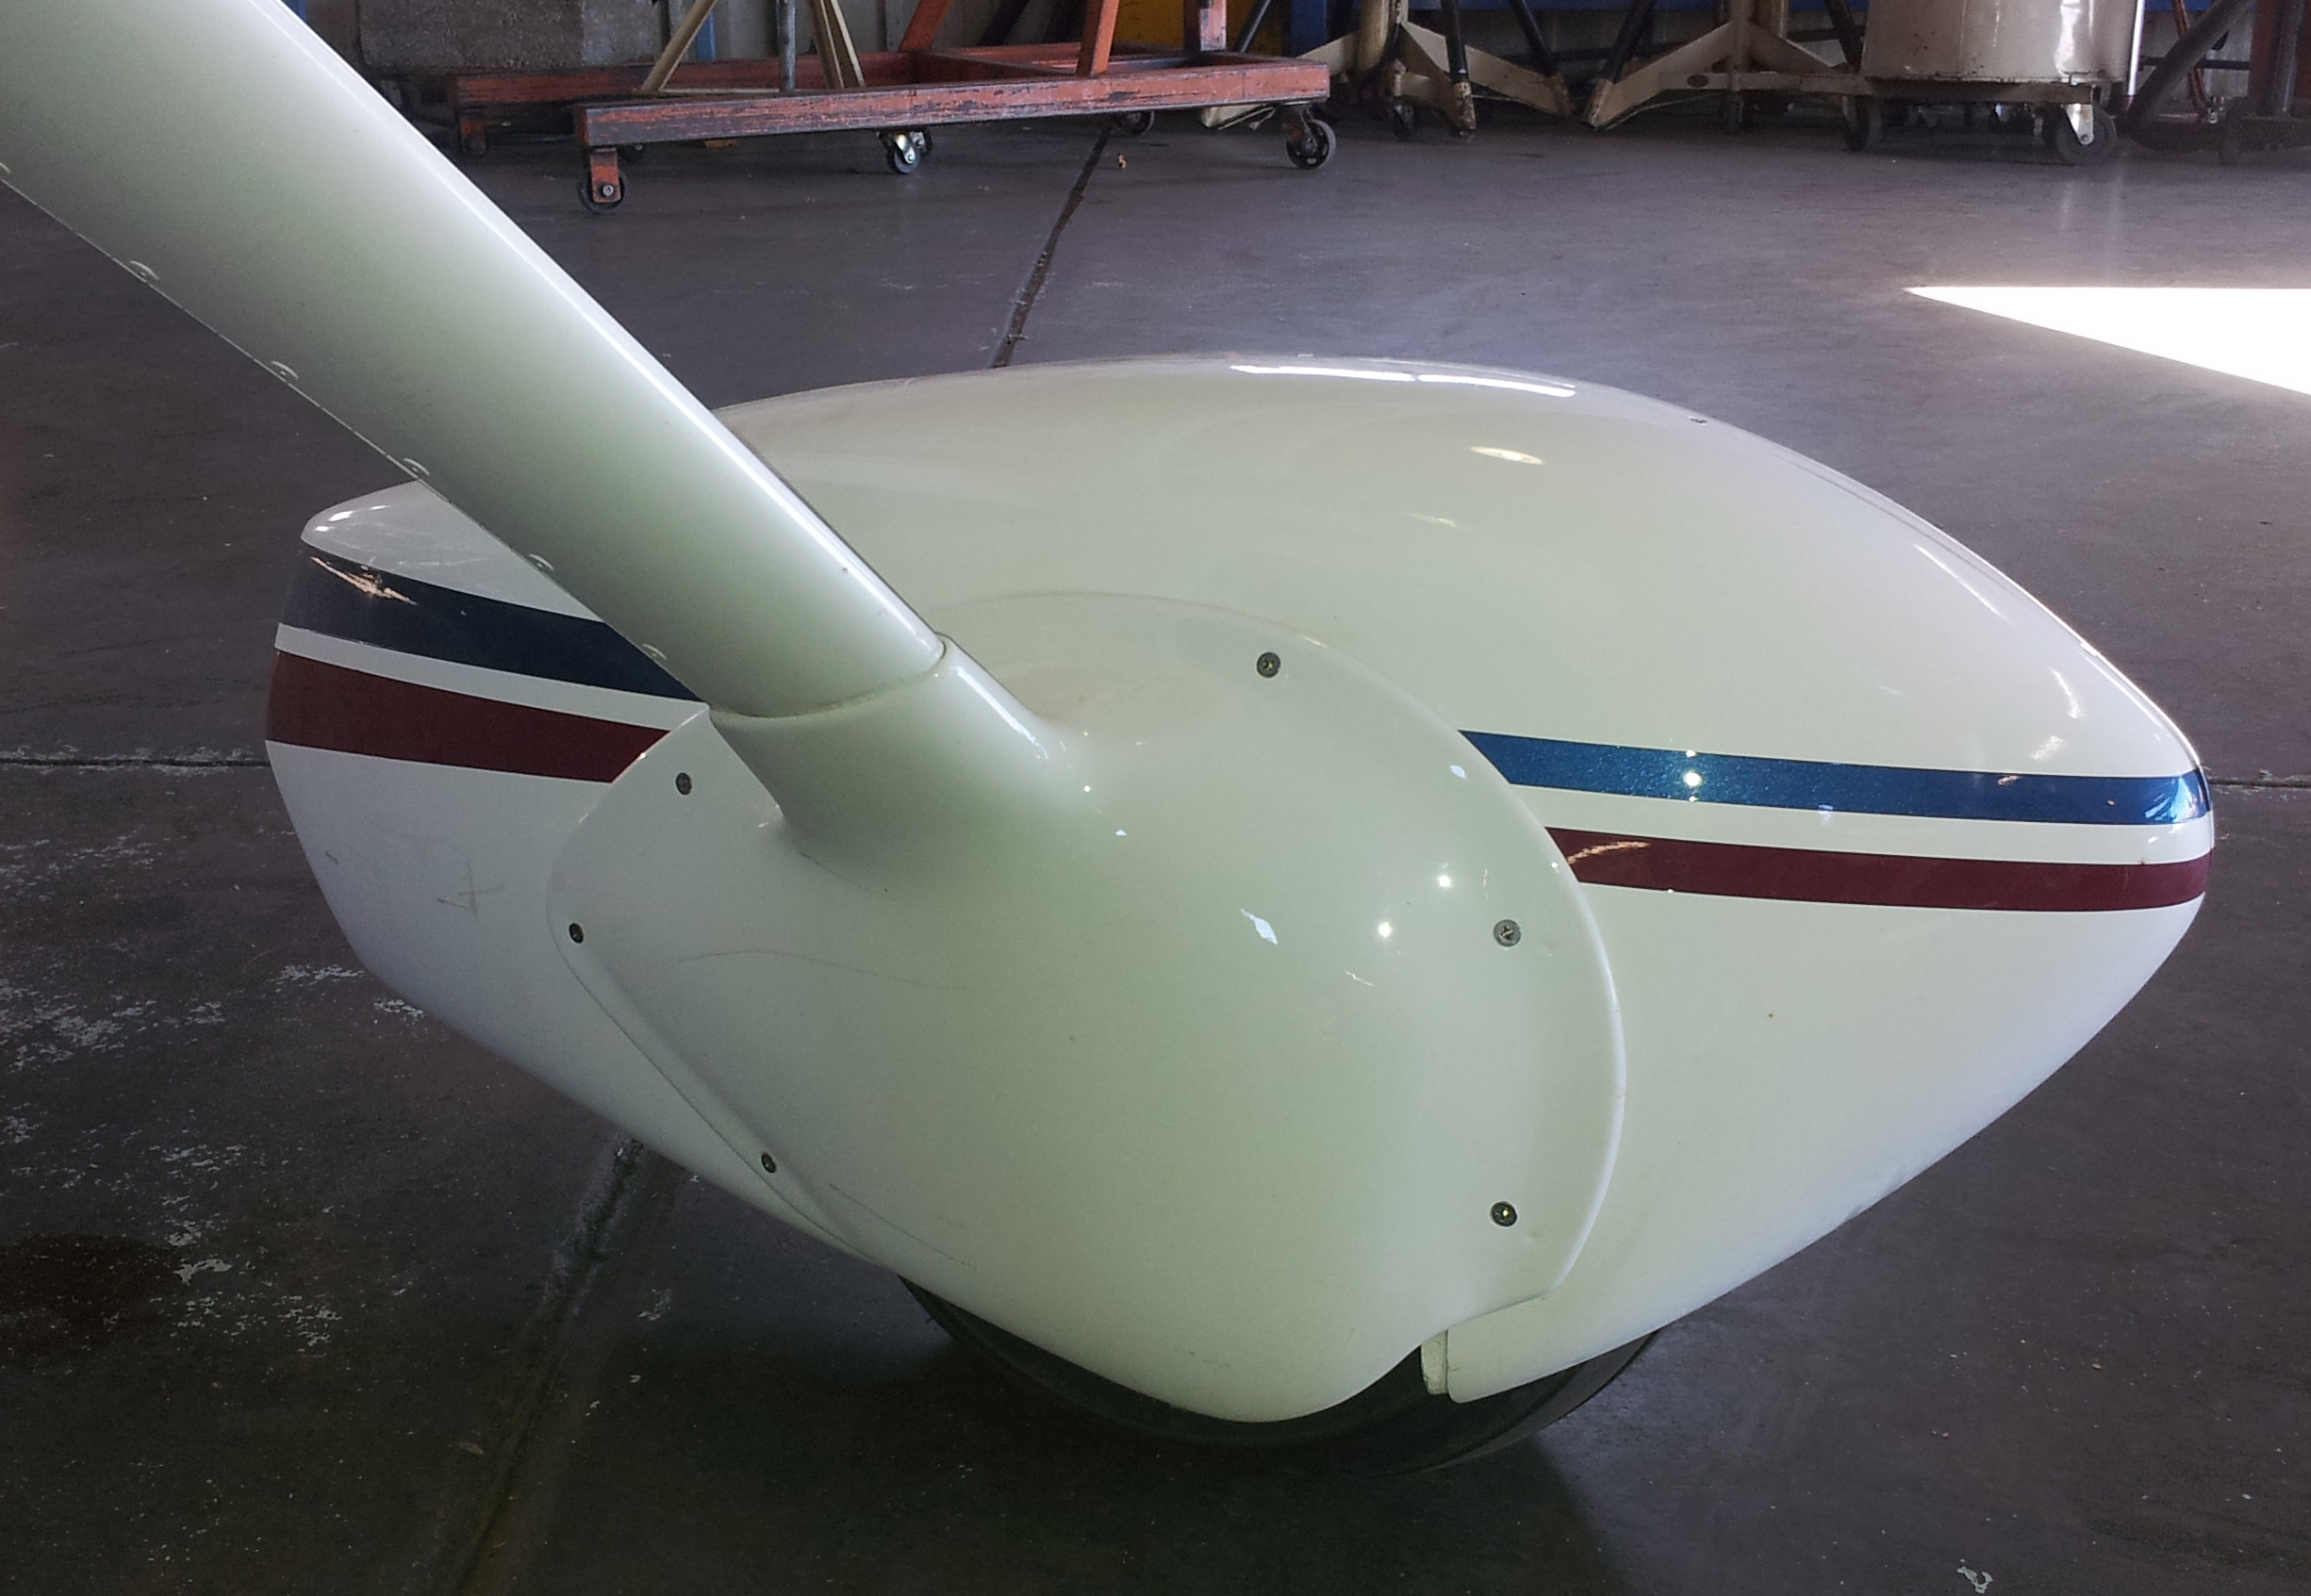 |
 |
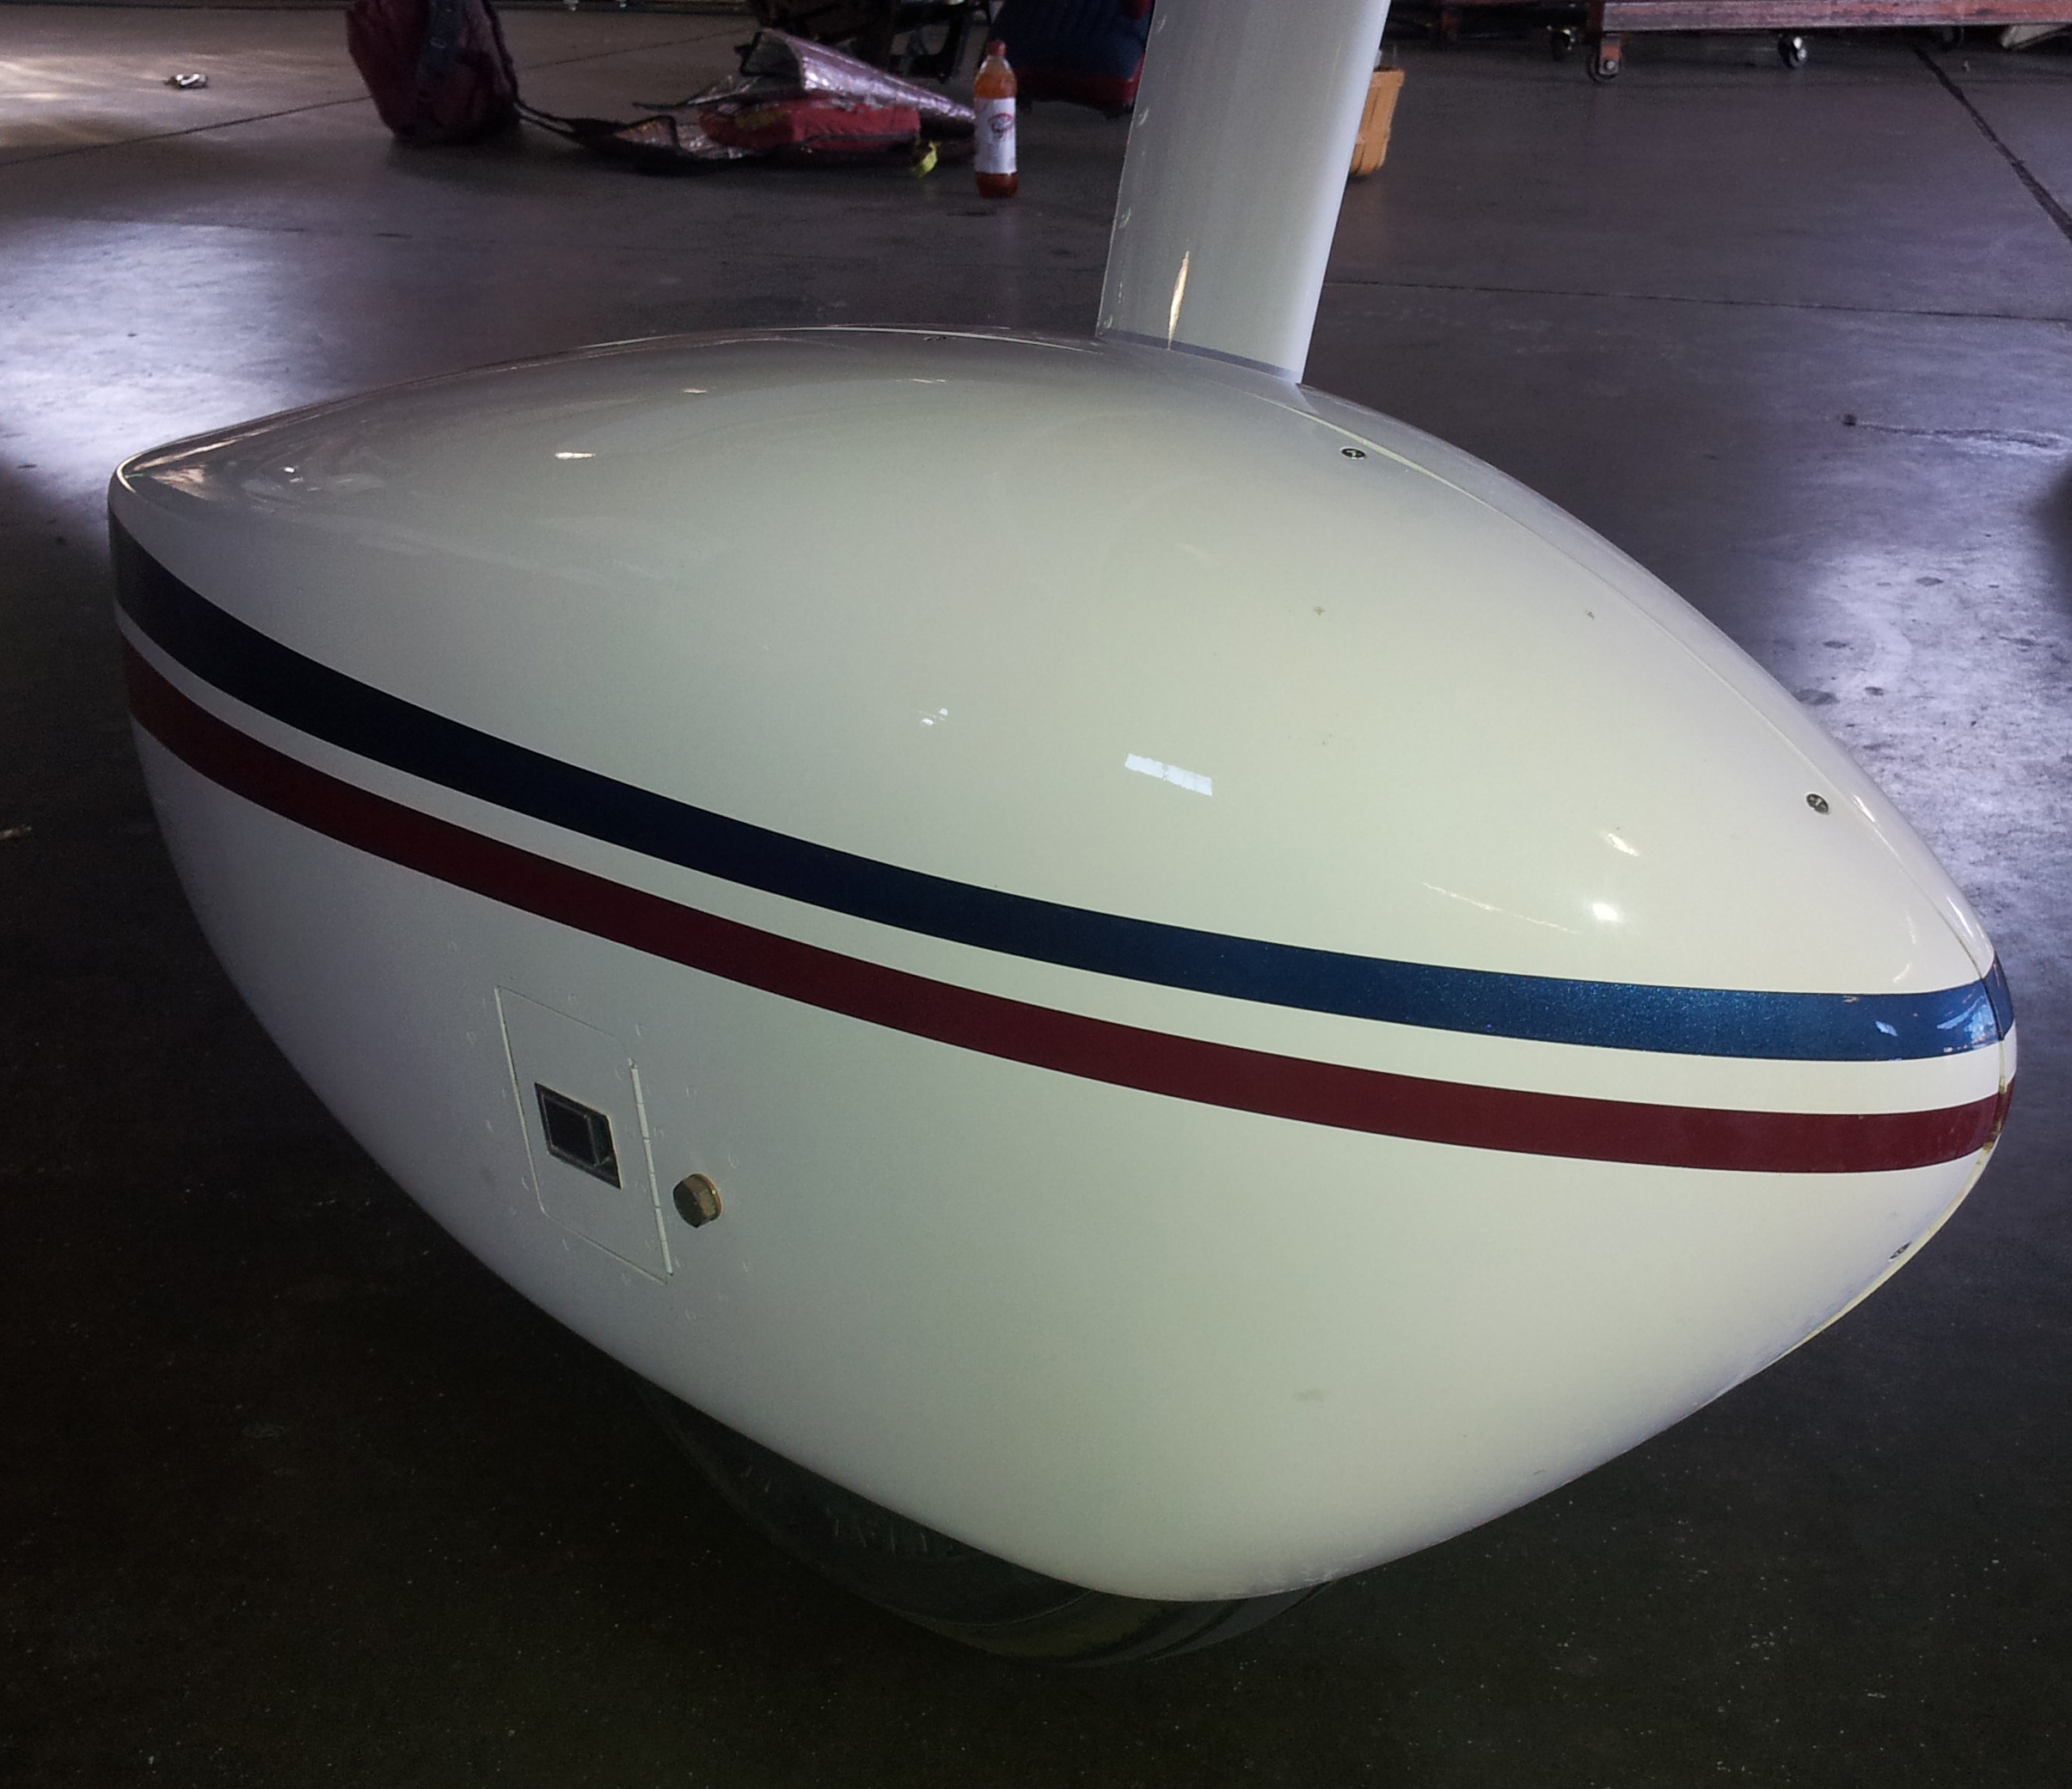
Suprisingly, these fairings around the gear legs (part of the Snider speed kit) account for at least as much speed gain as the wheel pants. | 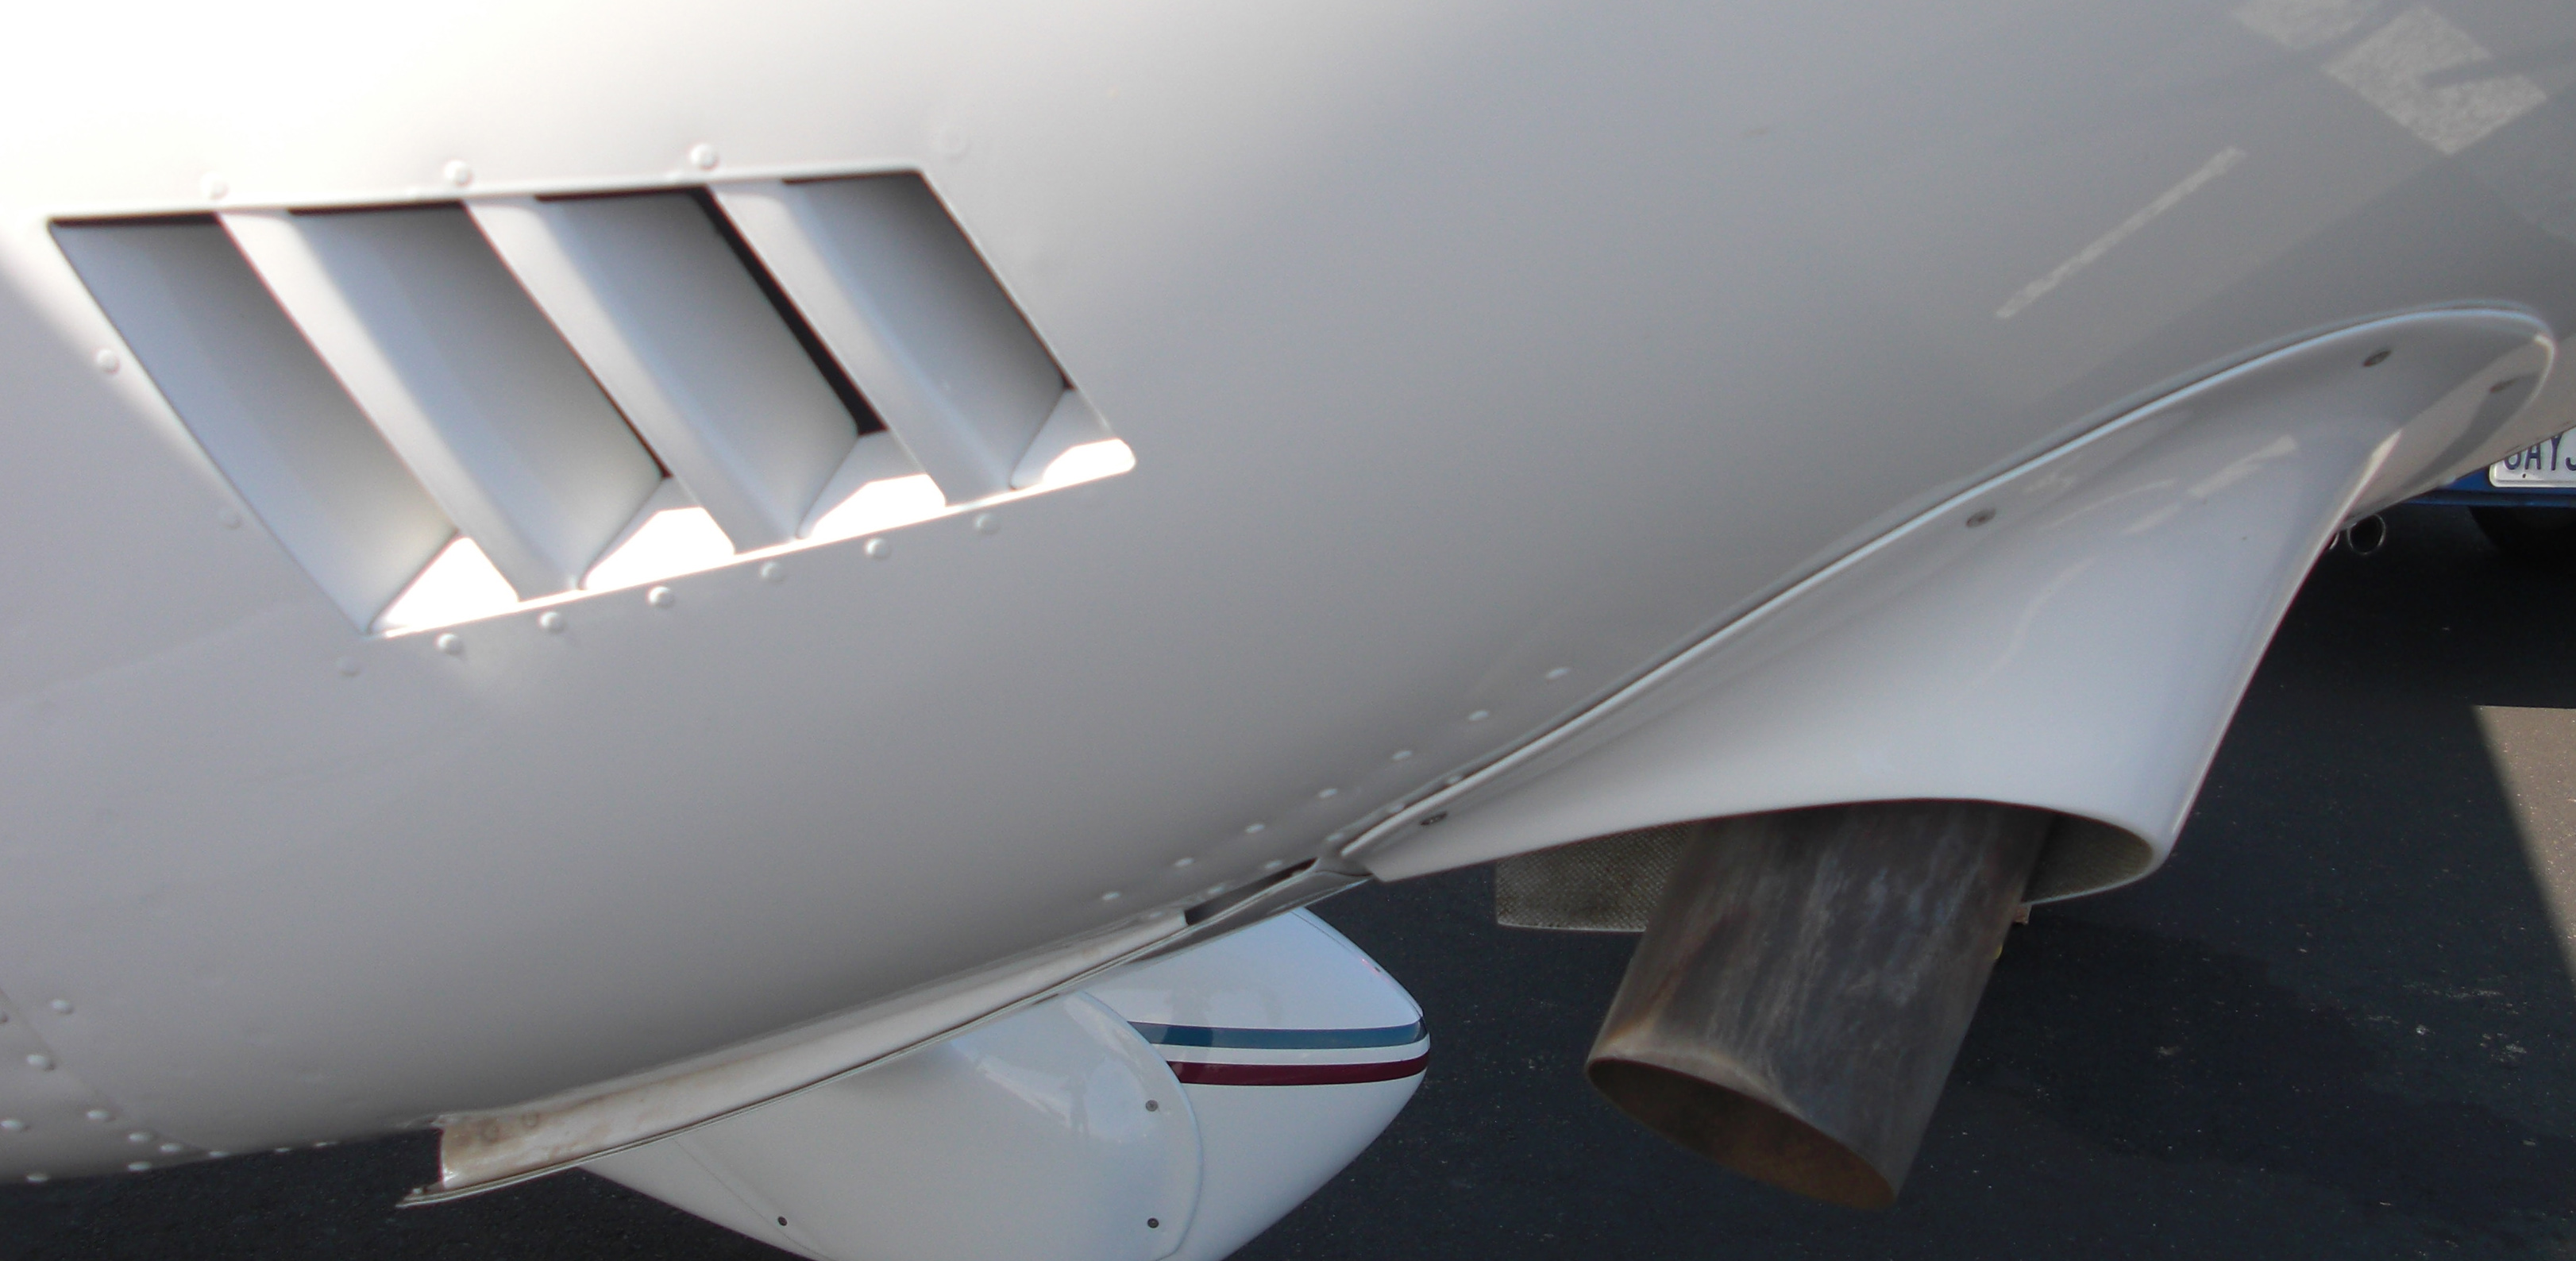 |
The MapleLeaf muffler shroud is yet another aerodynamic modification. Also note the extra air inlet (both sides). This STC improves engine cooling significantly with no noticeable increase in drag |
 |
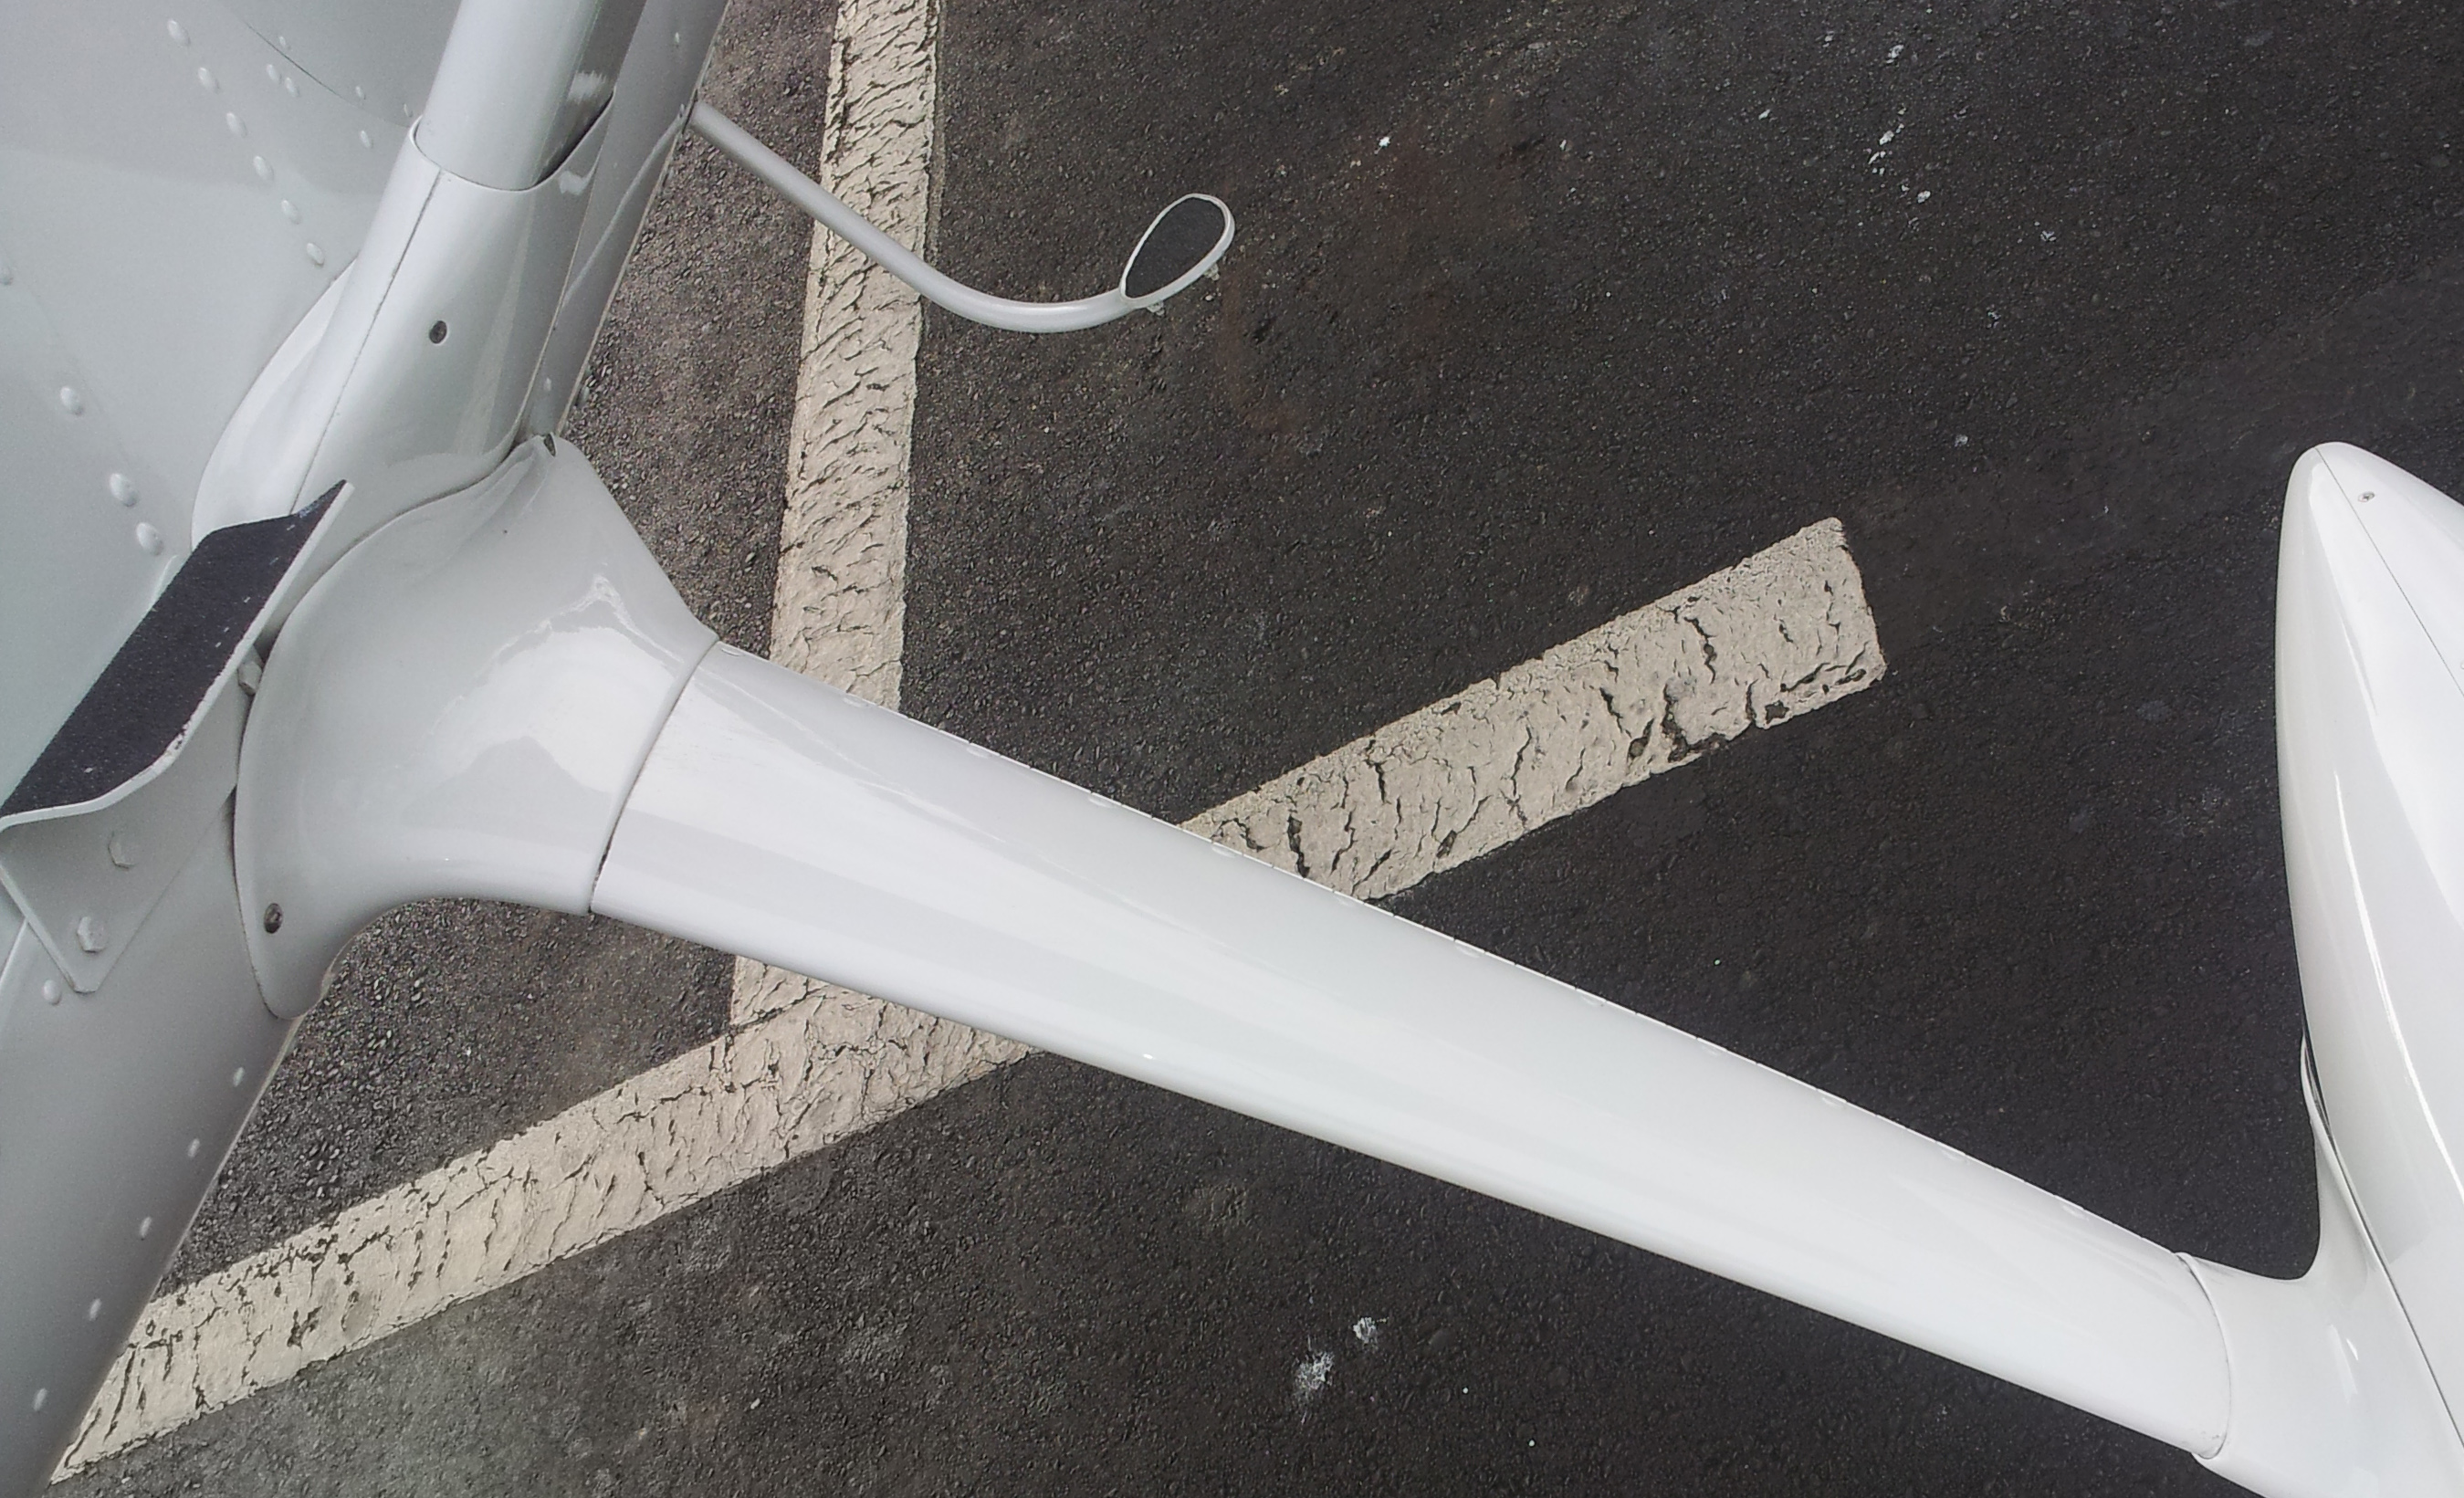
The tail pull handles are essential for allowing you to push the airplane around without causing damage to the tail mechanisms | 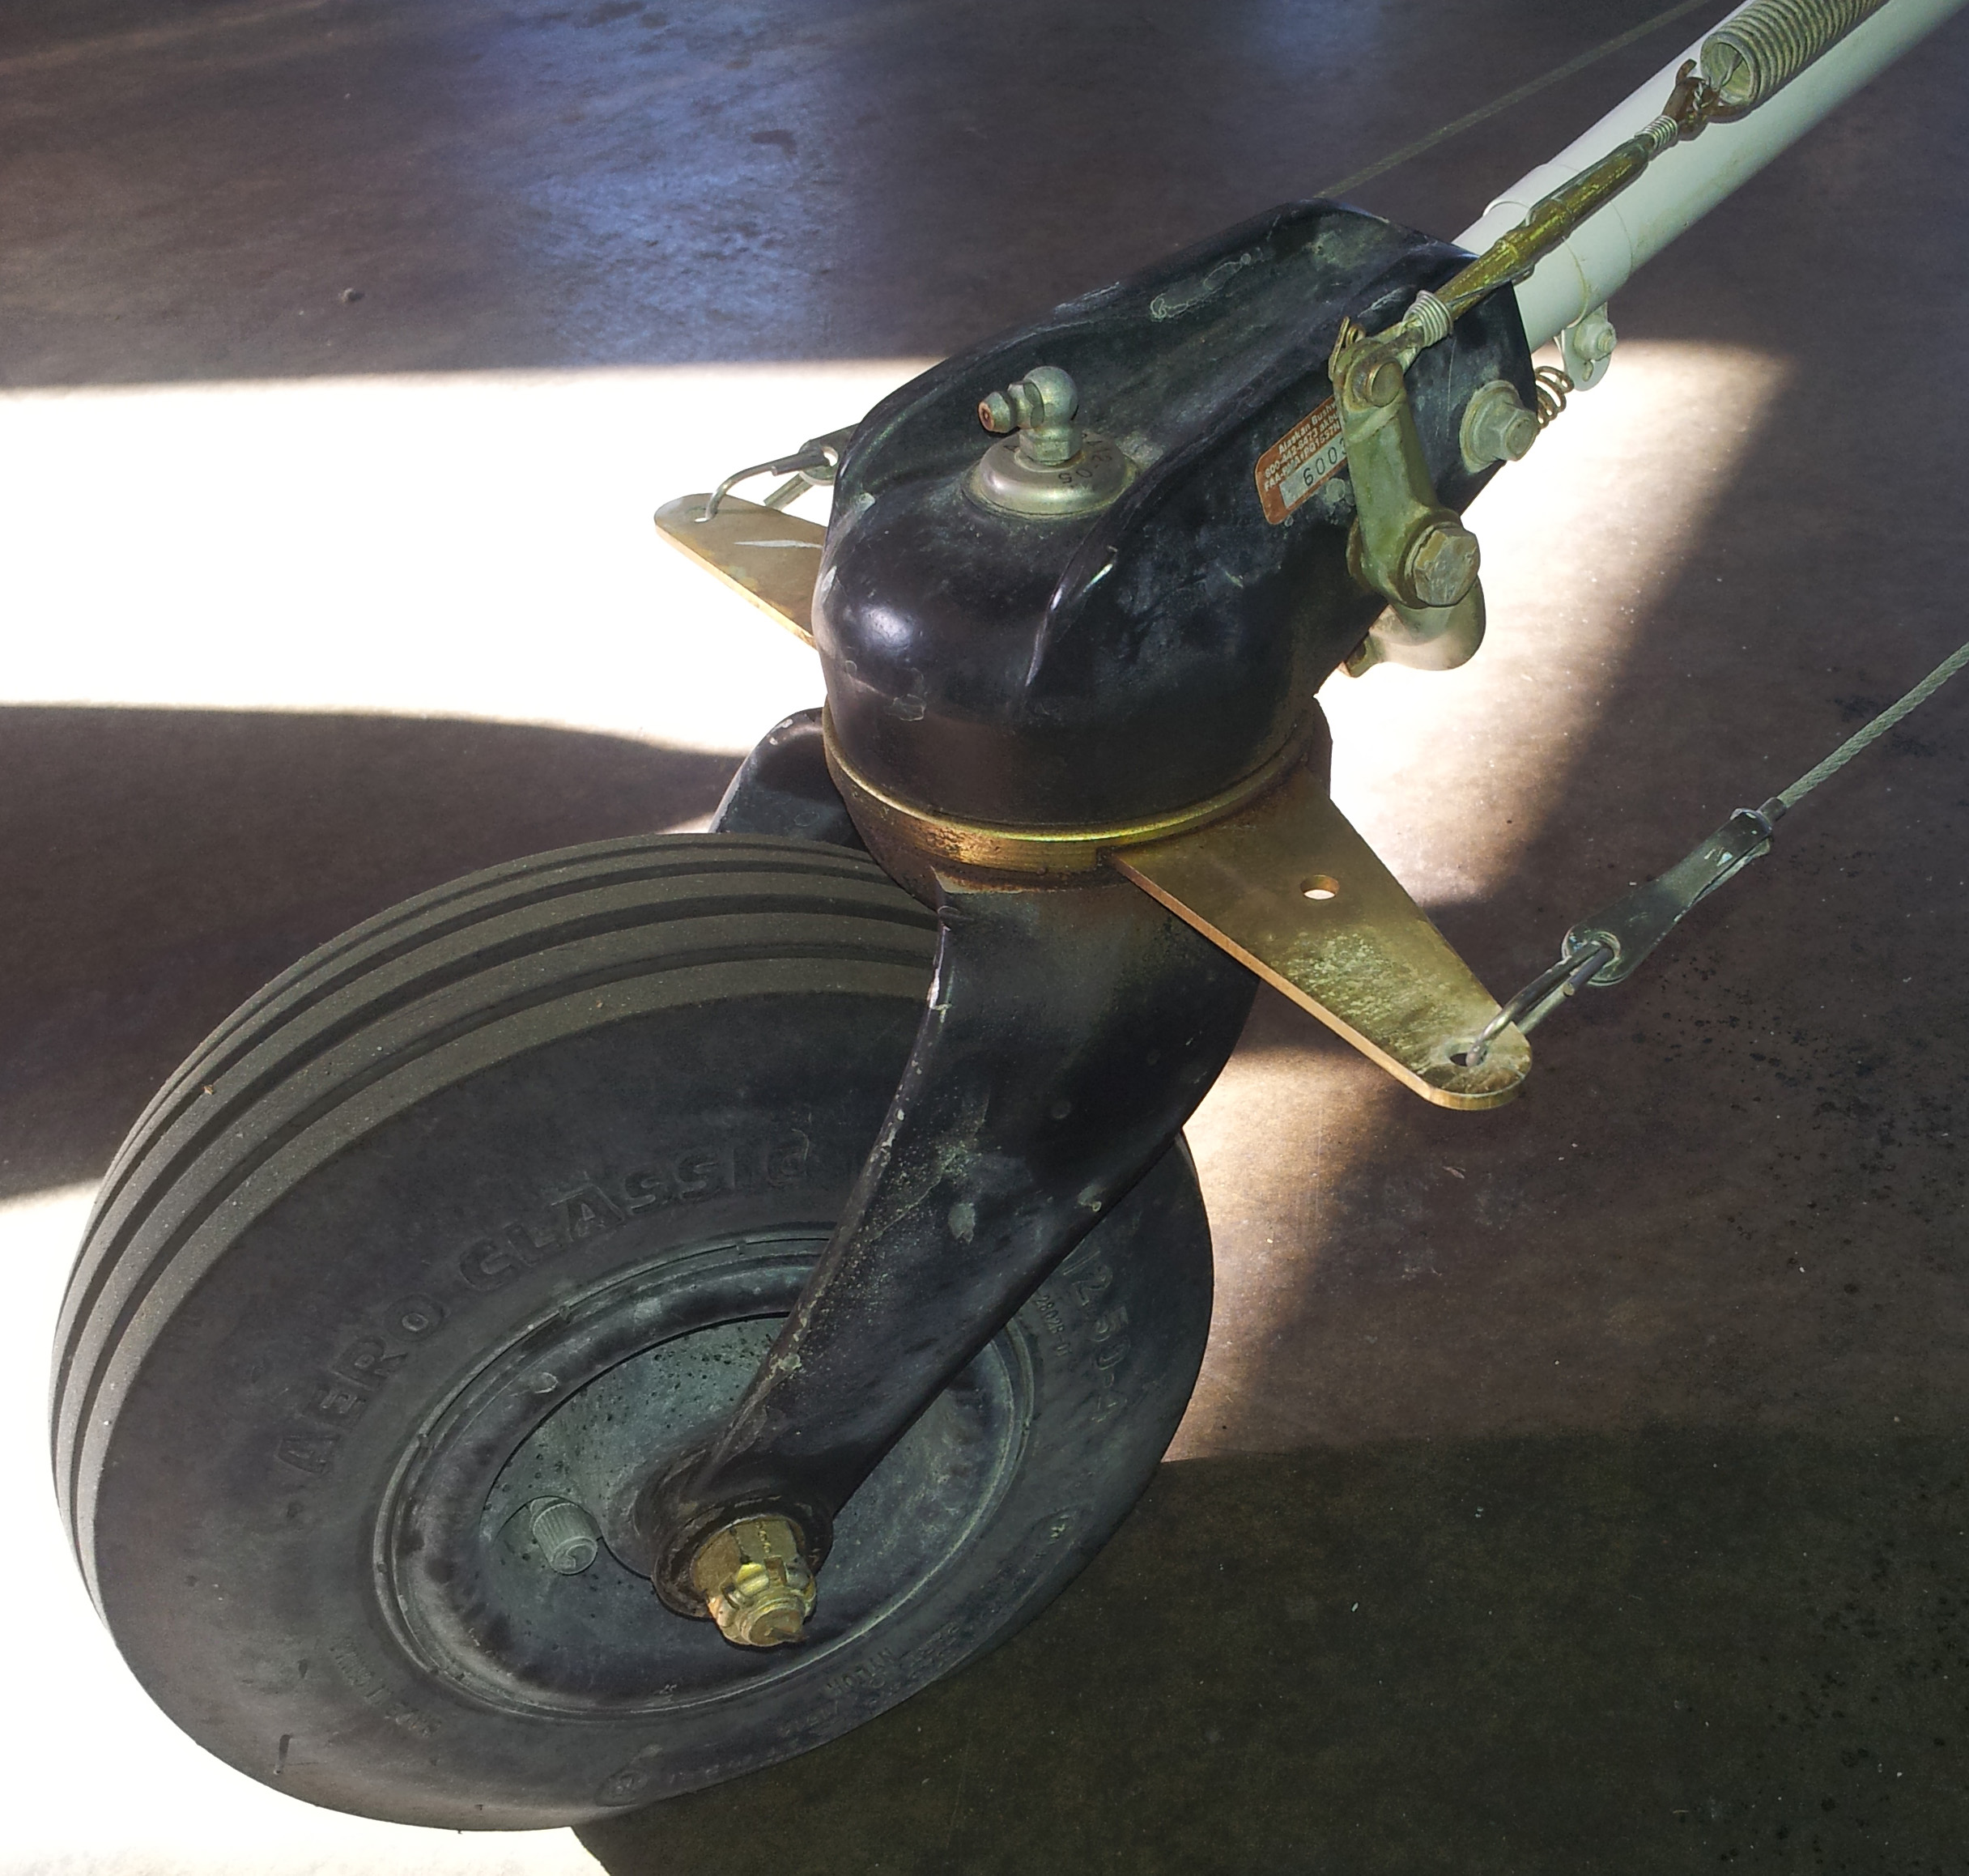 |
The tail wheel has recently been rebuilt. The tail wheel locking mechanism removes all possibility of tail shimmy and greatly improves directional stability on those hairy gusty crosswind landings on uneven terrain. |
 |
In my emergency kit, I keep a jumper cable (comes with the airplane of course) that plugs into the external power plug. This makes it far easier to deal with a dead battery situation. |  |
I had the AccessPanel STC installed because properly inspecting or servicing the elevator jackscrew is not really practical without it. |
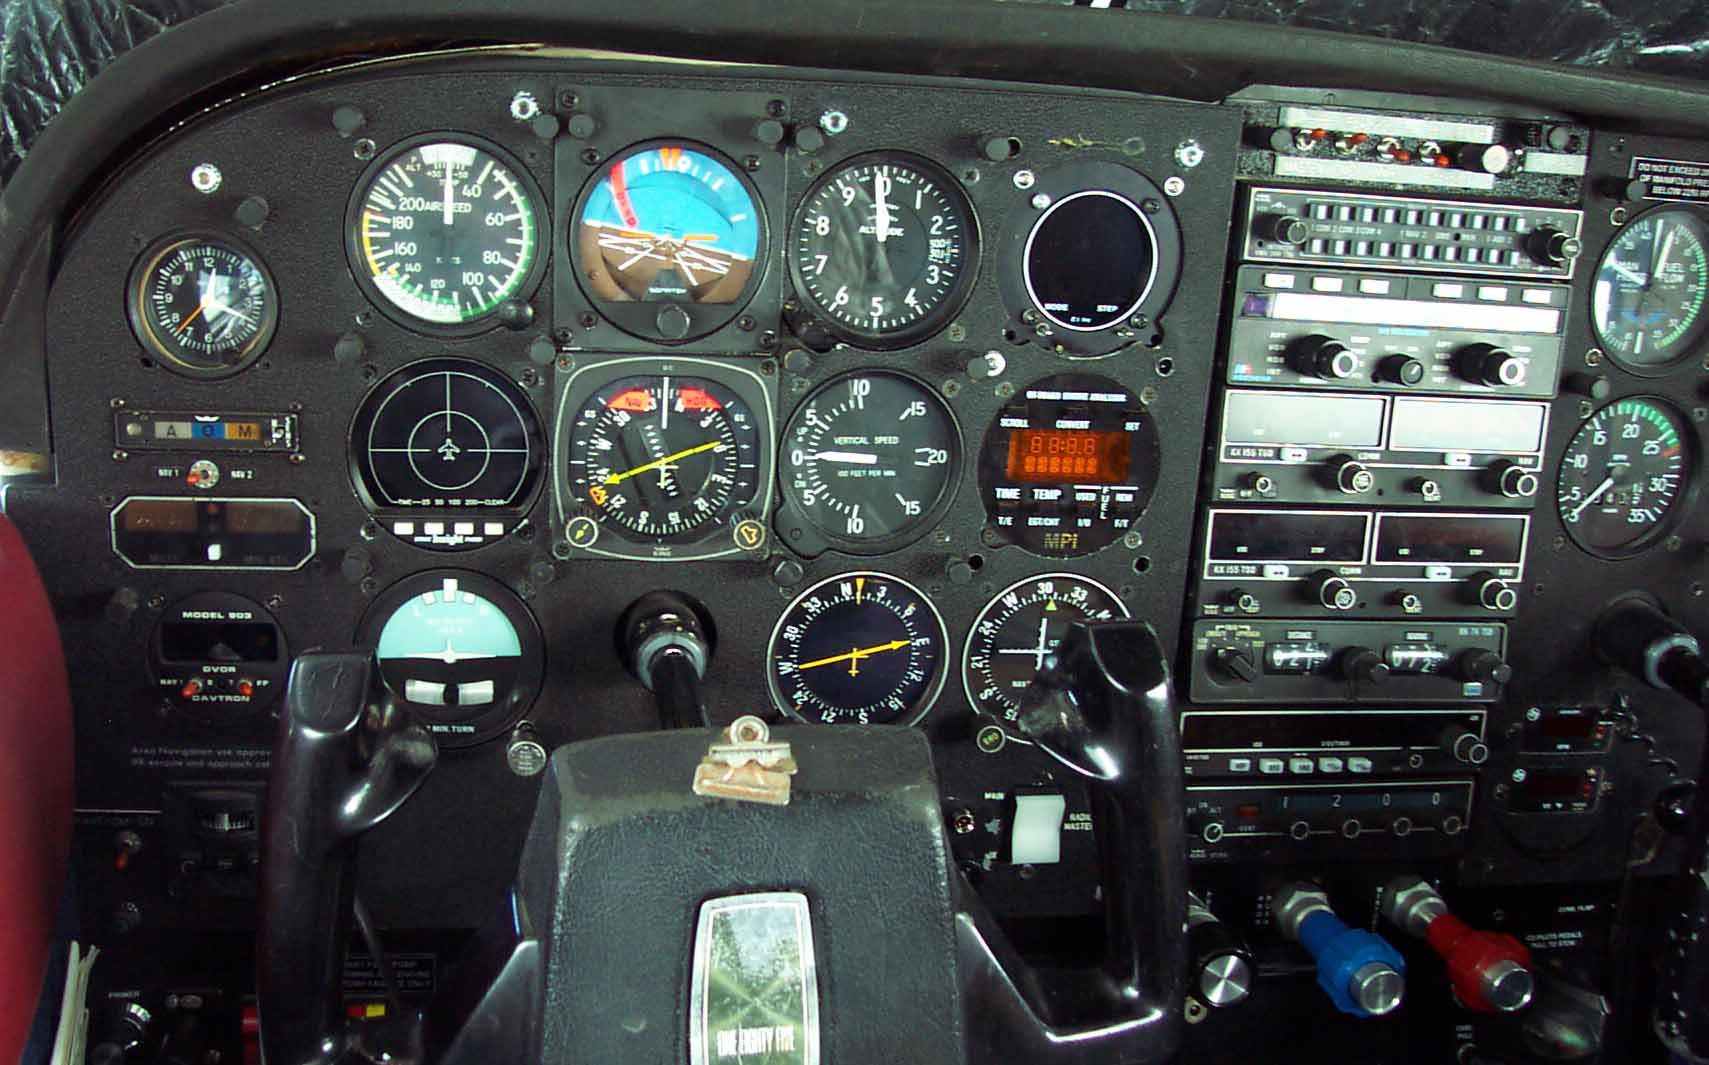 |
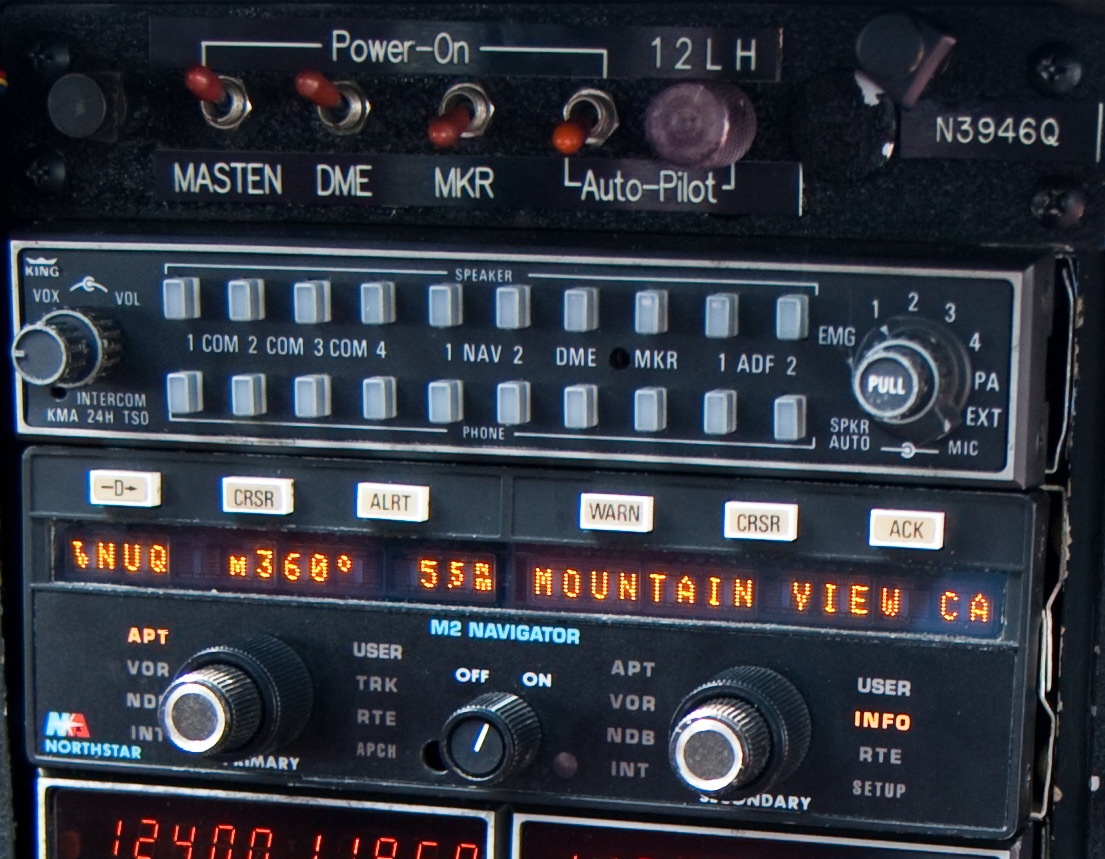
Left and right views of the instrument panel. This panel was start-of-the-art when I installed it. Ok - that was quite a while ago. But it still is in great shape and has some great features. The HSI makes instrument flying a pleasure. If you haven't flown with an HSI you will be surprised at how much this improves your instrument flying. |  |
 |
More views of the instrument panel. The center strip you see here is no longer there since that was removed when the windshield was recently replaced | 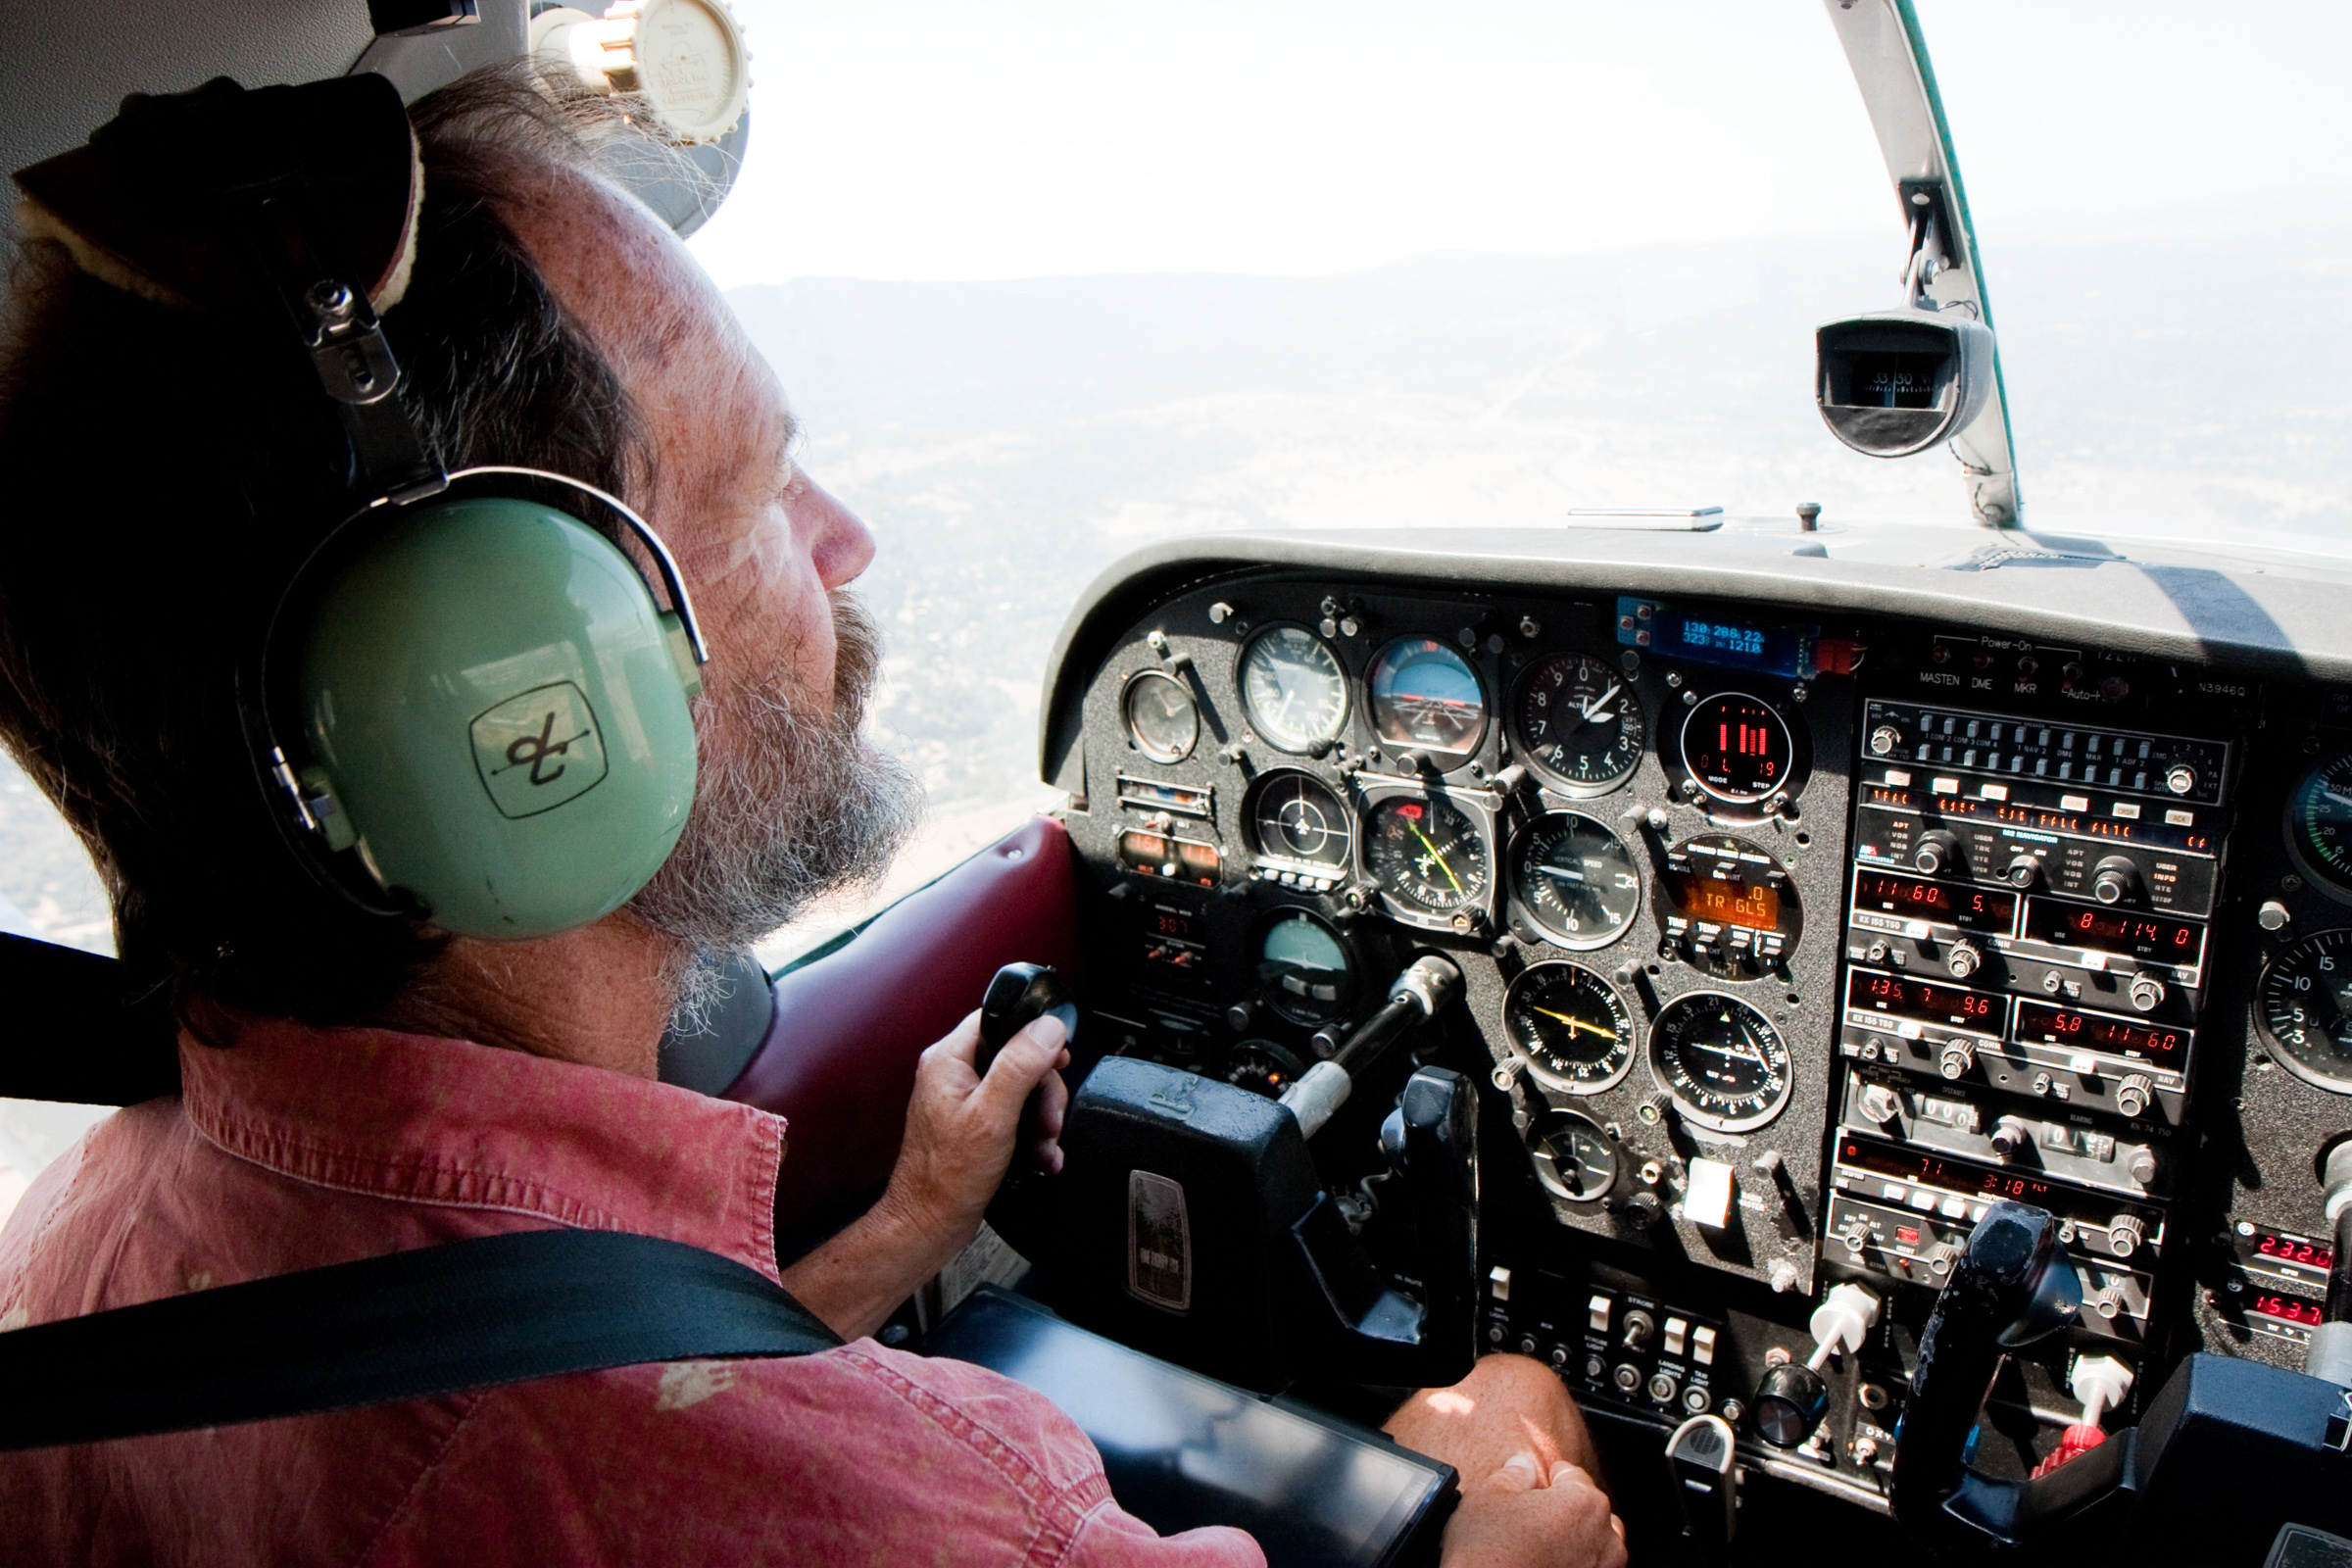 |
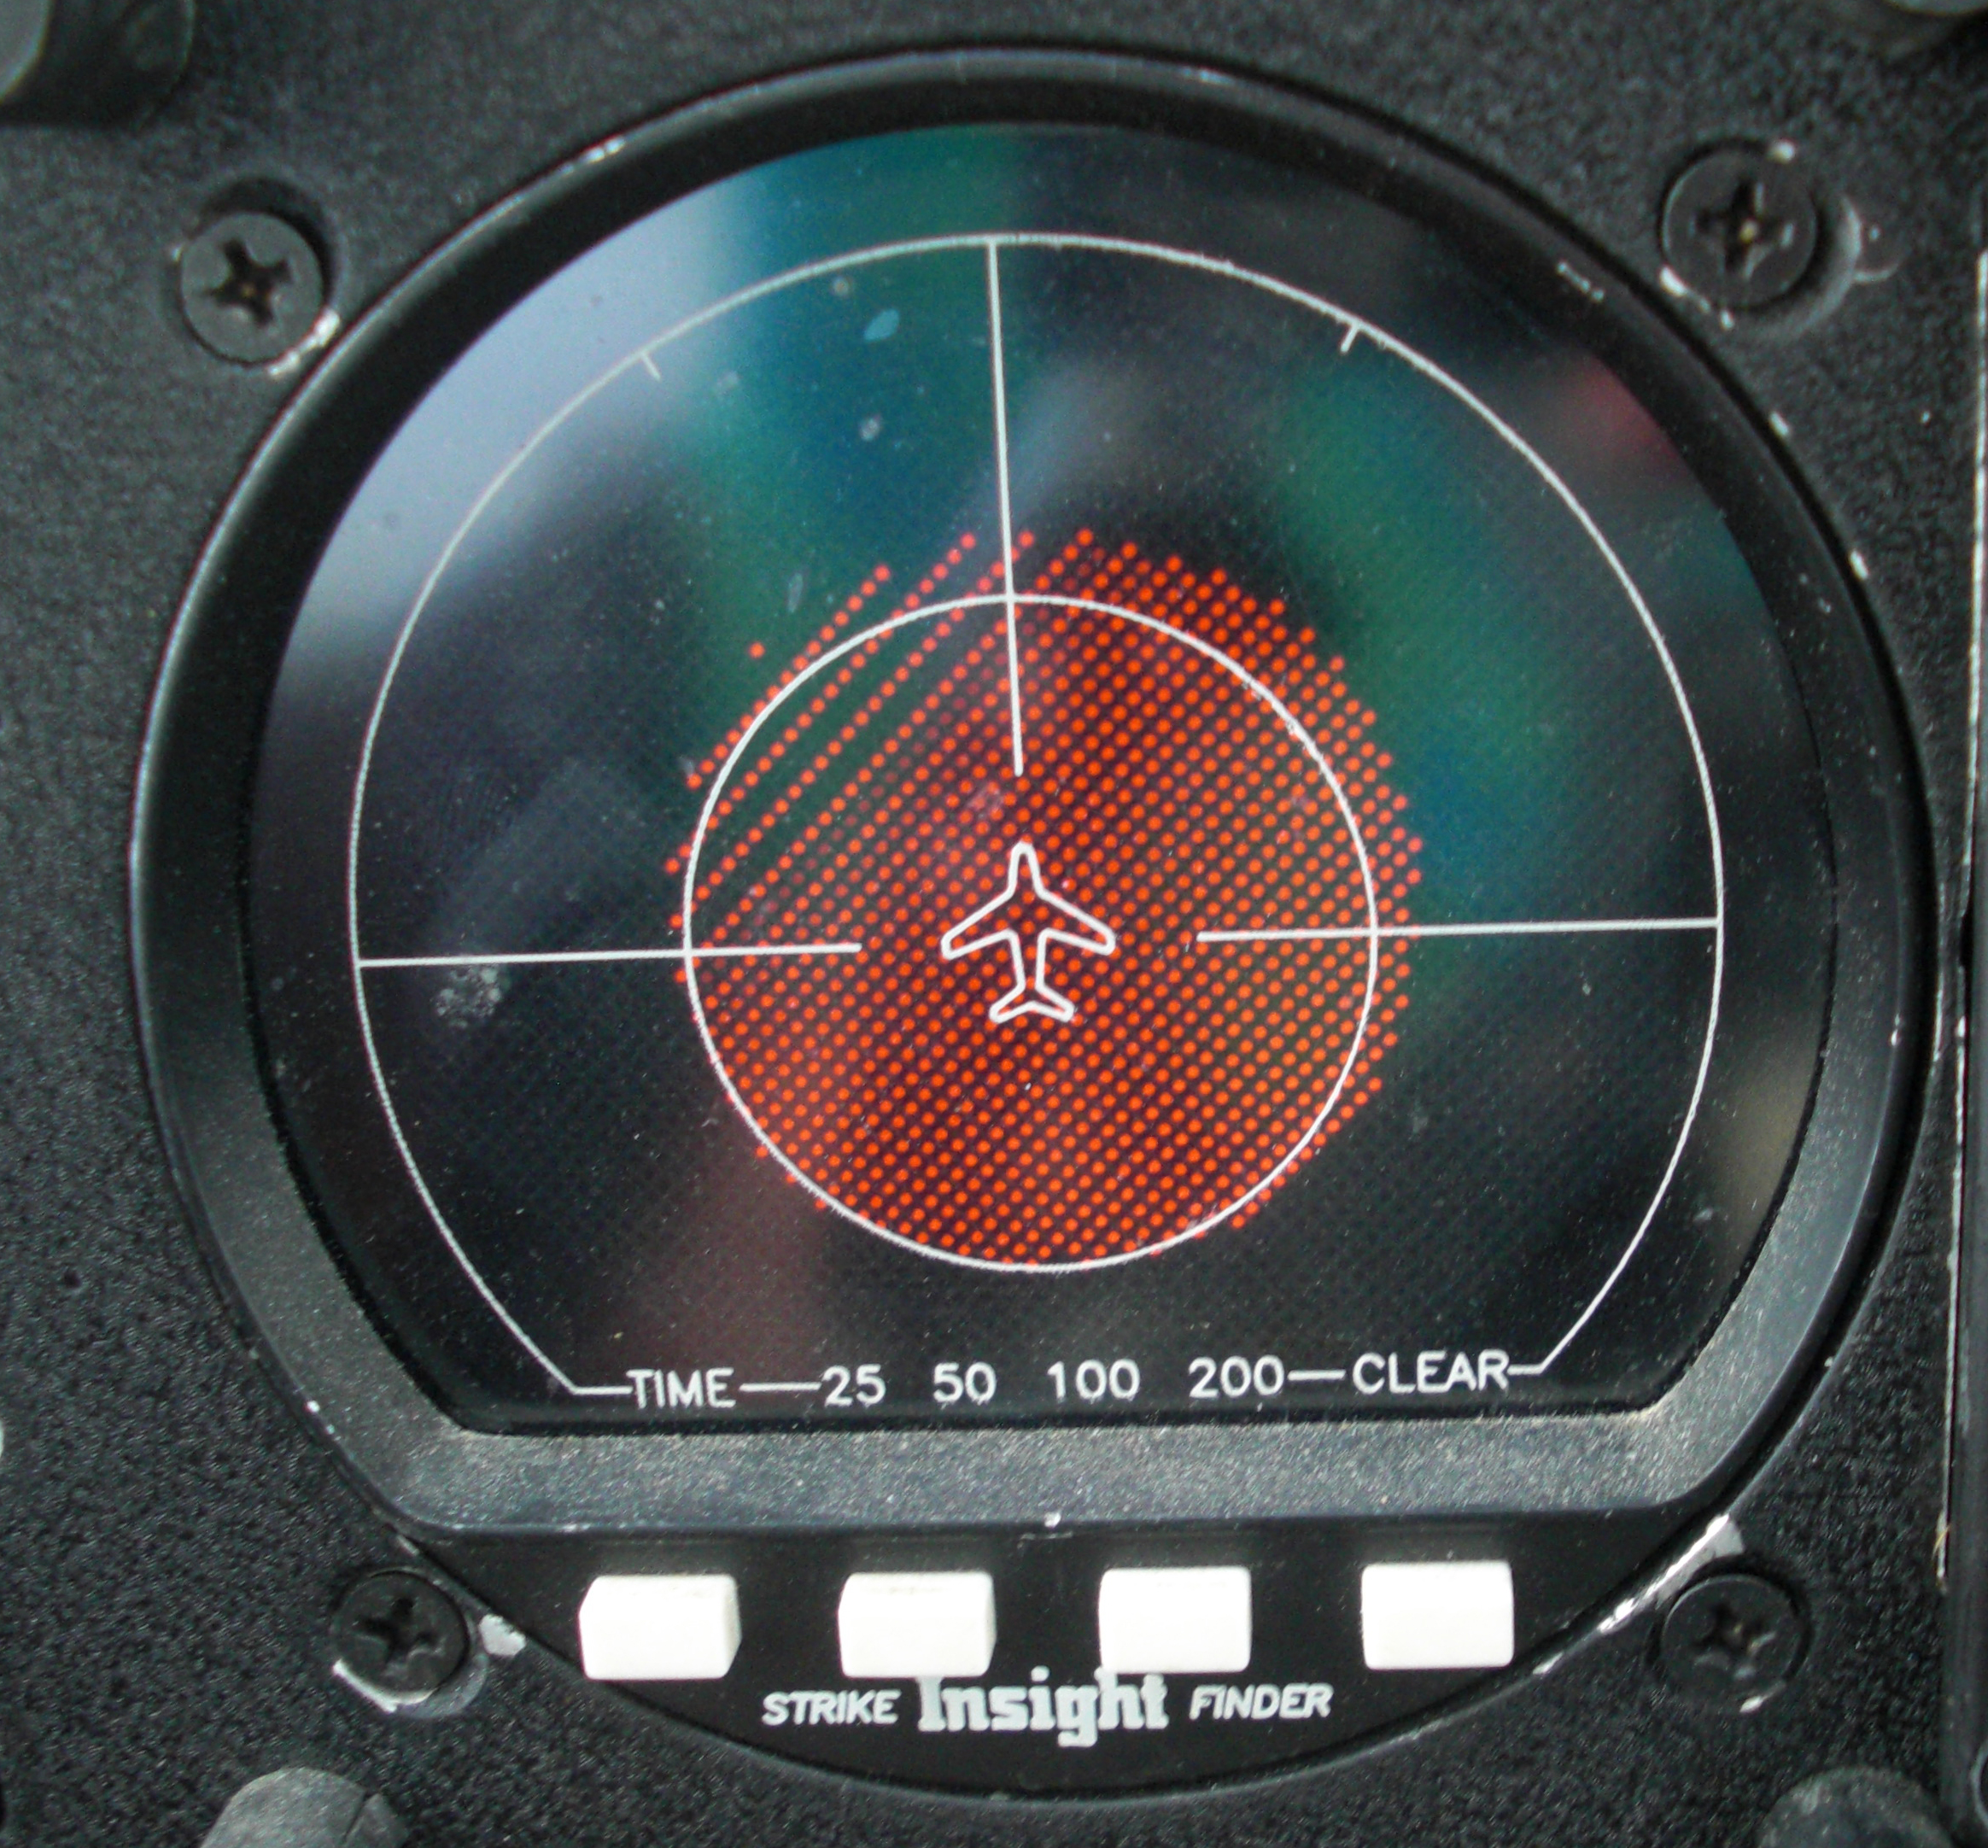 |
There have been many flights where I would have failed every instrument in my airplane (including the airspeed indicator) if that was necessary to keep the strikefinder working. Like the time I arrived on schedule in Minneapolis, and my family wasn't even around to pick me up. (Their excuse was that if the airlines were cancelling flights, there is no way I could make it.) I'm glad I sprung for the extra expense of slaving the strikefinder to the HSI heading. One tends to do a lot of maneuvering flying thru bad weather, so without the slaving feature the lightning information would quickly become confusing. (By the way, this picture does not show me flying thru a massive thunderstorm. Actually it is just part of the test pattern.) |
 |
Ok, this doesn't have a moving map like modern gps units, but it's just as accurate and is so simple to operate I'm sure I could use it while flying inverted. You can display bearing and distance to a waypoint on the left side, and then on the right you can display various information about the waypoint, or aircraft GS/track, or bearing and distance to a 2nd waypoint. Since I have a moving map display on my yoke mounted tablet, this is the perfect back up navigator. The GPS CDI (right) shows your course deviation at a glance, and you can adjust its course width to your preference. | 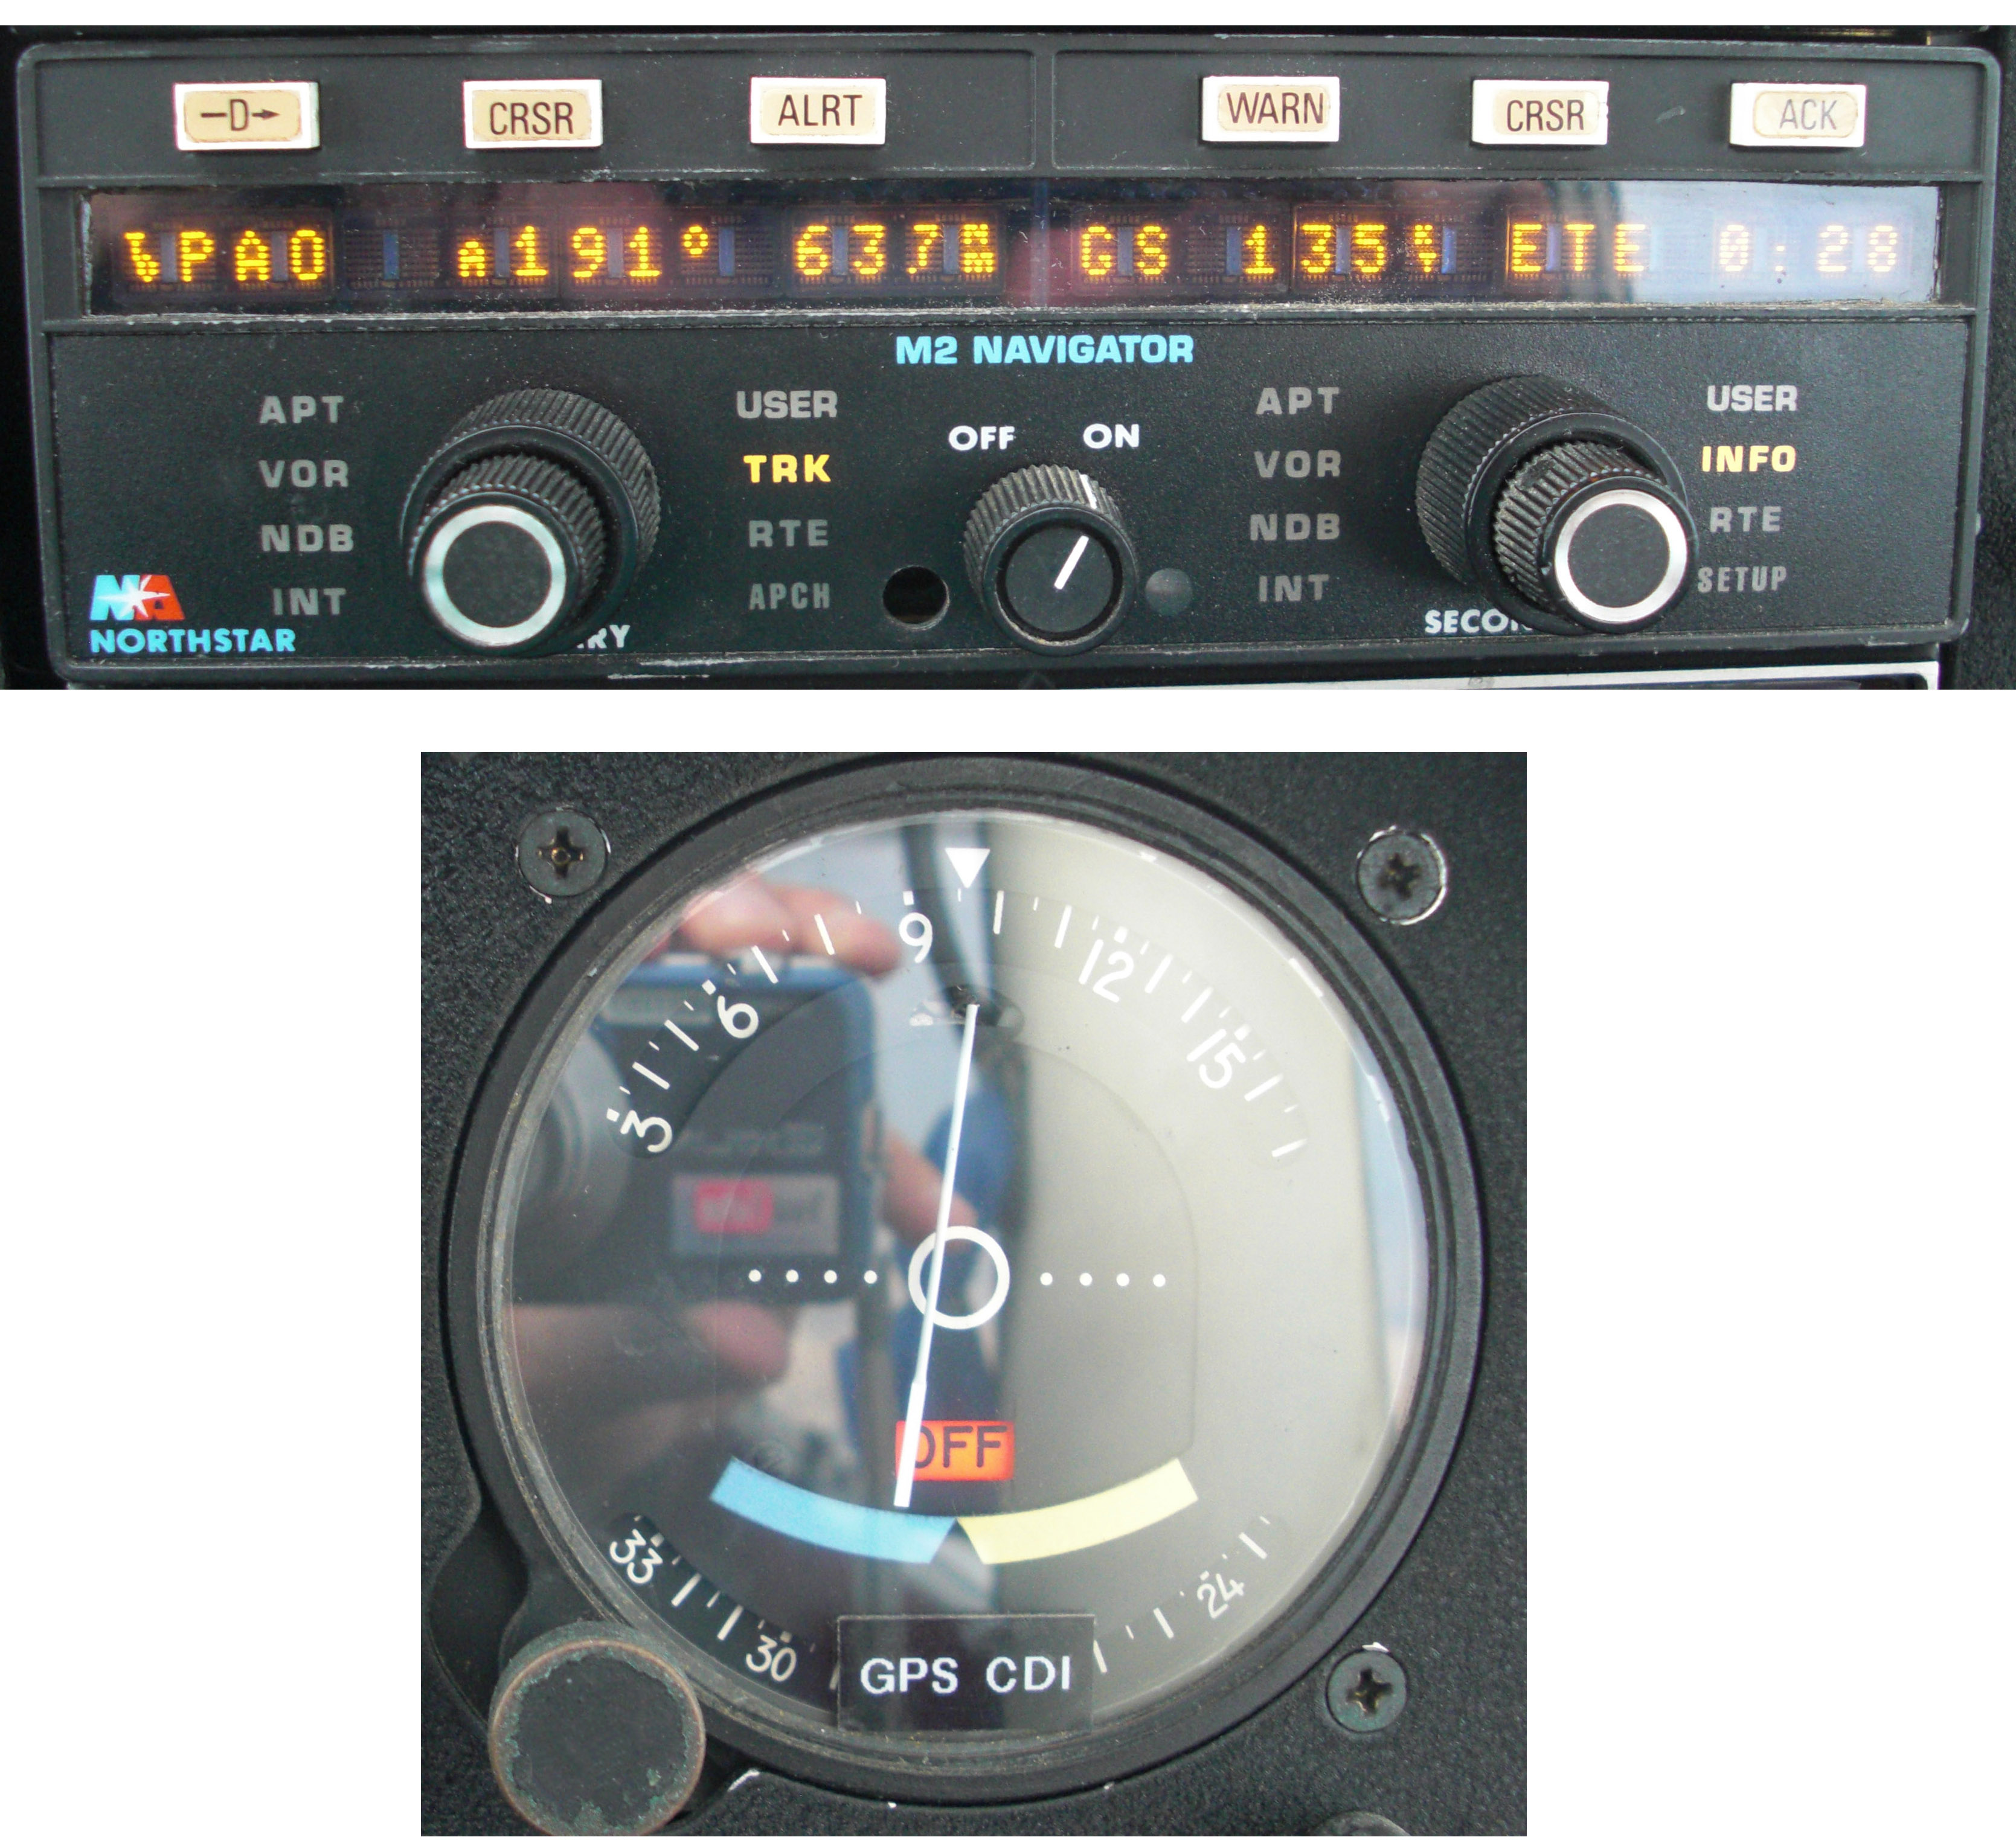 |
 |
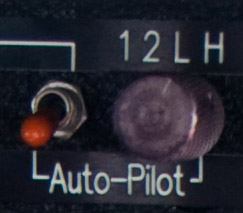 |
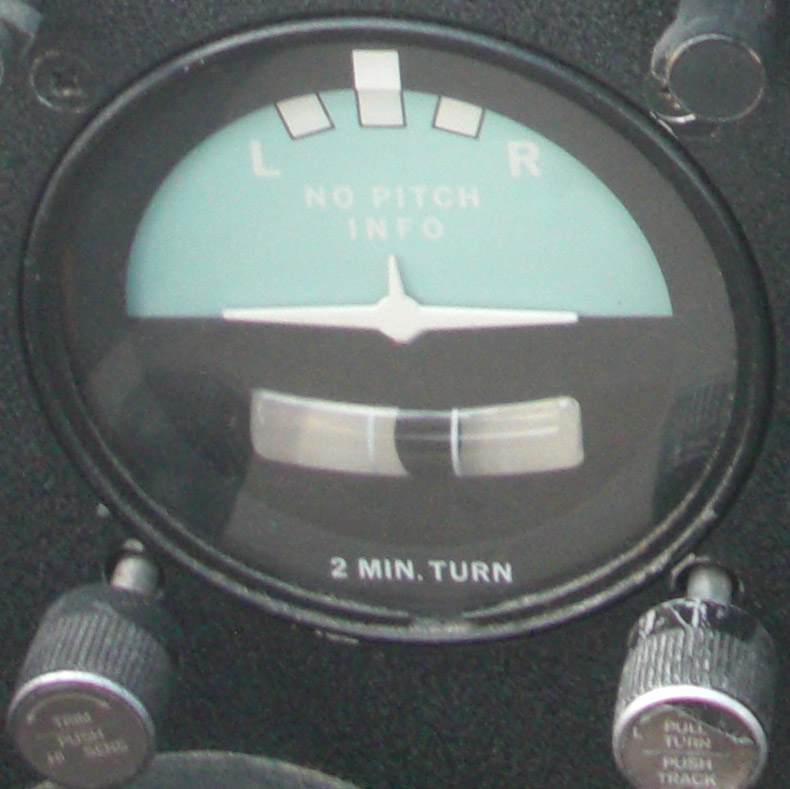
This is not a sophisticated autopilot and has no altitude functions. On the other hand it gets the job done and is so easy to use it will never have you confused. Just two modes. Pull the knob below the turn coordinator for wing leveler mode and push it in for tracking mode. The rotary switch next to the on/off toggle sets the autopilot tracker to Nav1, Nav2, GPS, or the HSI heading bug. I almost always have it set to follow the gps track since this is the simplest way to fly. |
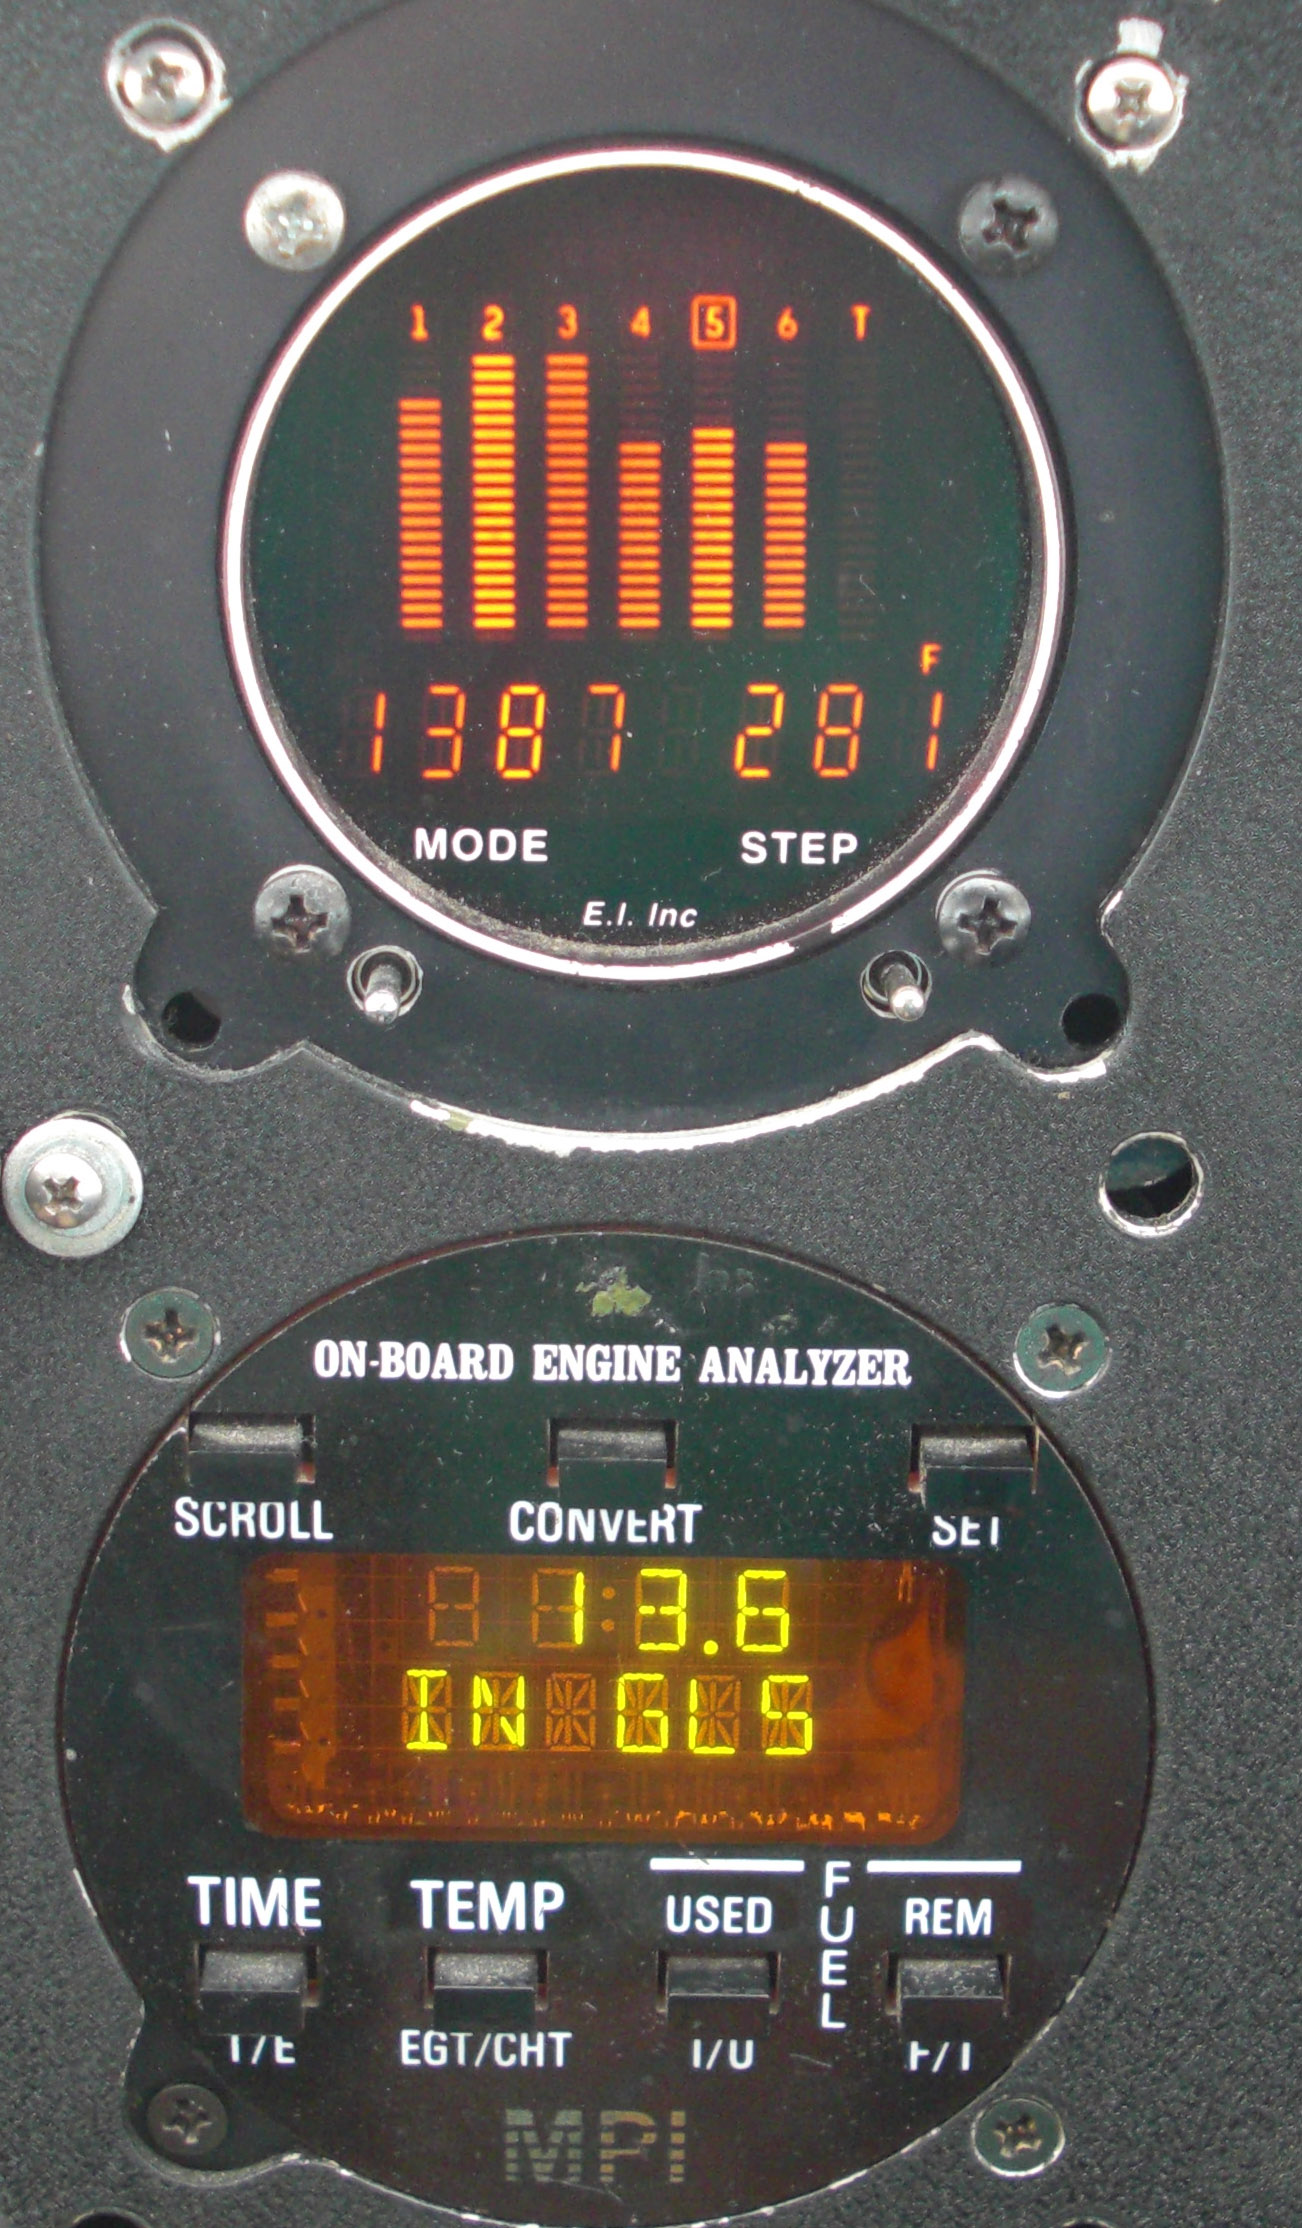 |
Most airplanes have a combined engine analyzer and fuel totalizer, but if you have enough panel space I believe keeping these functions separate is far better. Above is the Electronics Instruments engine analyzer, the best available in my opinion for features and ease of use. I usually leave it showing cylinder 5 (my hottest cylinder) while viewing instantaneous fuel flow on the fuel totalizer below since it is far more accurate and easier to read than the round engine gauge. A single button push gives me the fuel total which I have found to be accurate to within a tenth of a gallon even after a 5 hour flight. The best features of the ADF (right) are the flight timer which I use on every flight and the elapsed timer which I use often on every IFR flight. I don't fly ADF approaches much anymore, but it provides yet another way to visualize many initial approach fixes. | 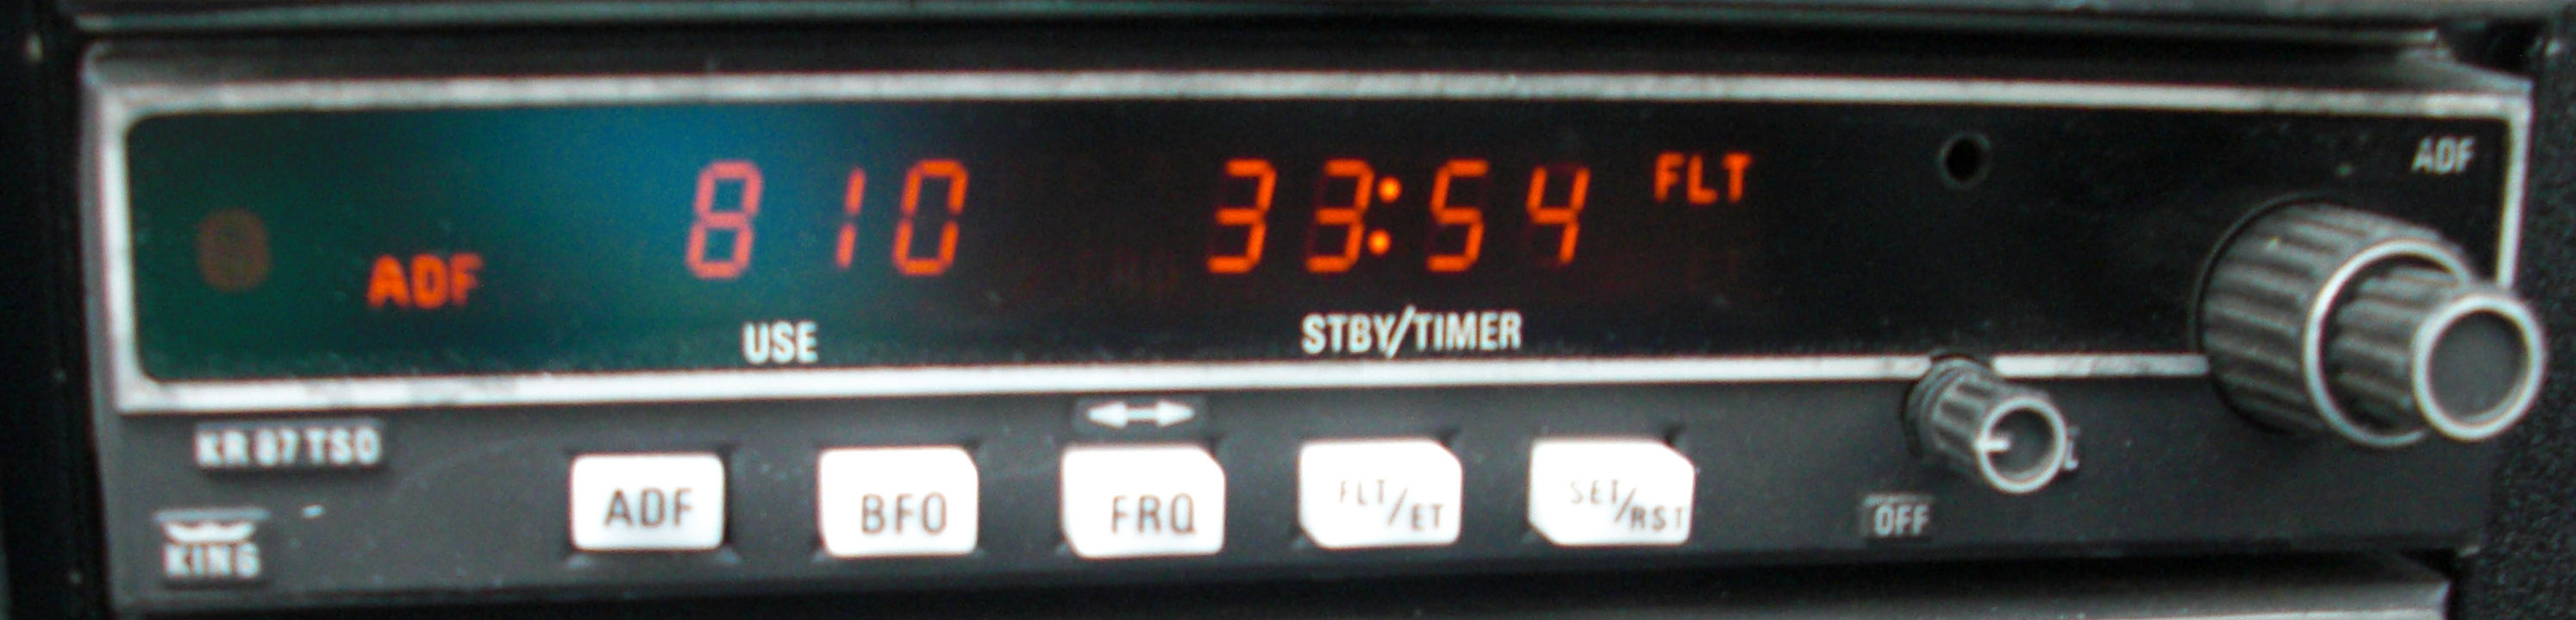 |
 |
With the center strip removed you have a nicer unobstructed view ahead. The old center strip mounted compass was replaced with a lighted glareshield mounted type. | 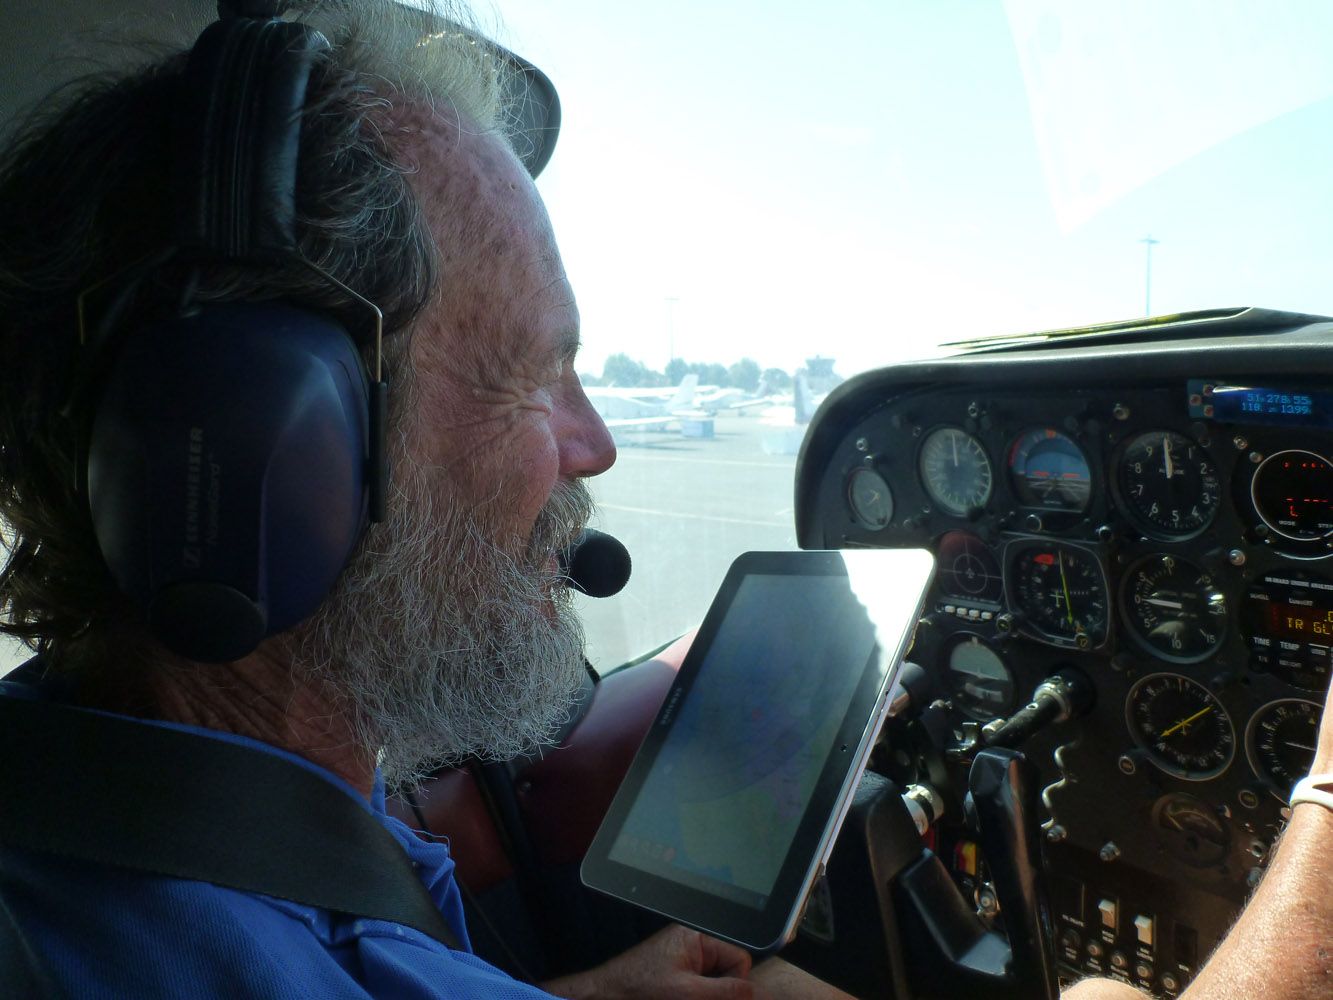 |
I no longer buy paper charts, so I view electronic charts from this yoke mounted Android tablet. It's so much easier than paper charts because the GPS position is always shown on the chart. |
 |
 |
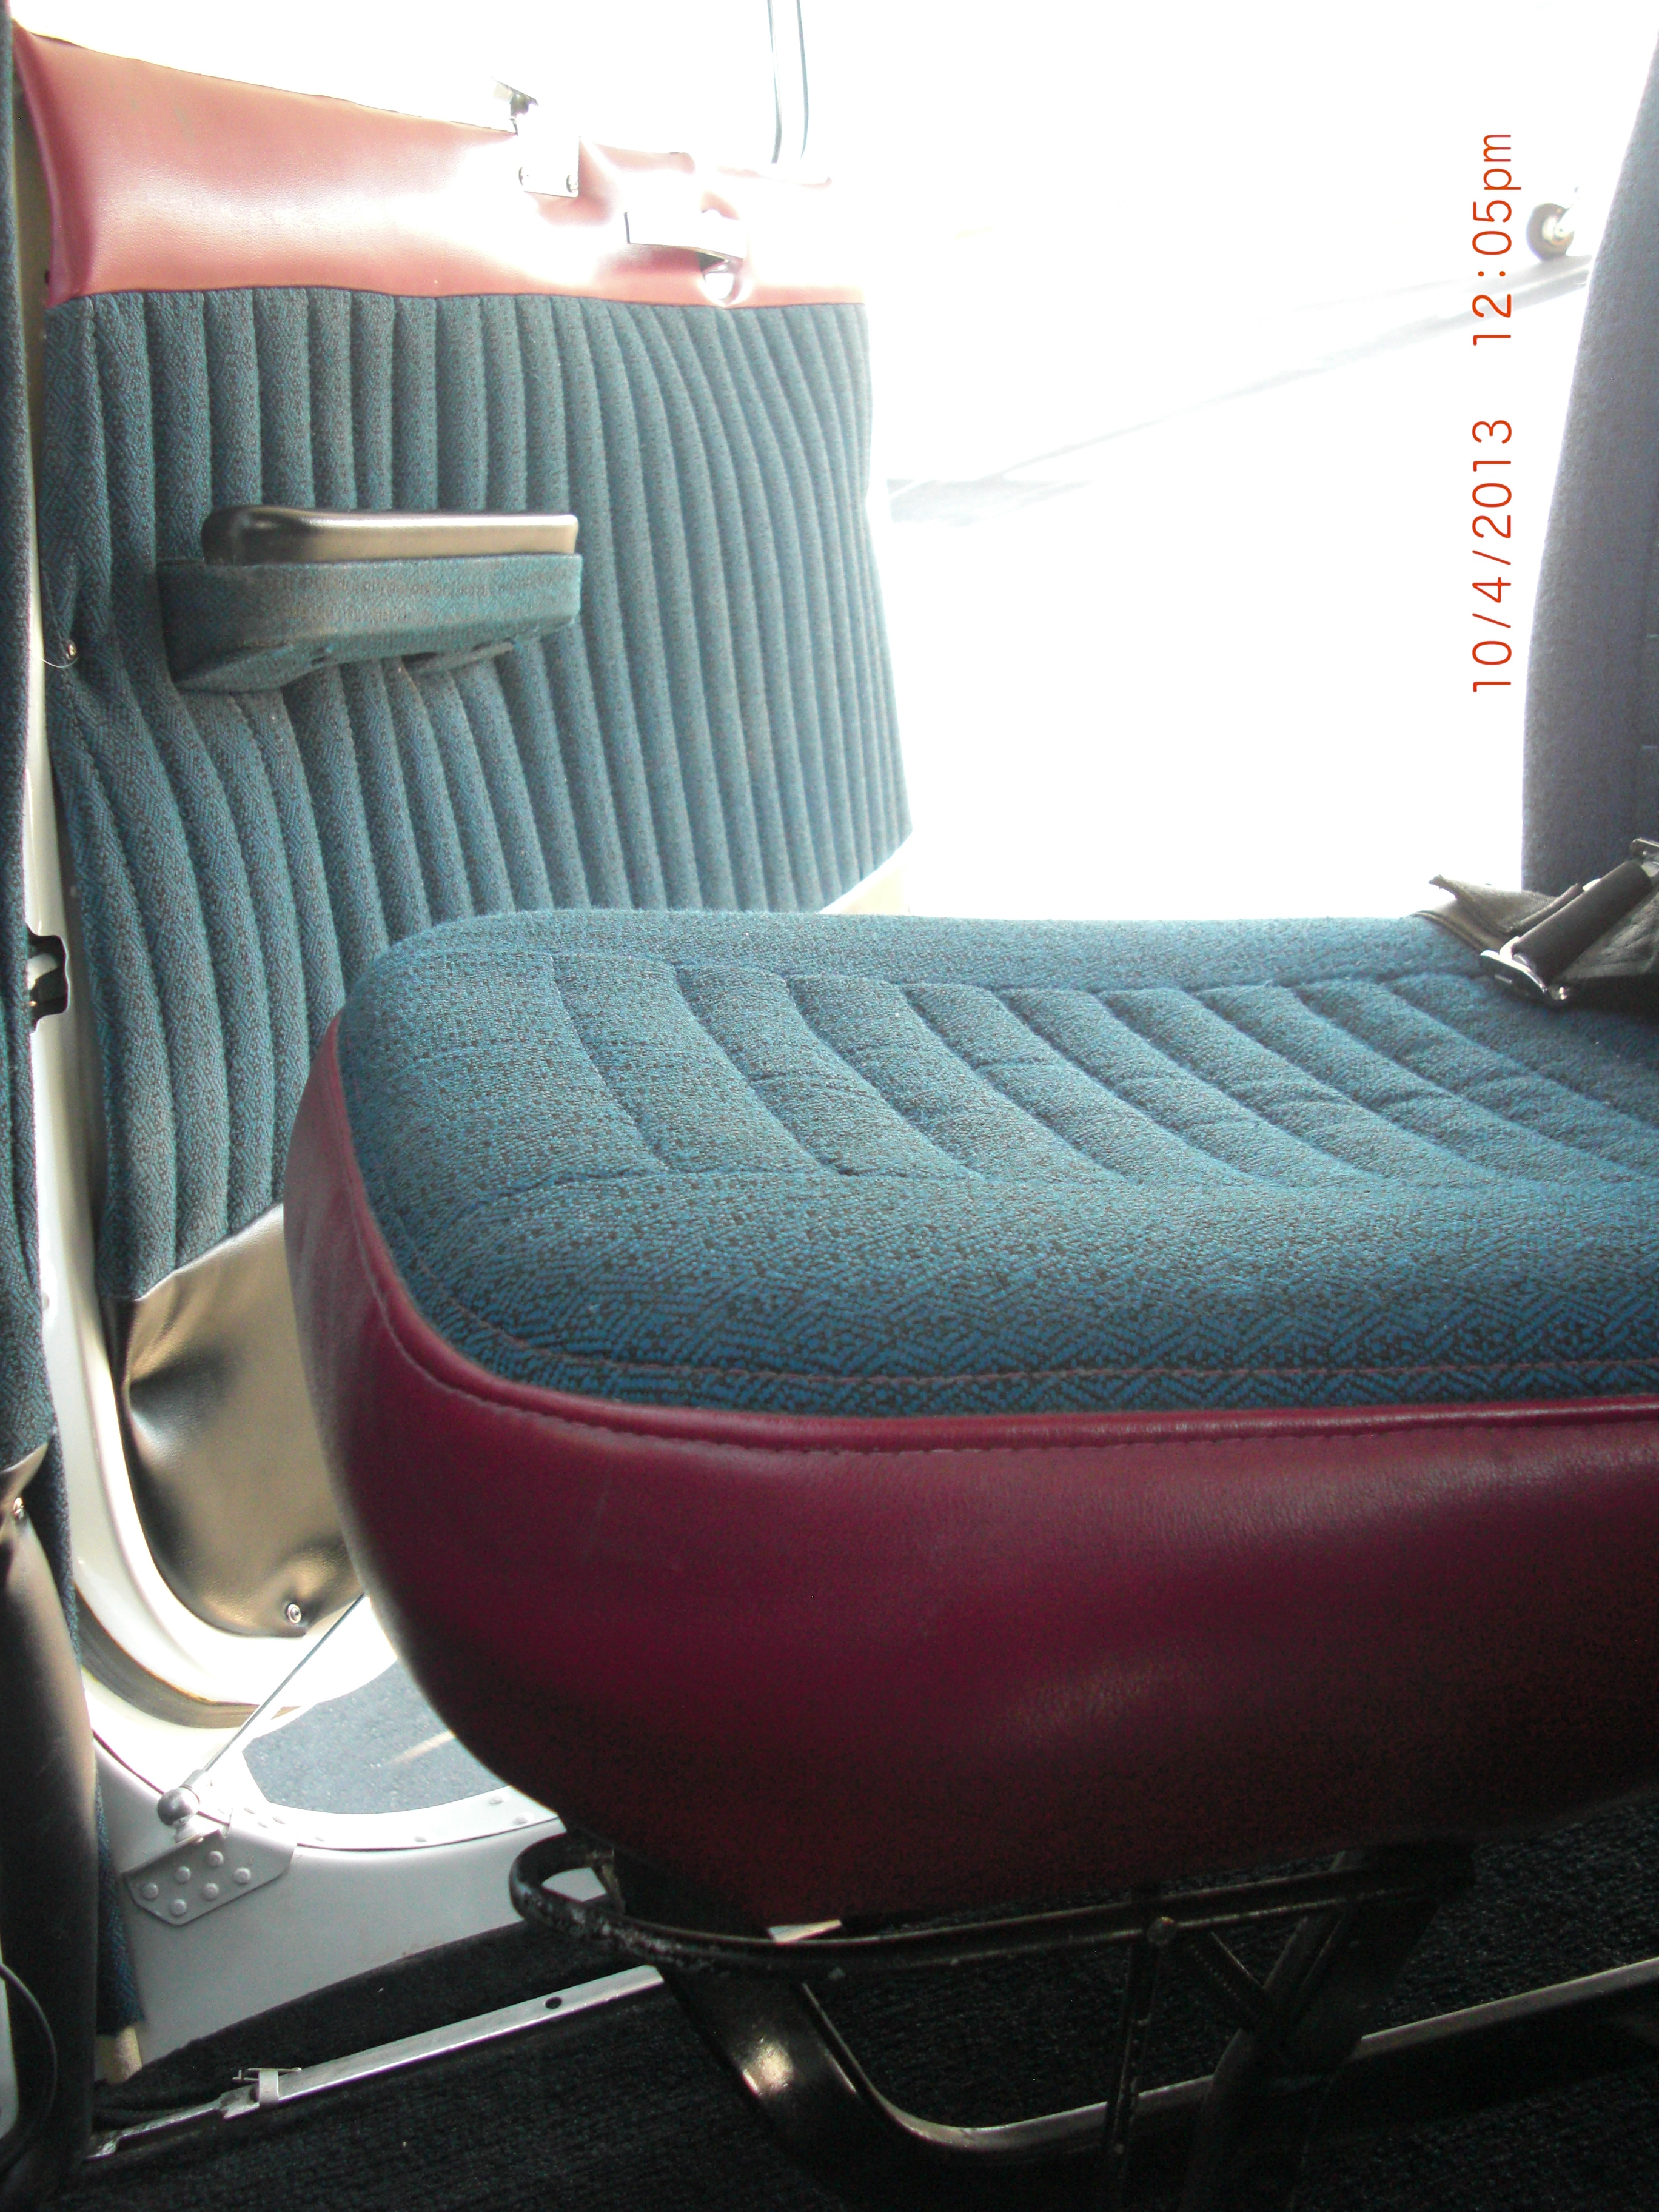 |
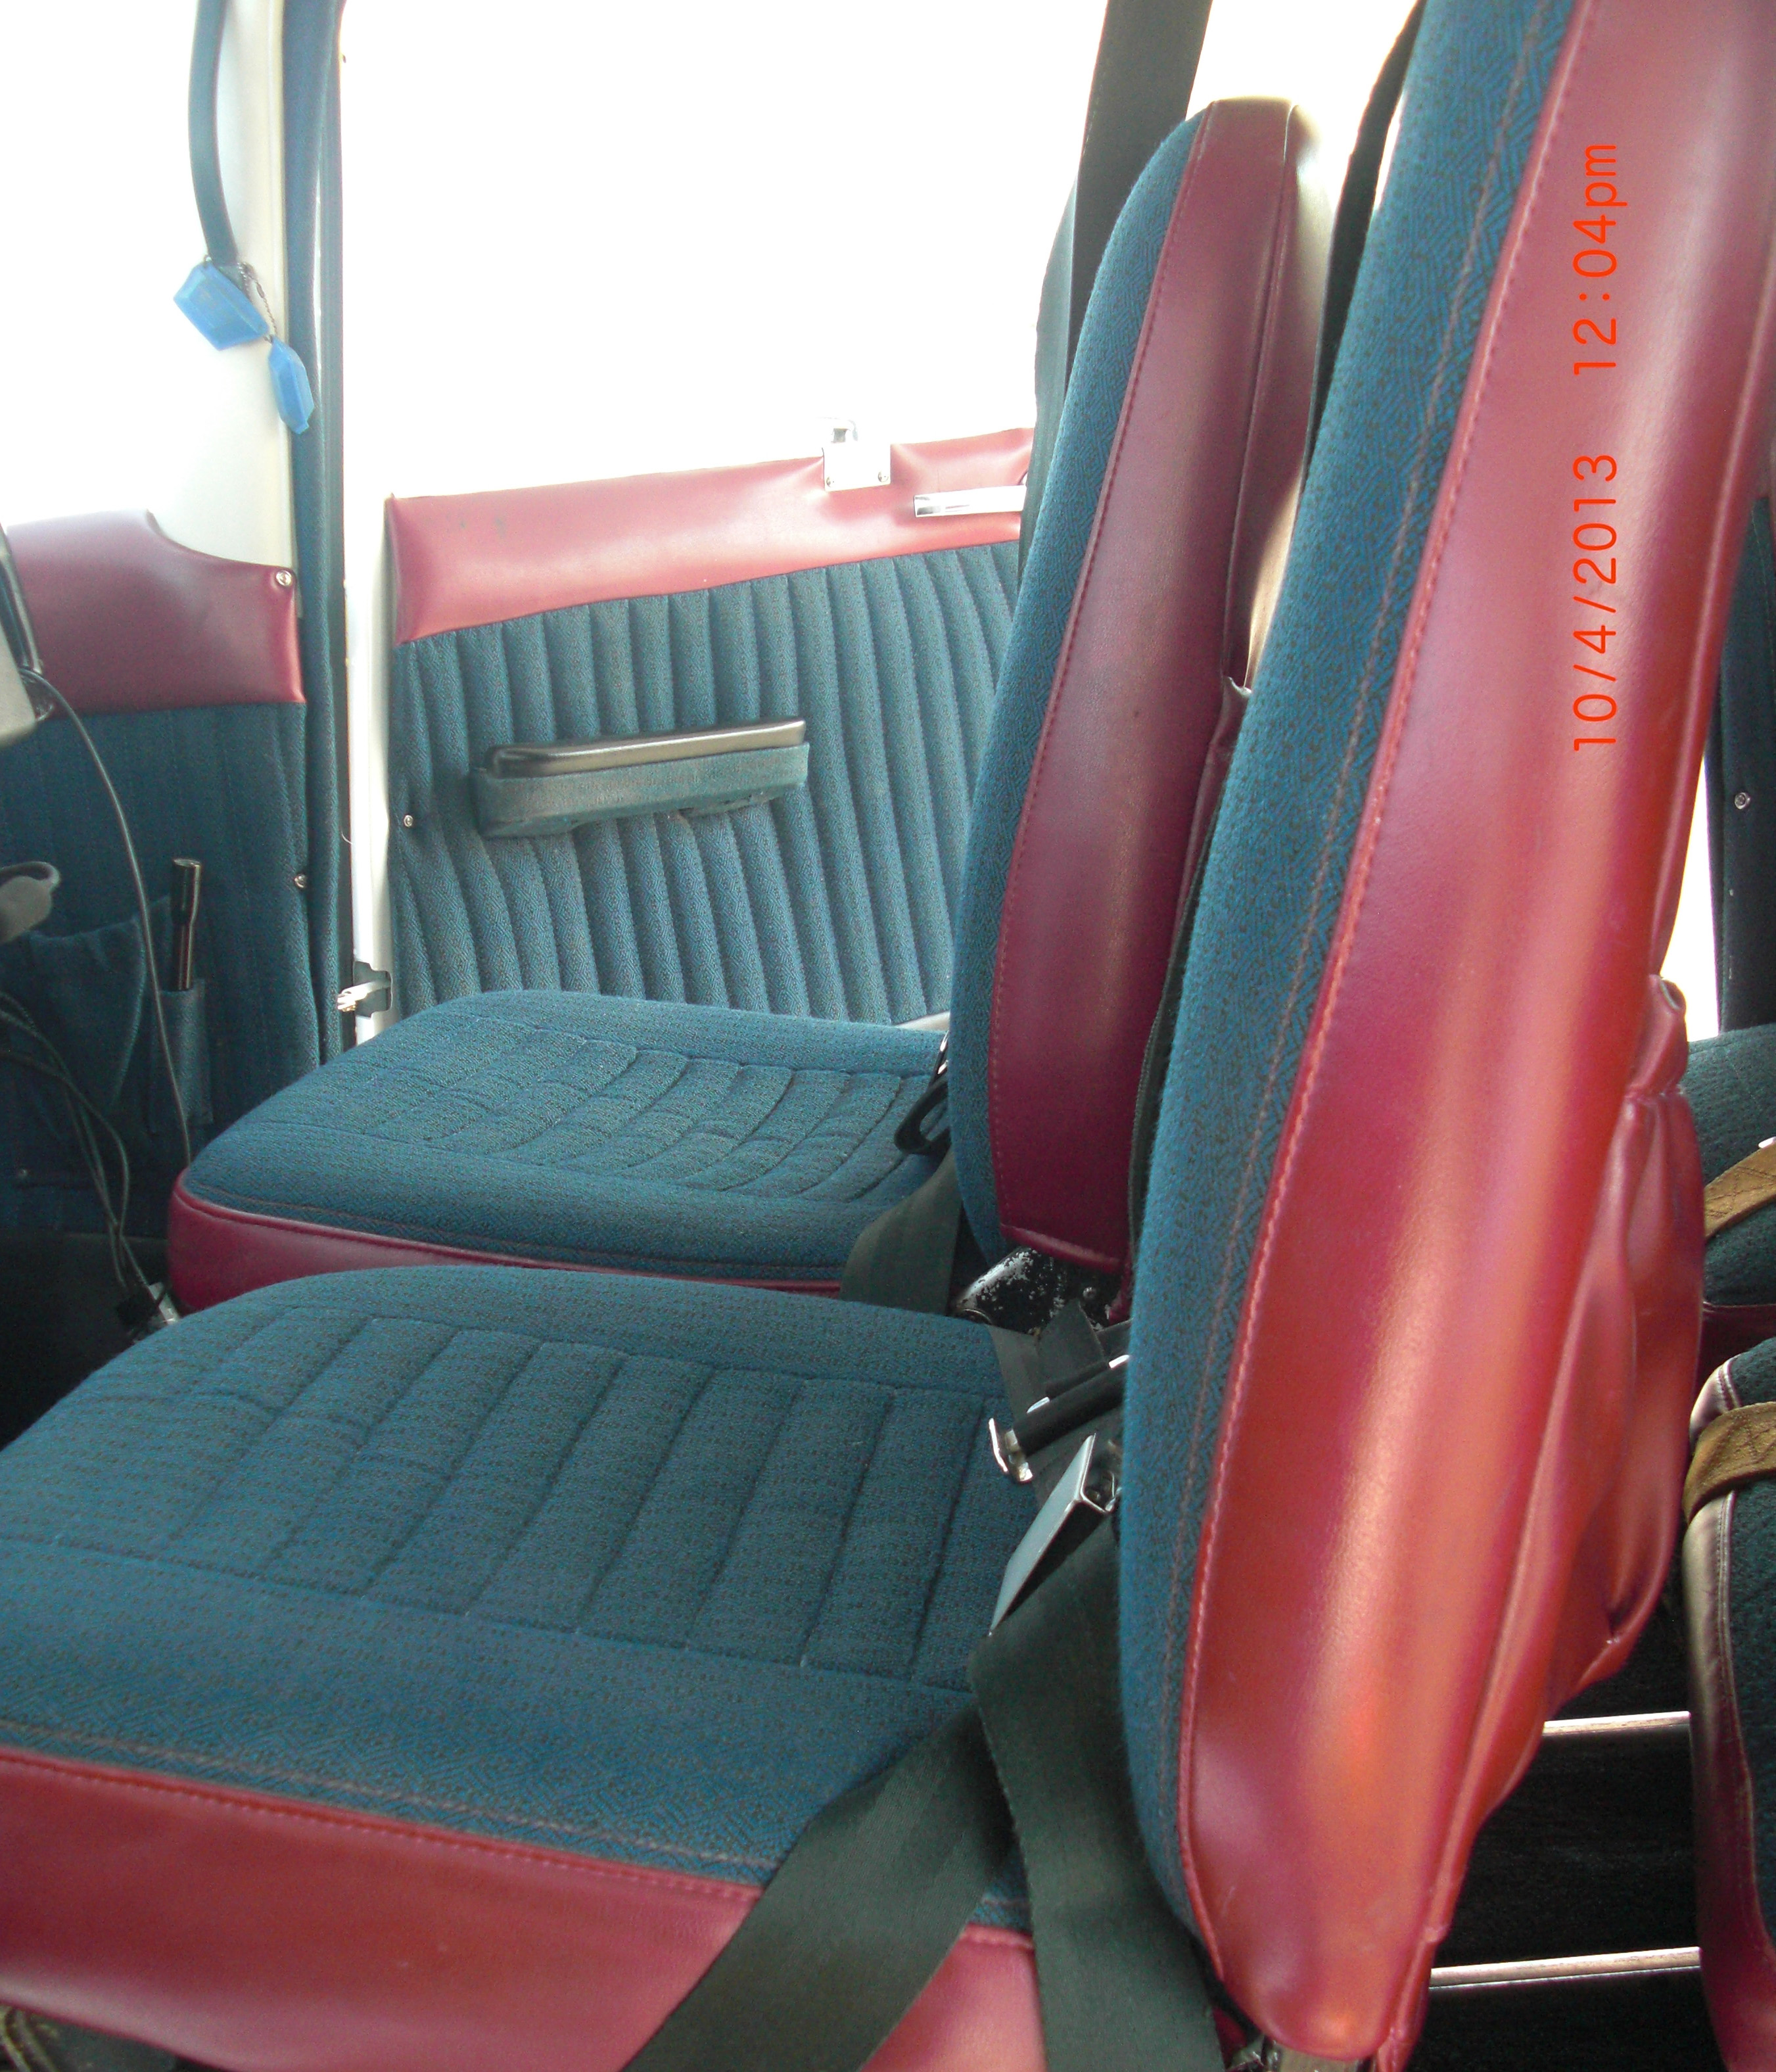
Front seats & doors: Both seats move forward and back as well as tilt back for sleeping. The pilot seat is also adjustable for height. | 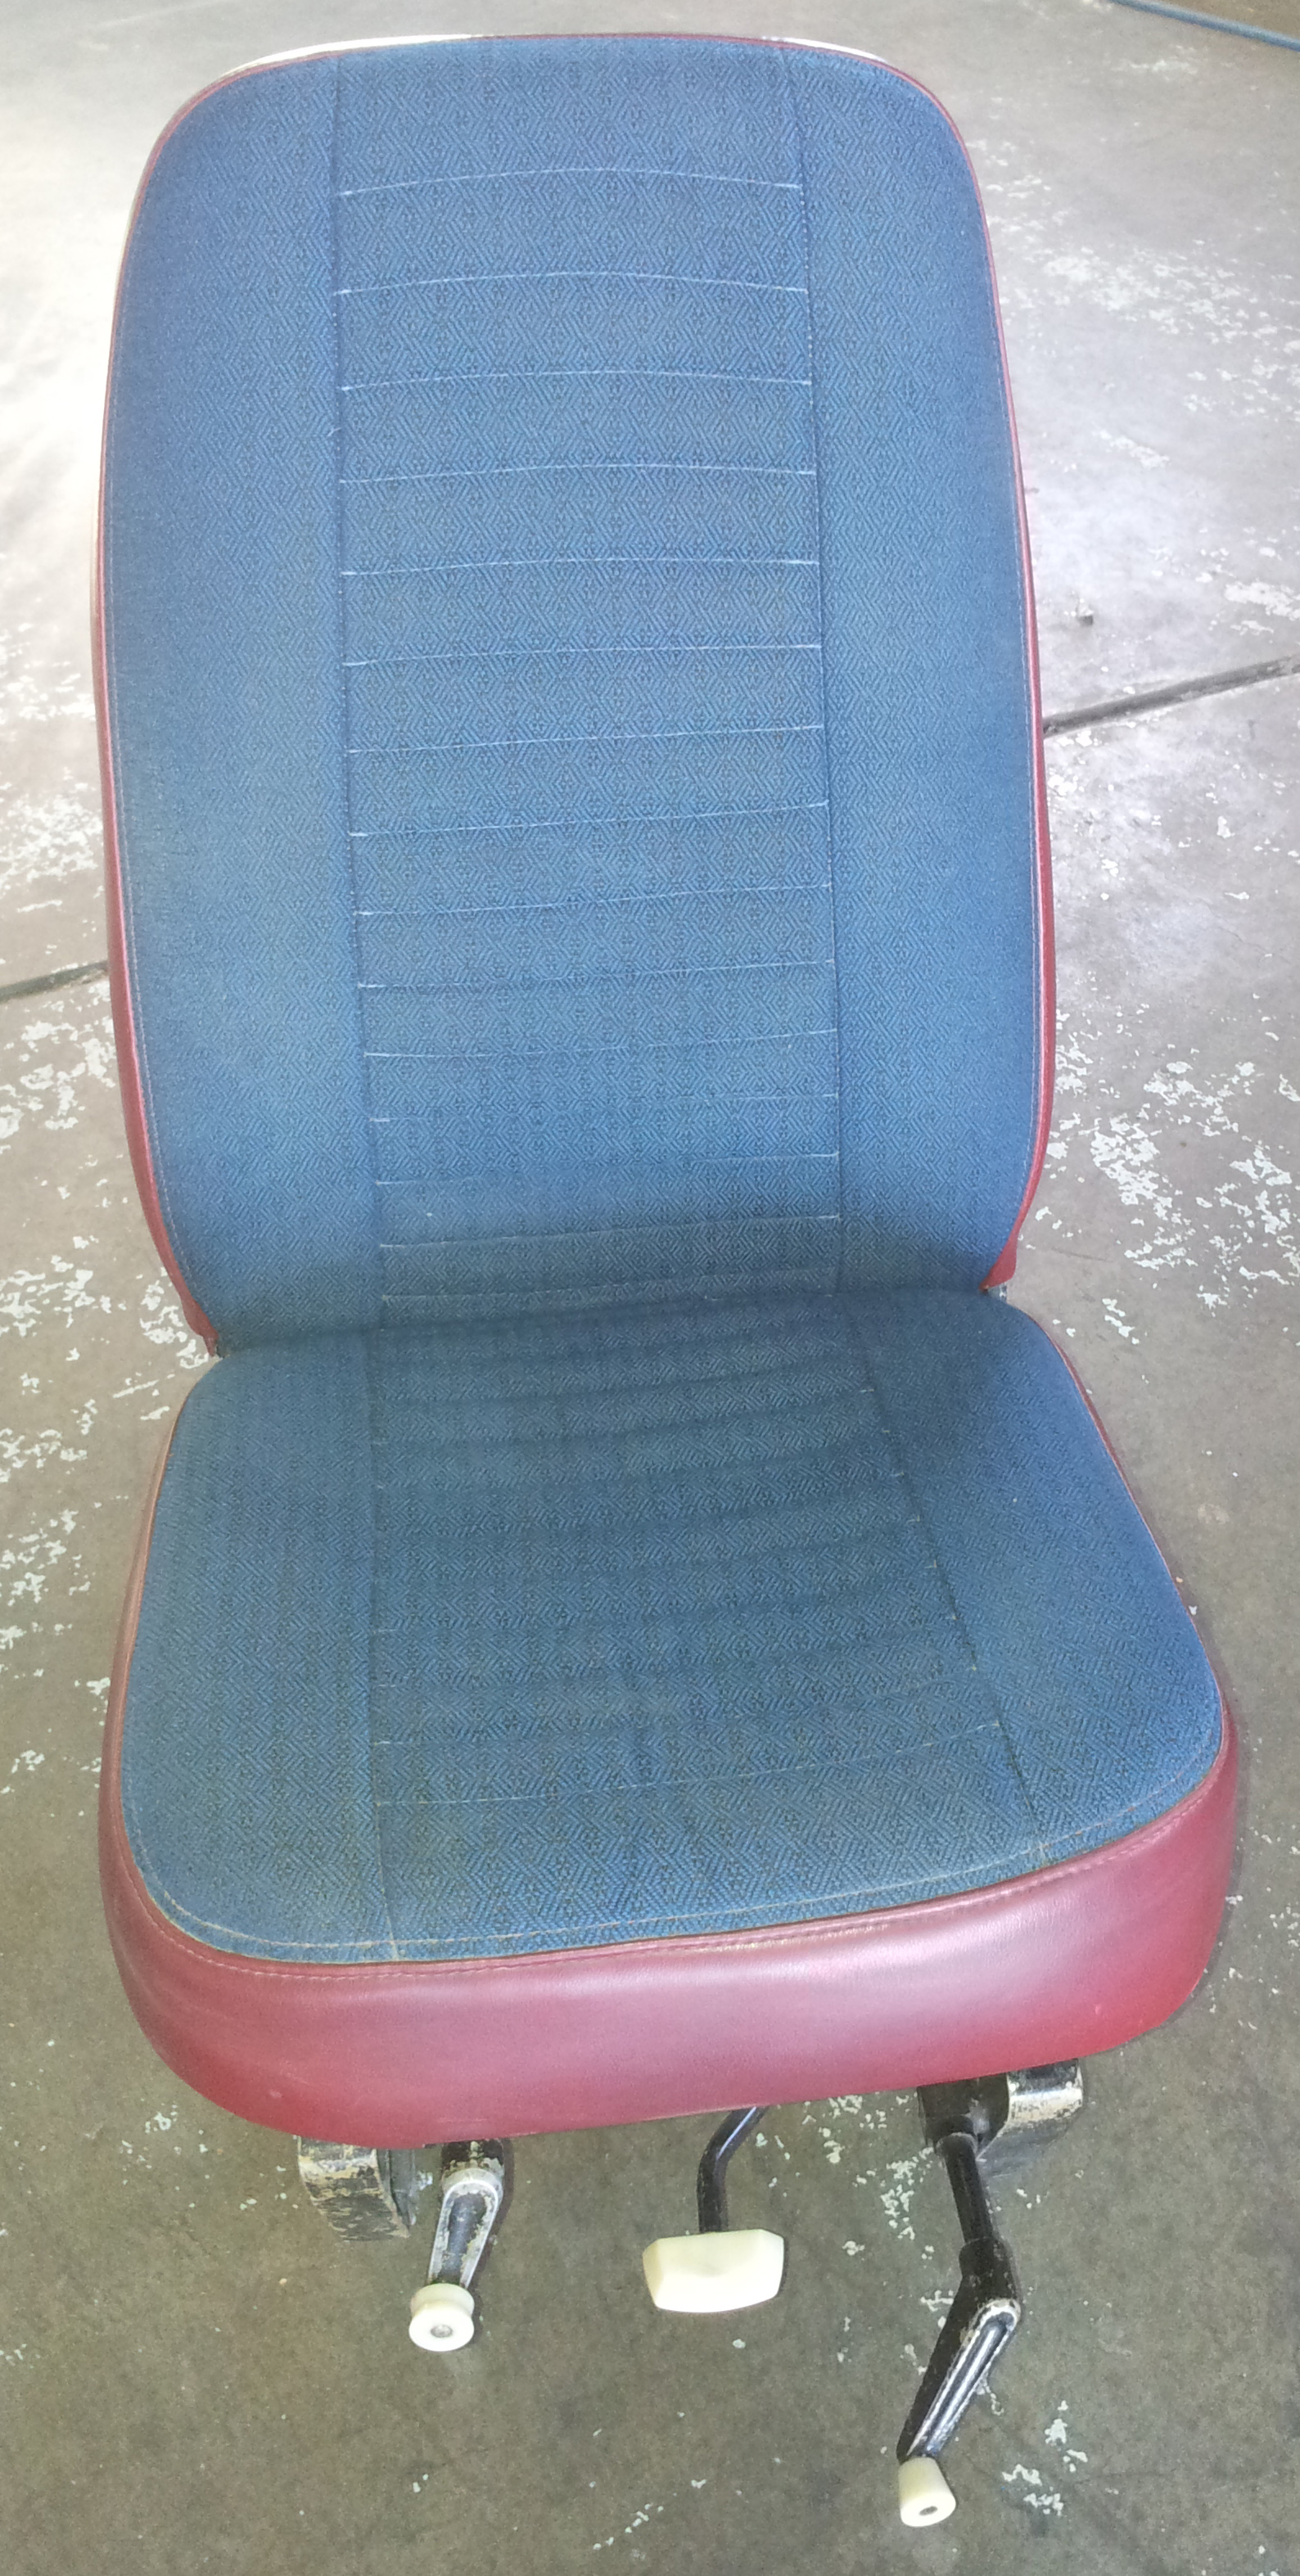 |
The pilot seat removed for some recent maintanance |
 |
 |
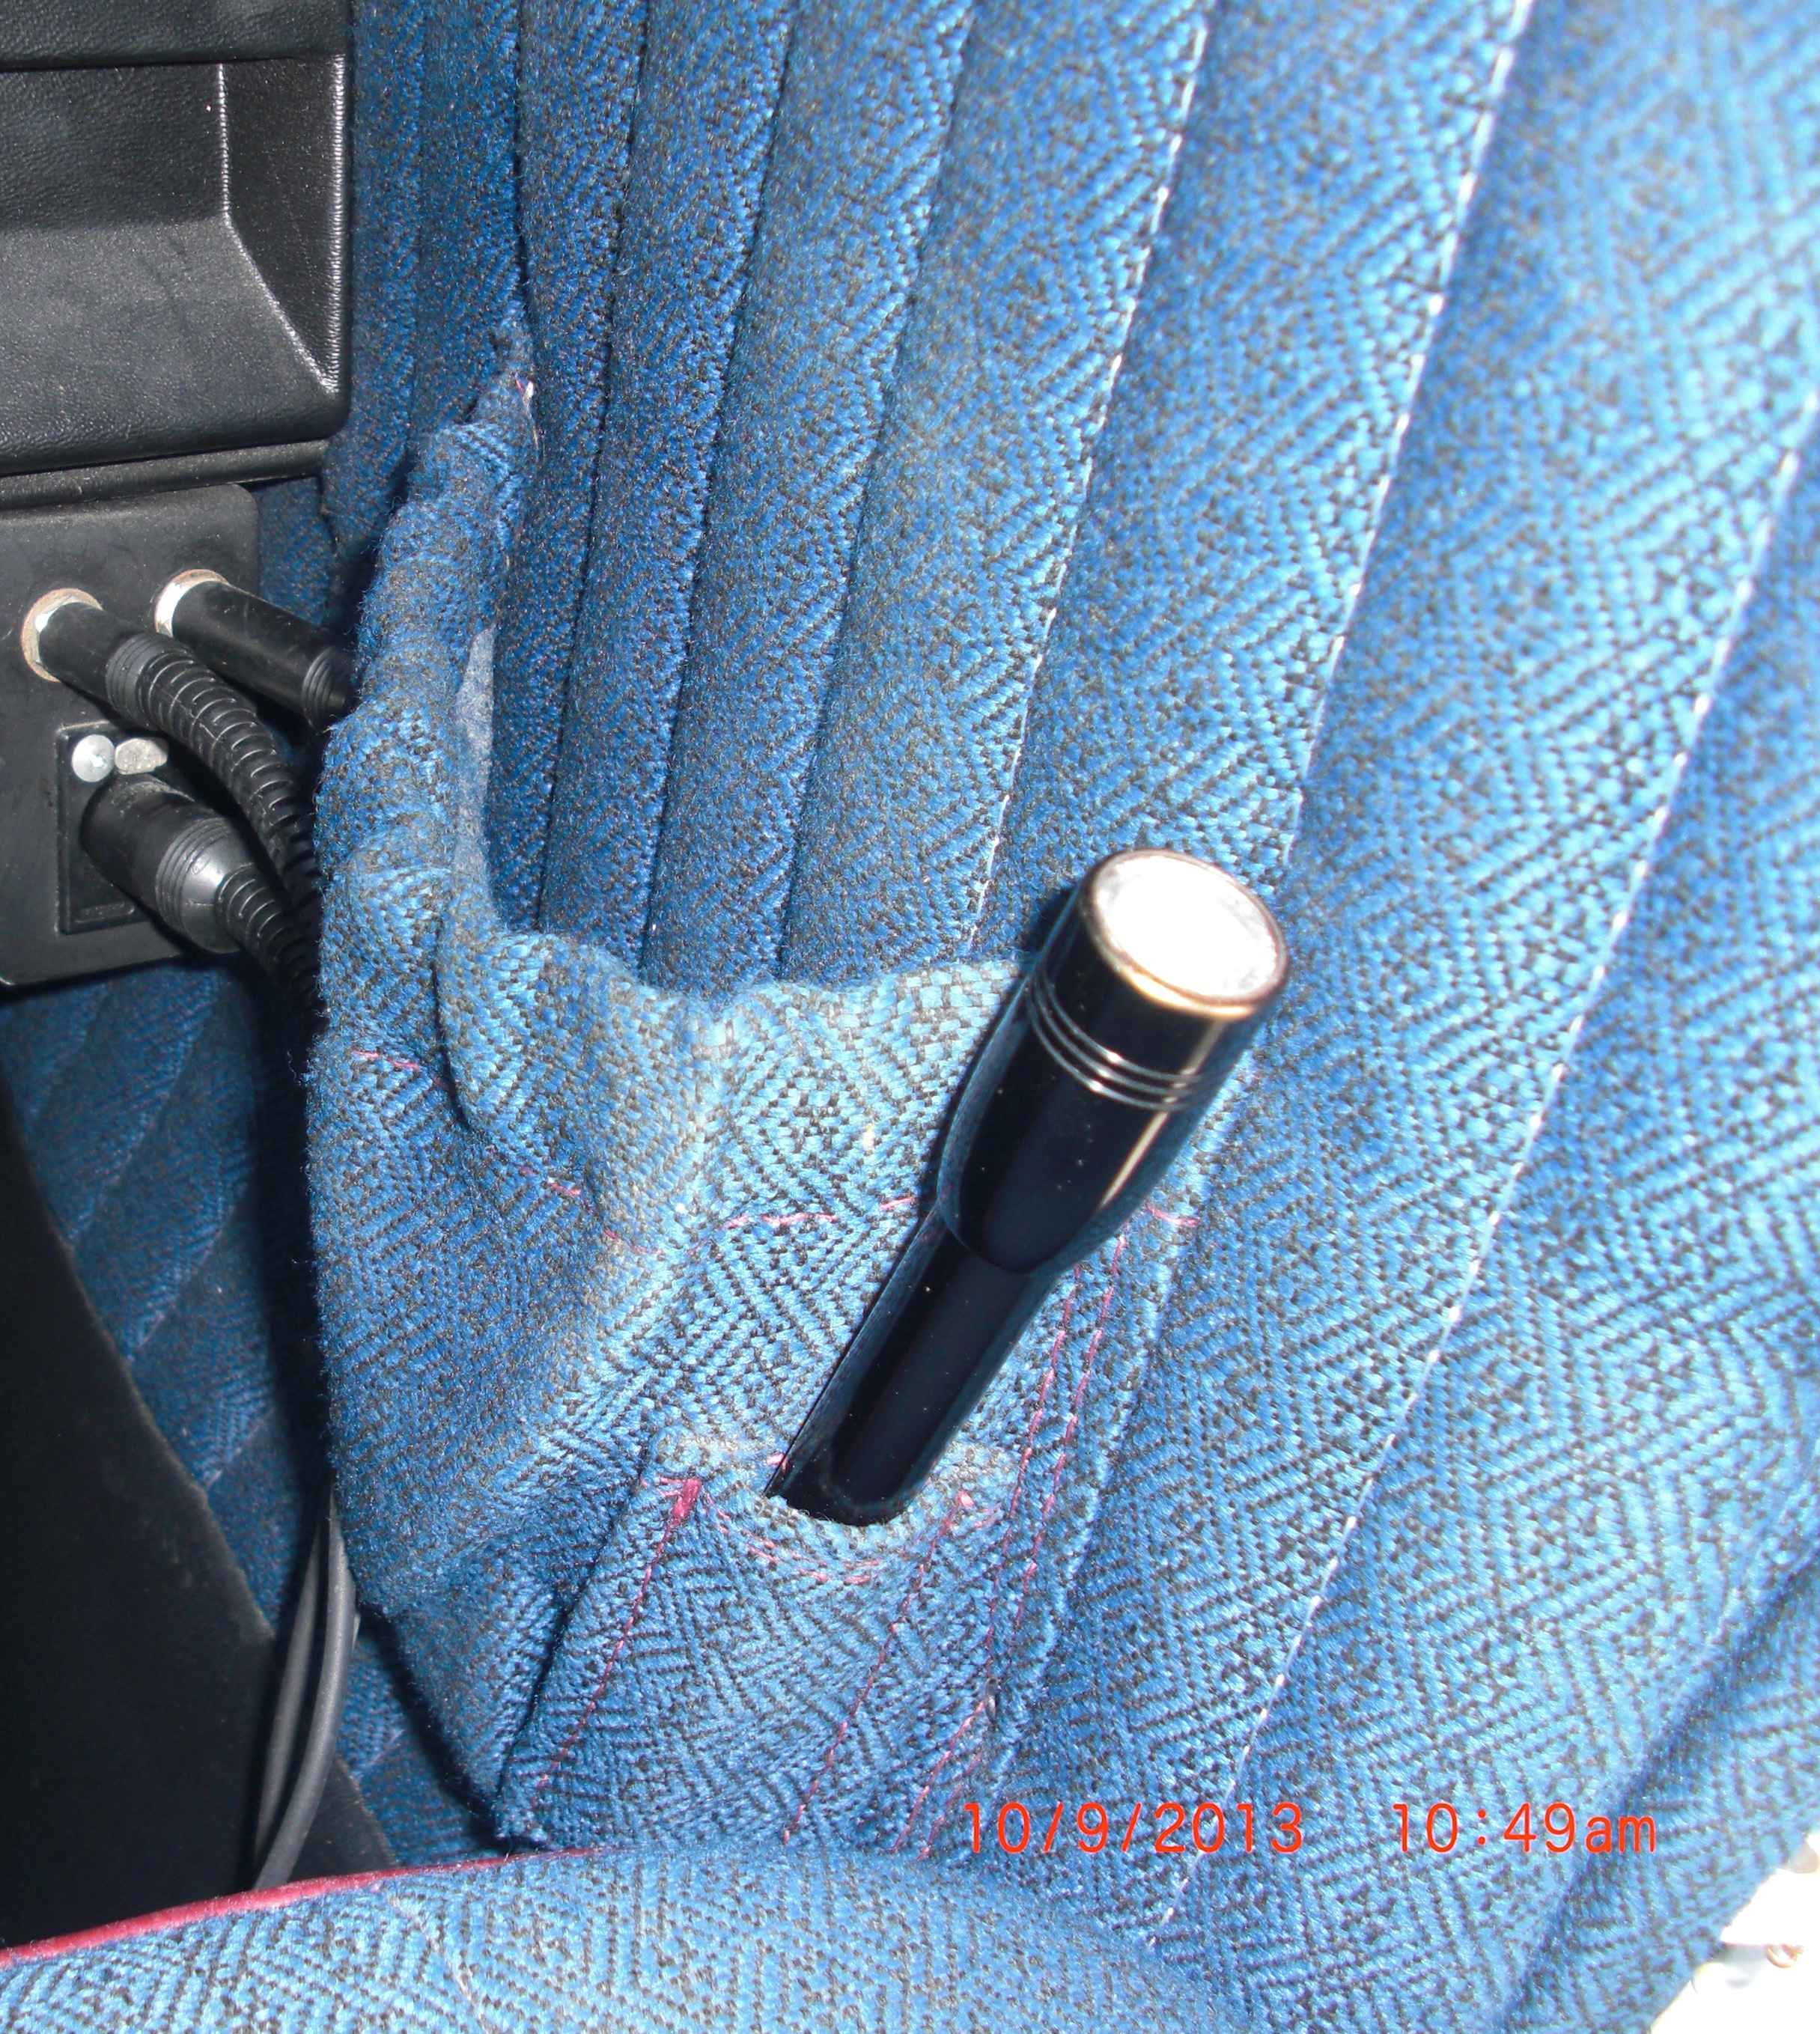 |
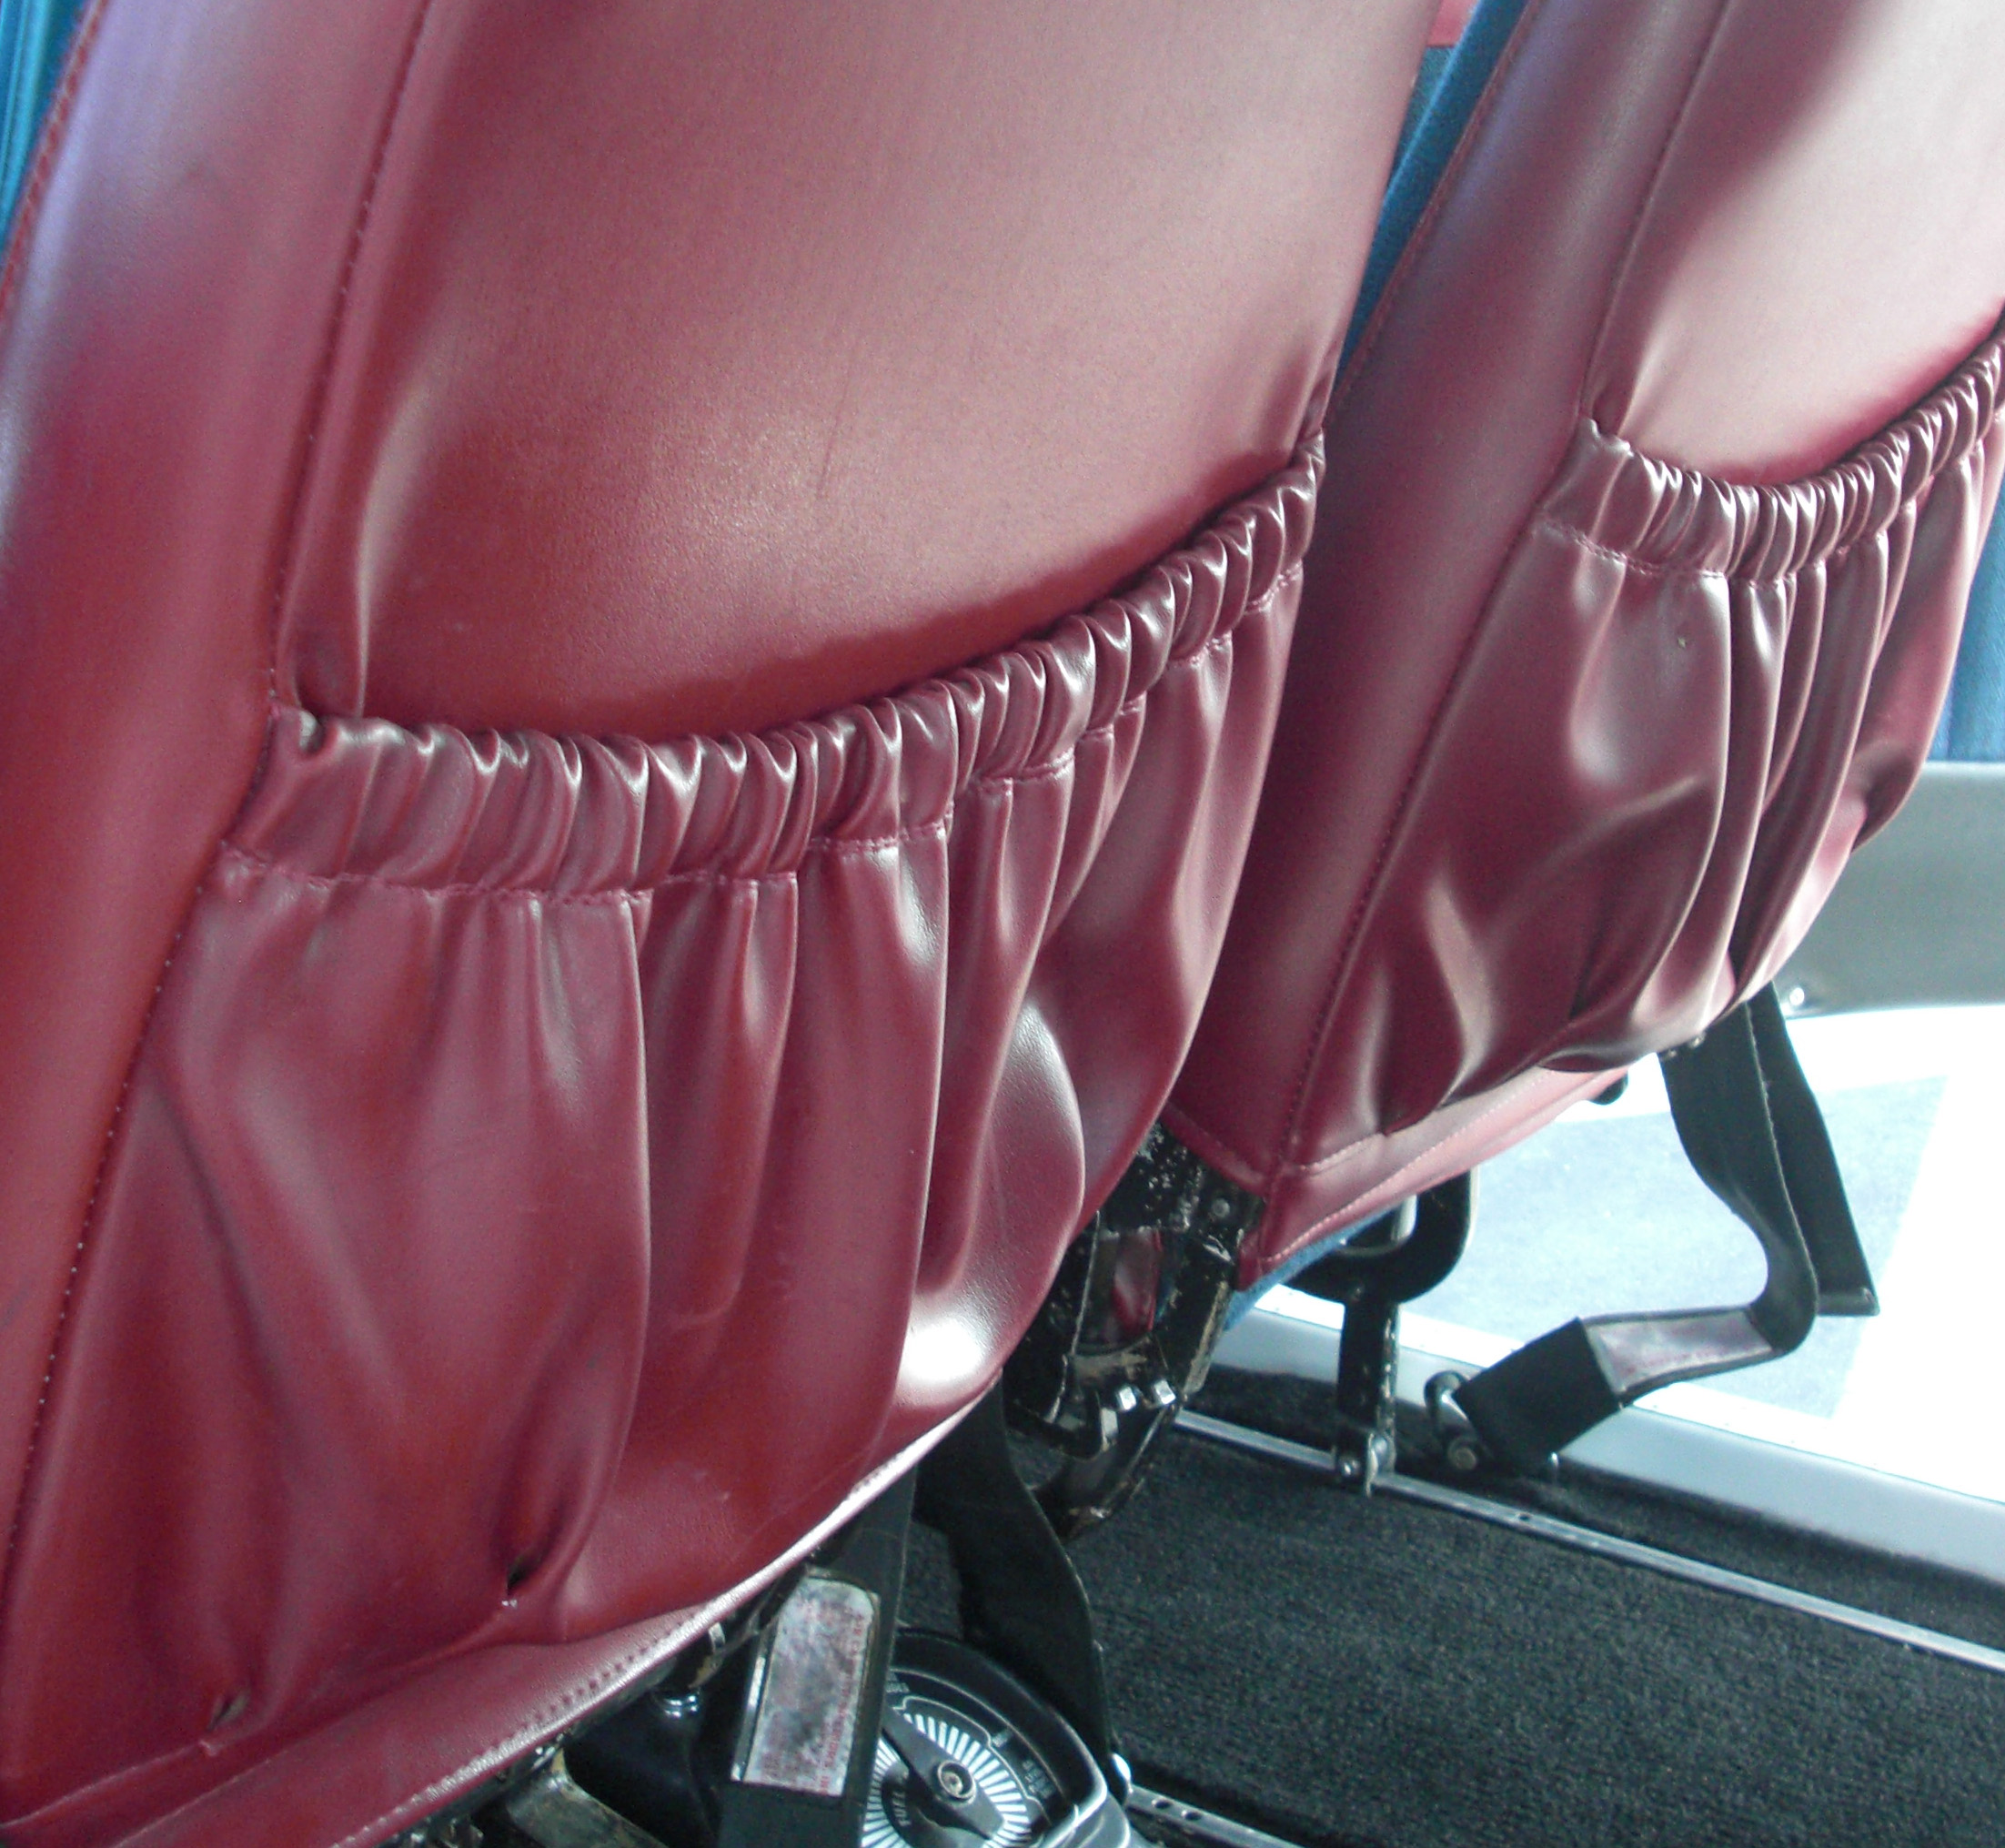
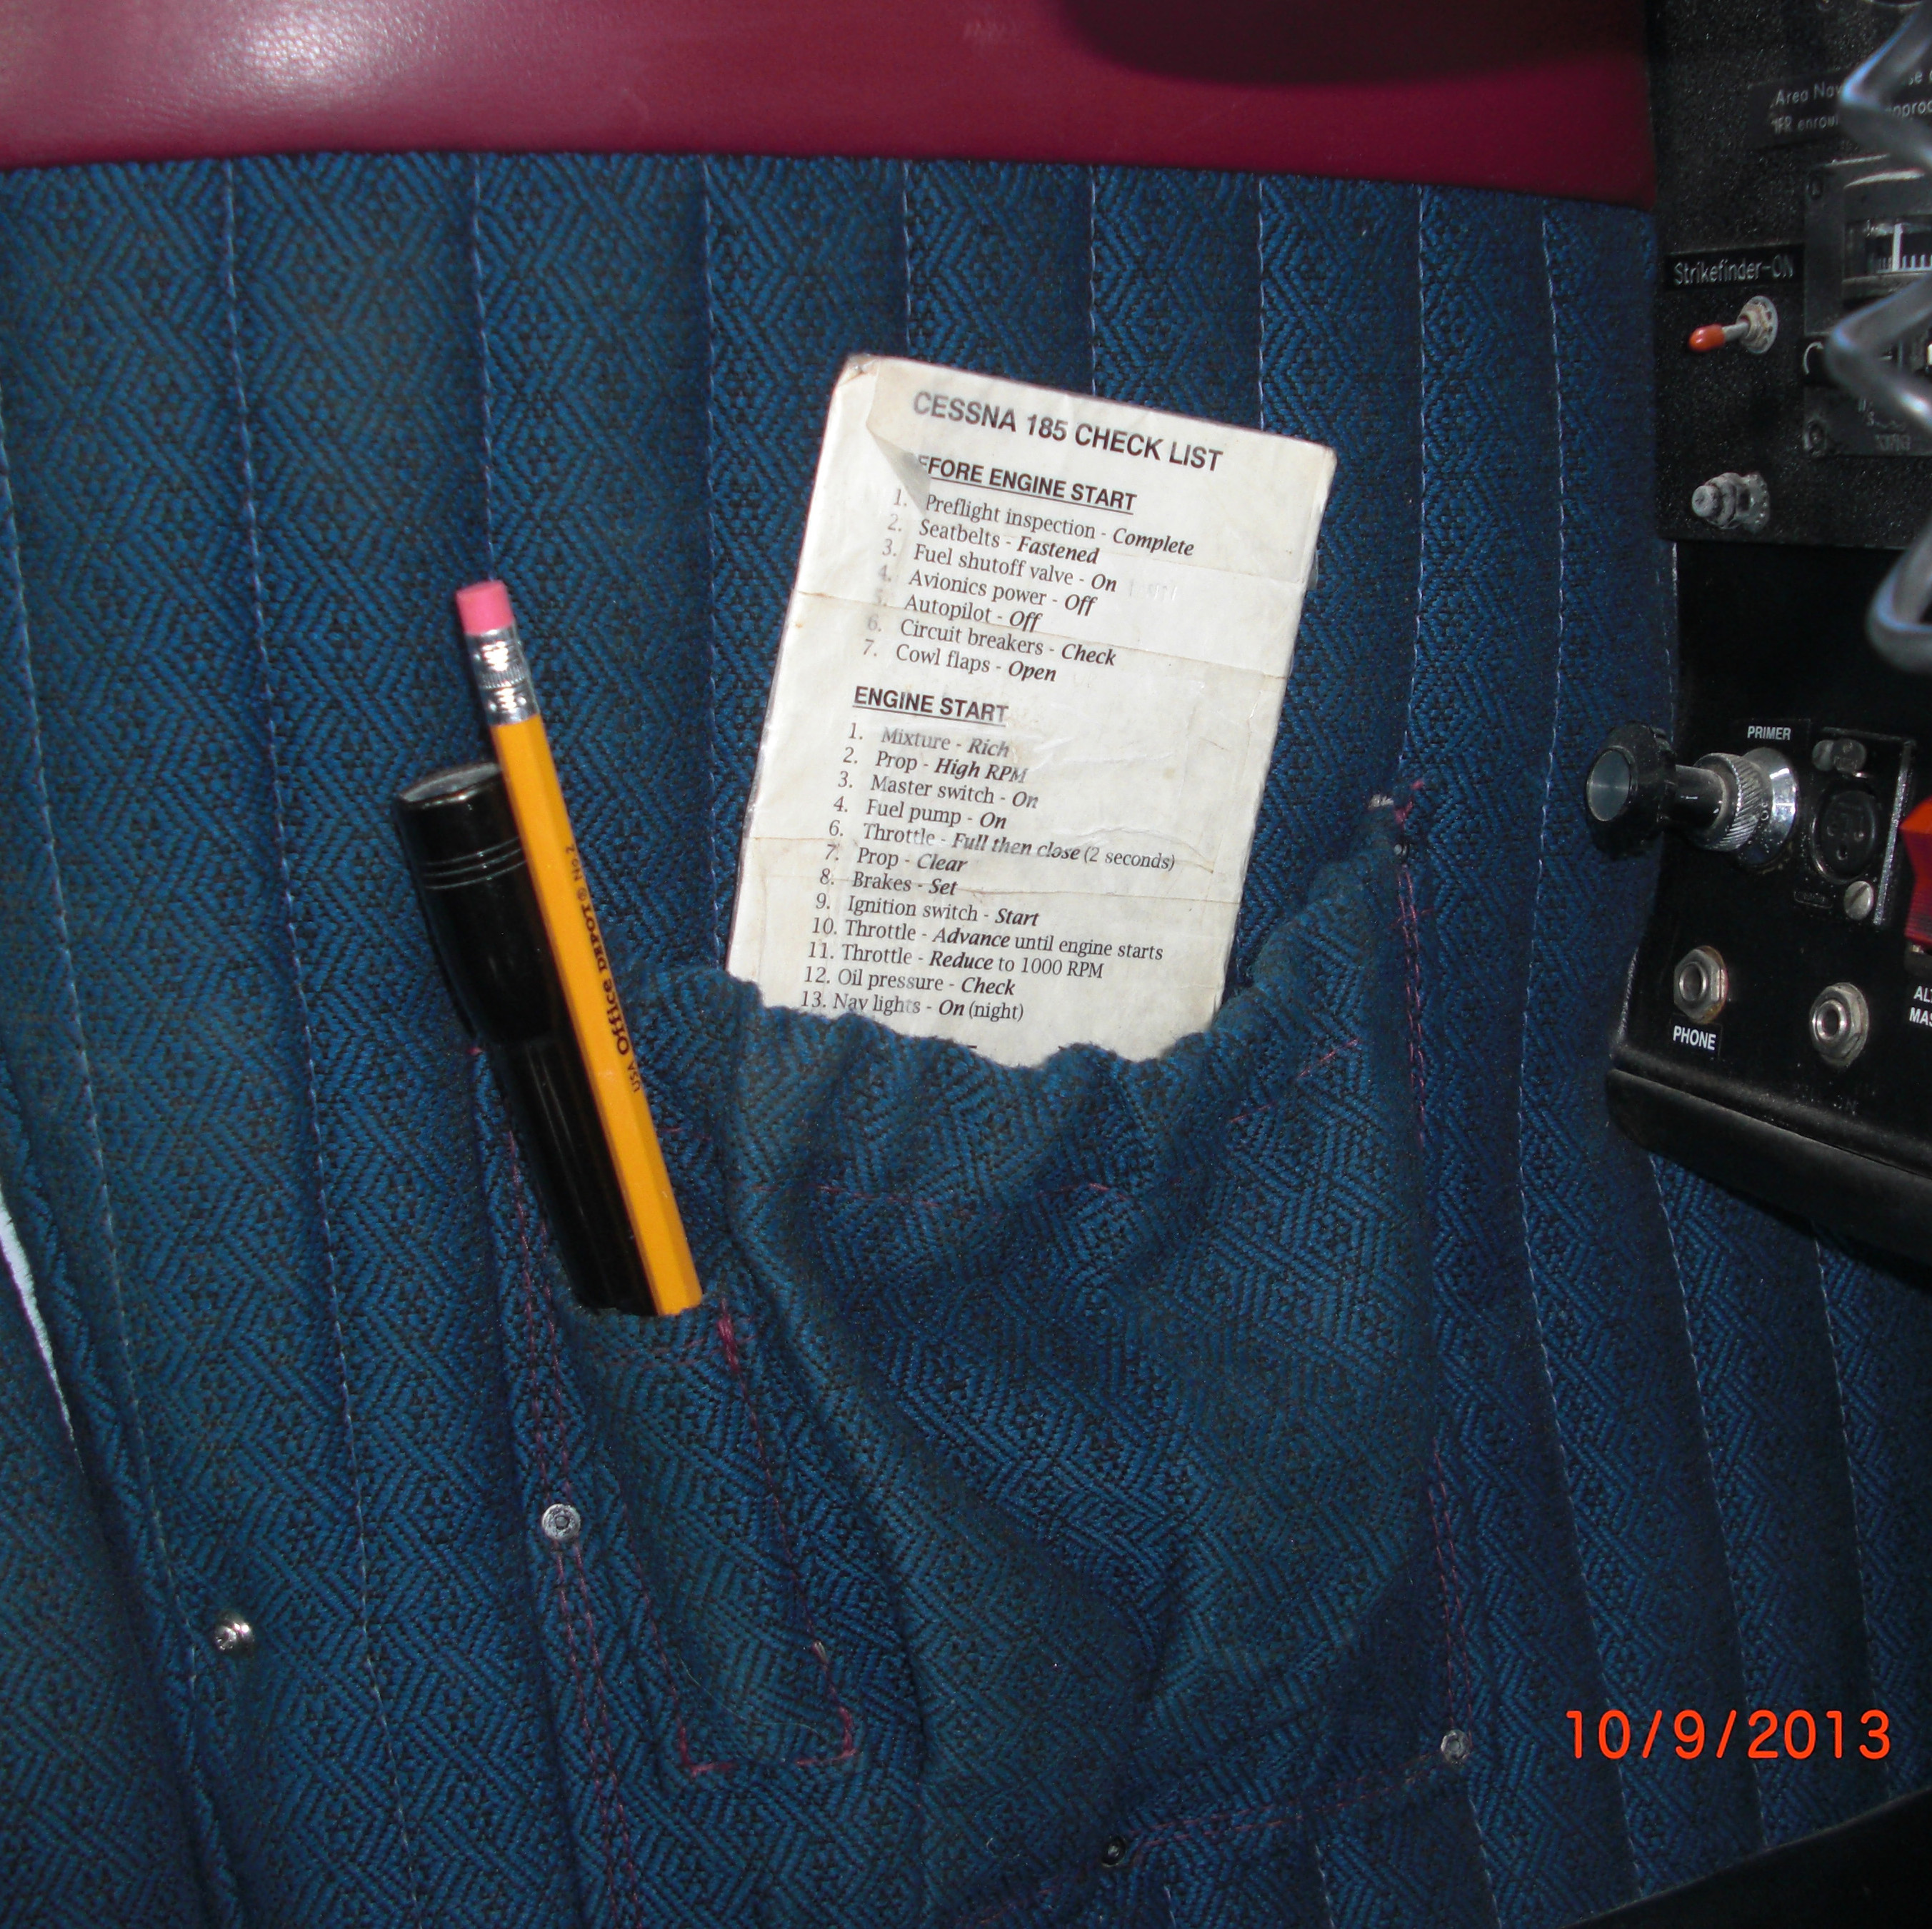
These pouches to the left and right of the panel and on both front seat backs are very convenient for holding the many items you may need during flight. Notice that near the headset jacks on each side is a power plug to drive the ANR headsets, so you don't have to worry about losing the ANR because of dead batteries. |
 |
 |
Middle row seats. All the interior shots are recent, except for the two on the right. (It's hard to resist throwing in kid shots.) My kids have always felt comfortable in these seats and because the thick seat foam quickly adjusts to your body shape, even adults find these seats comfortable. Very tall adults however will prefer the copious leg room of the front seats. | 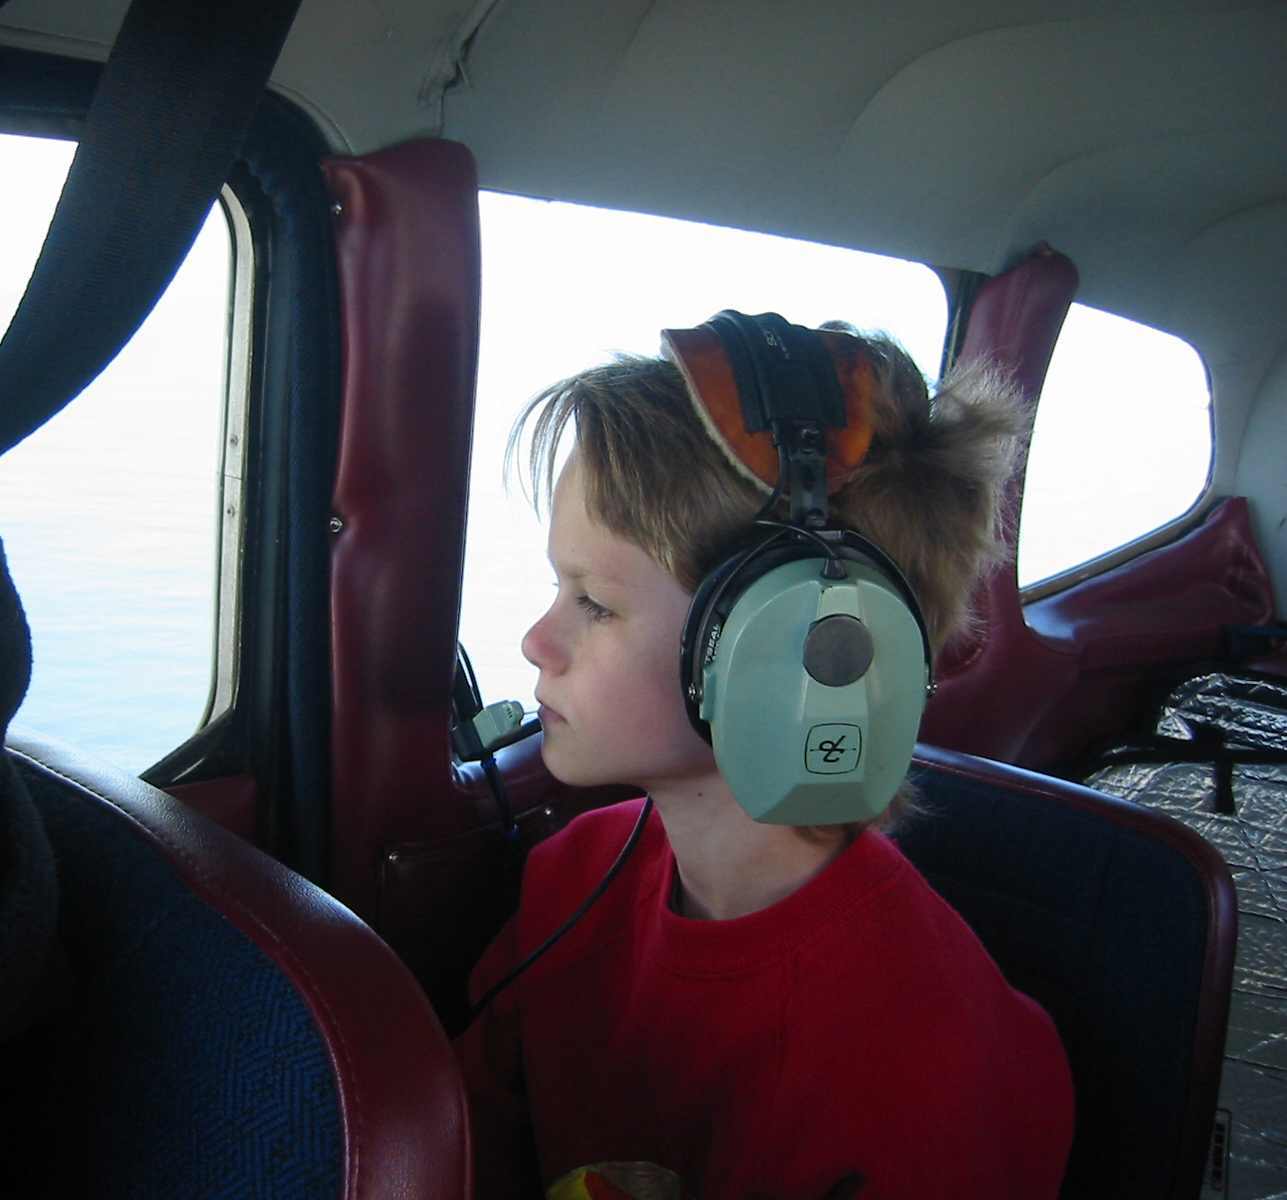 |
 |
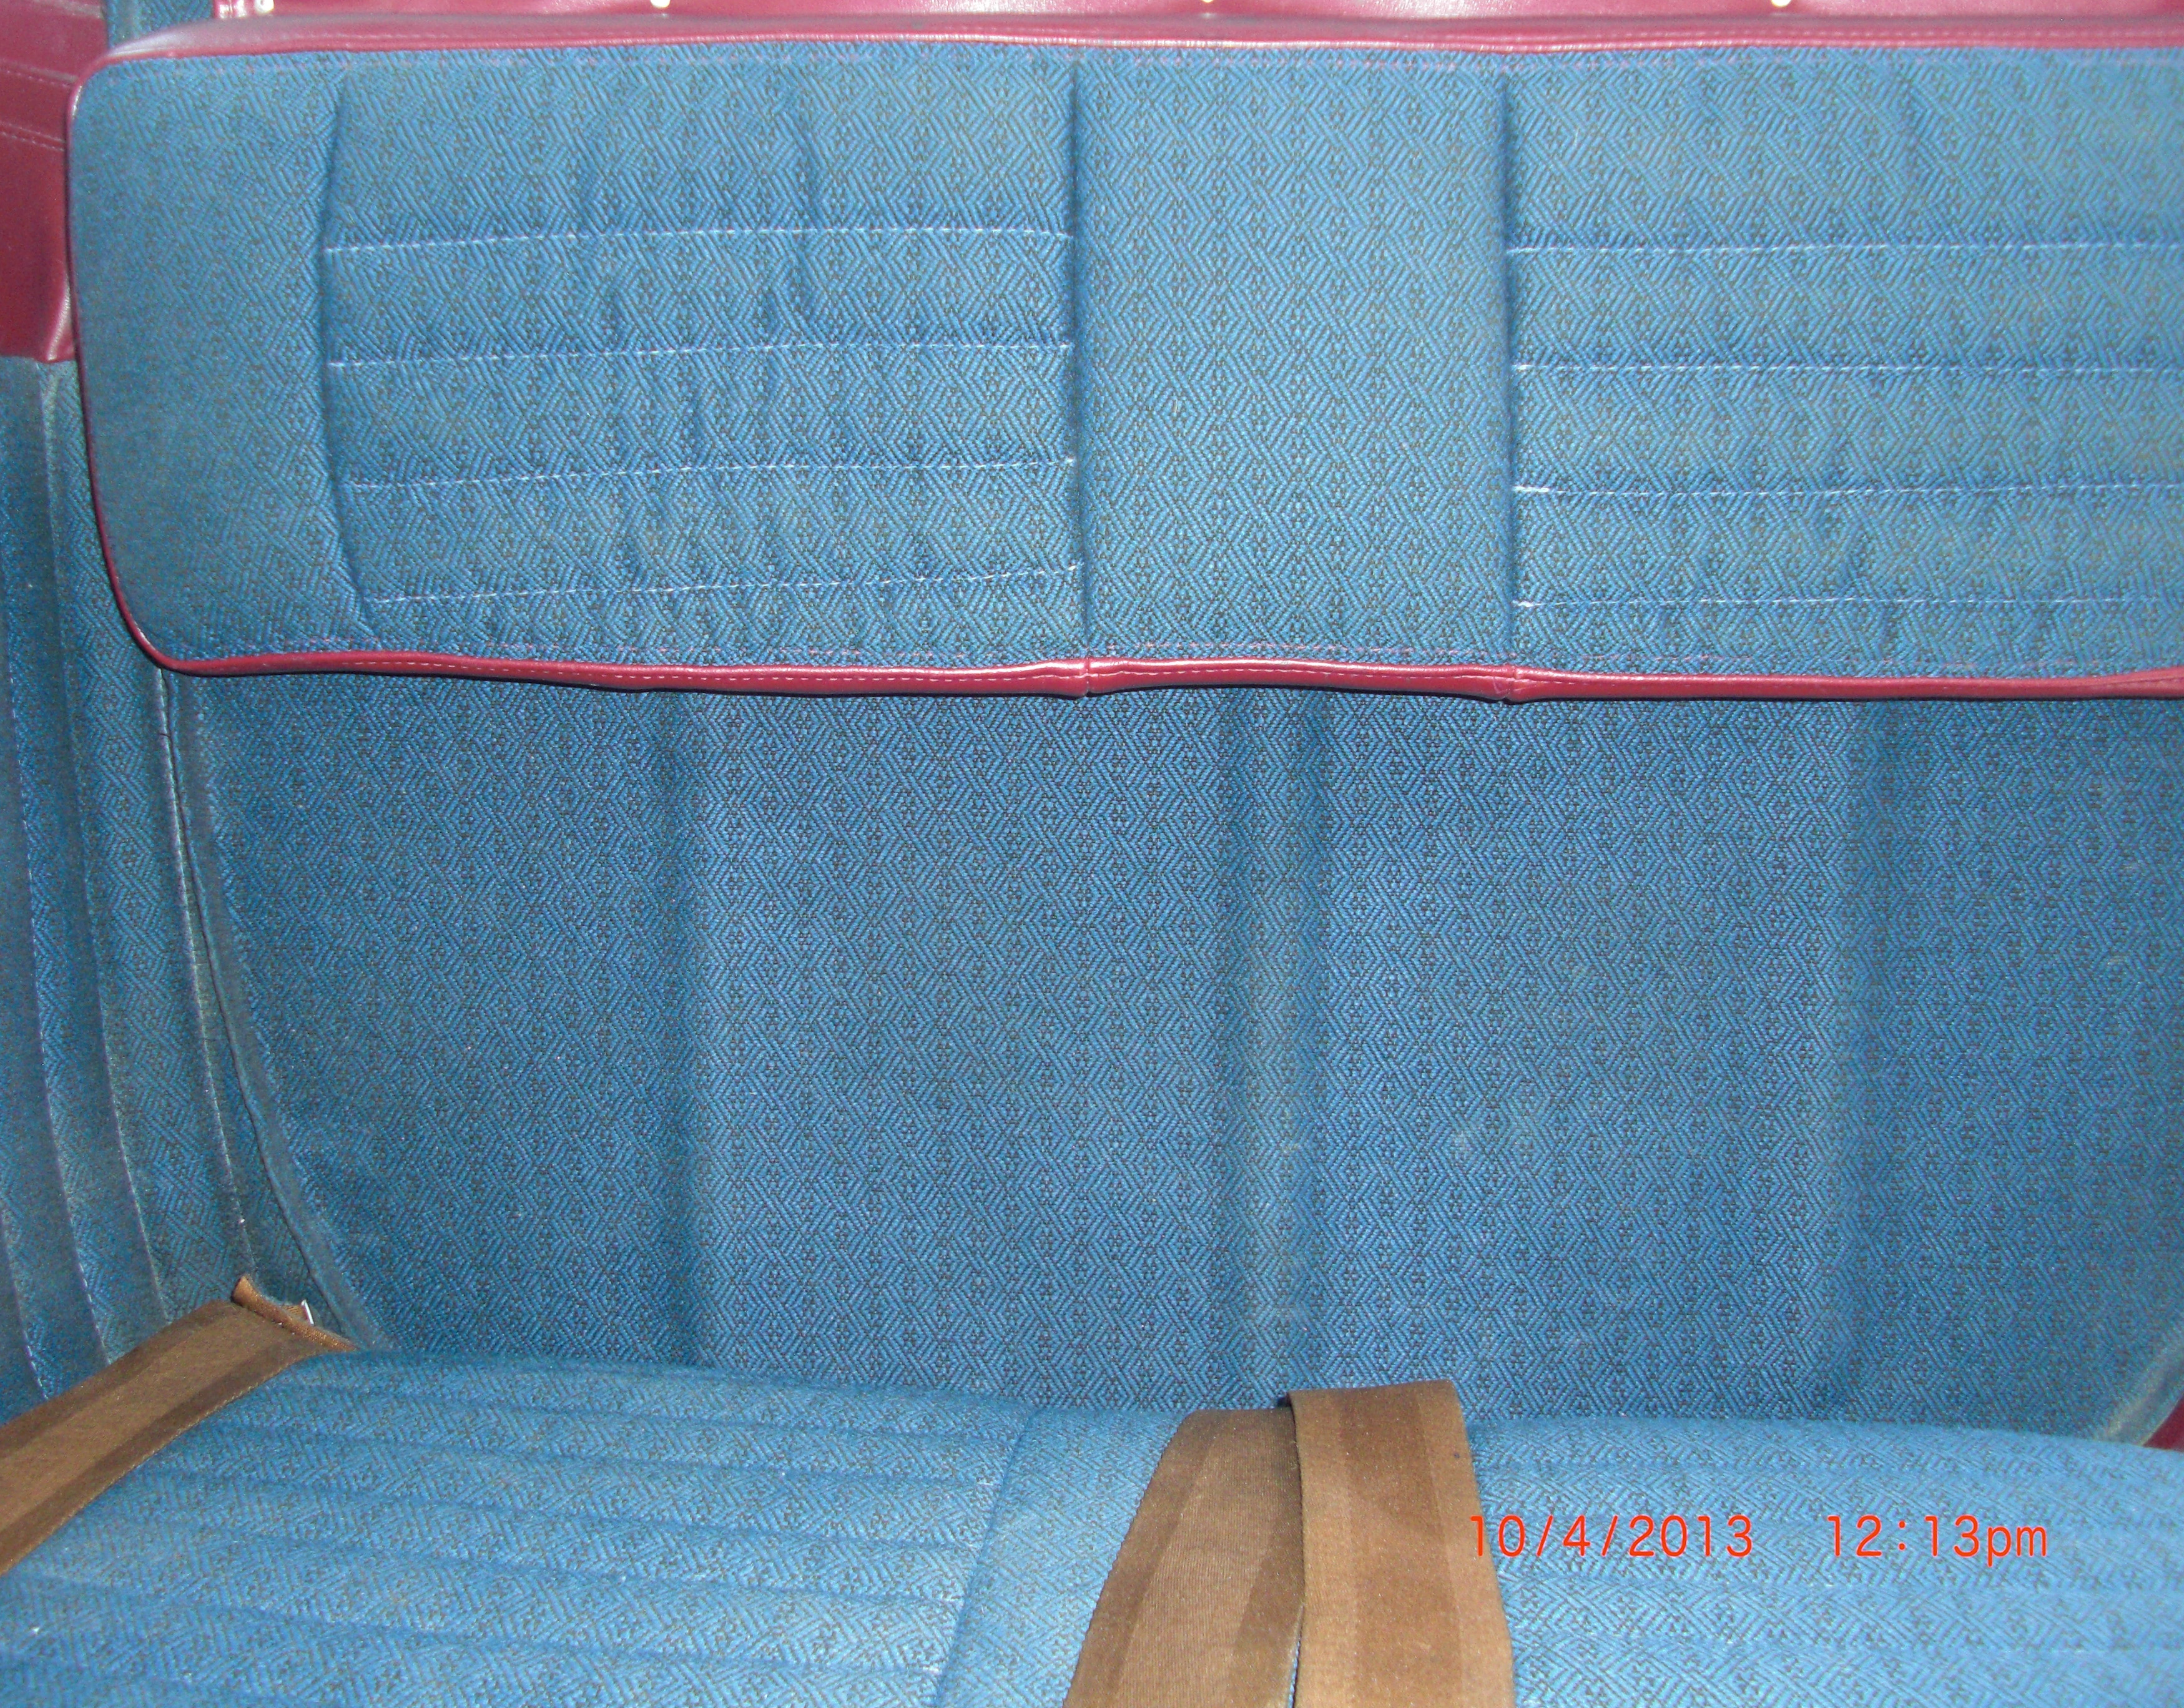 |
The rear seats are best for children although I have had adults sit back there for short flights. The real advantage of the 6 seat interior is the extra baggage space which certainly has came in handy on extended flights with my family of four. | 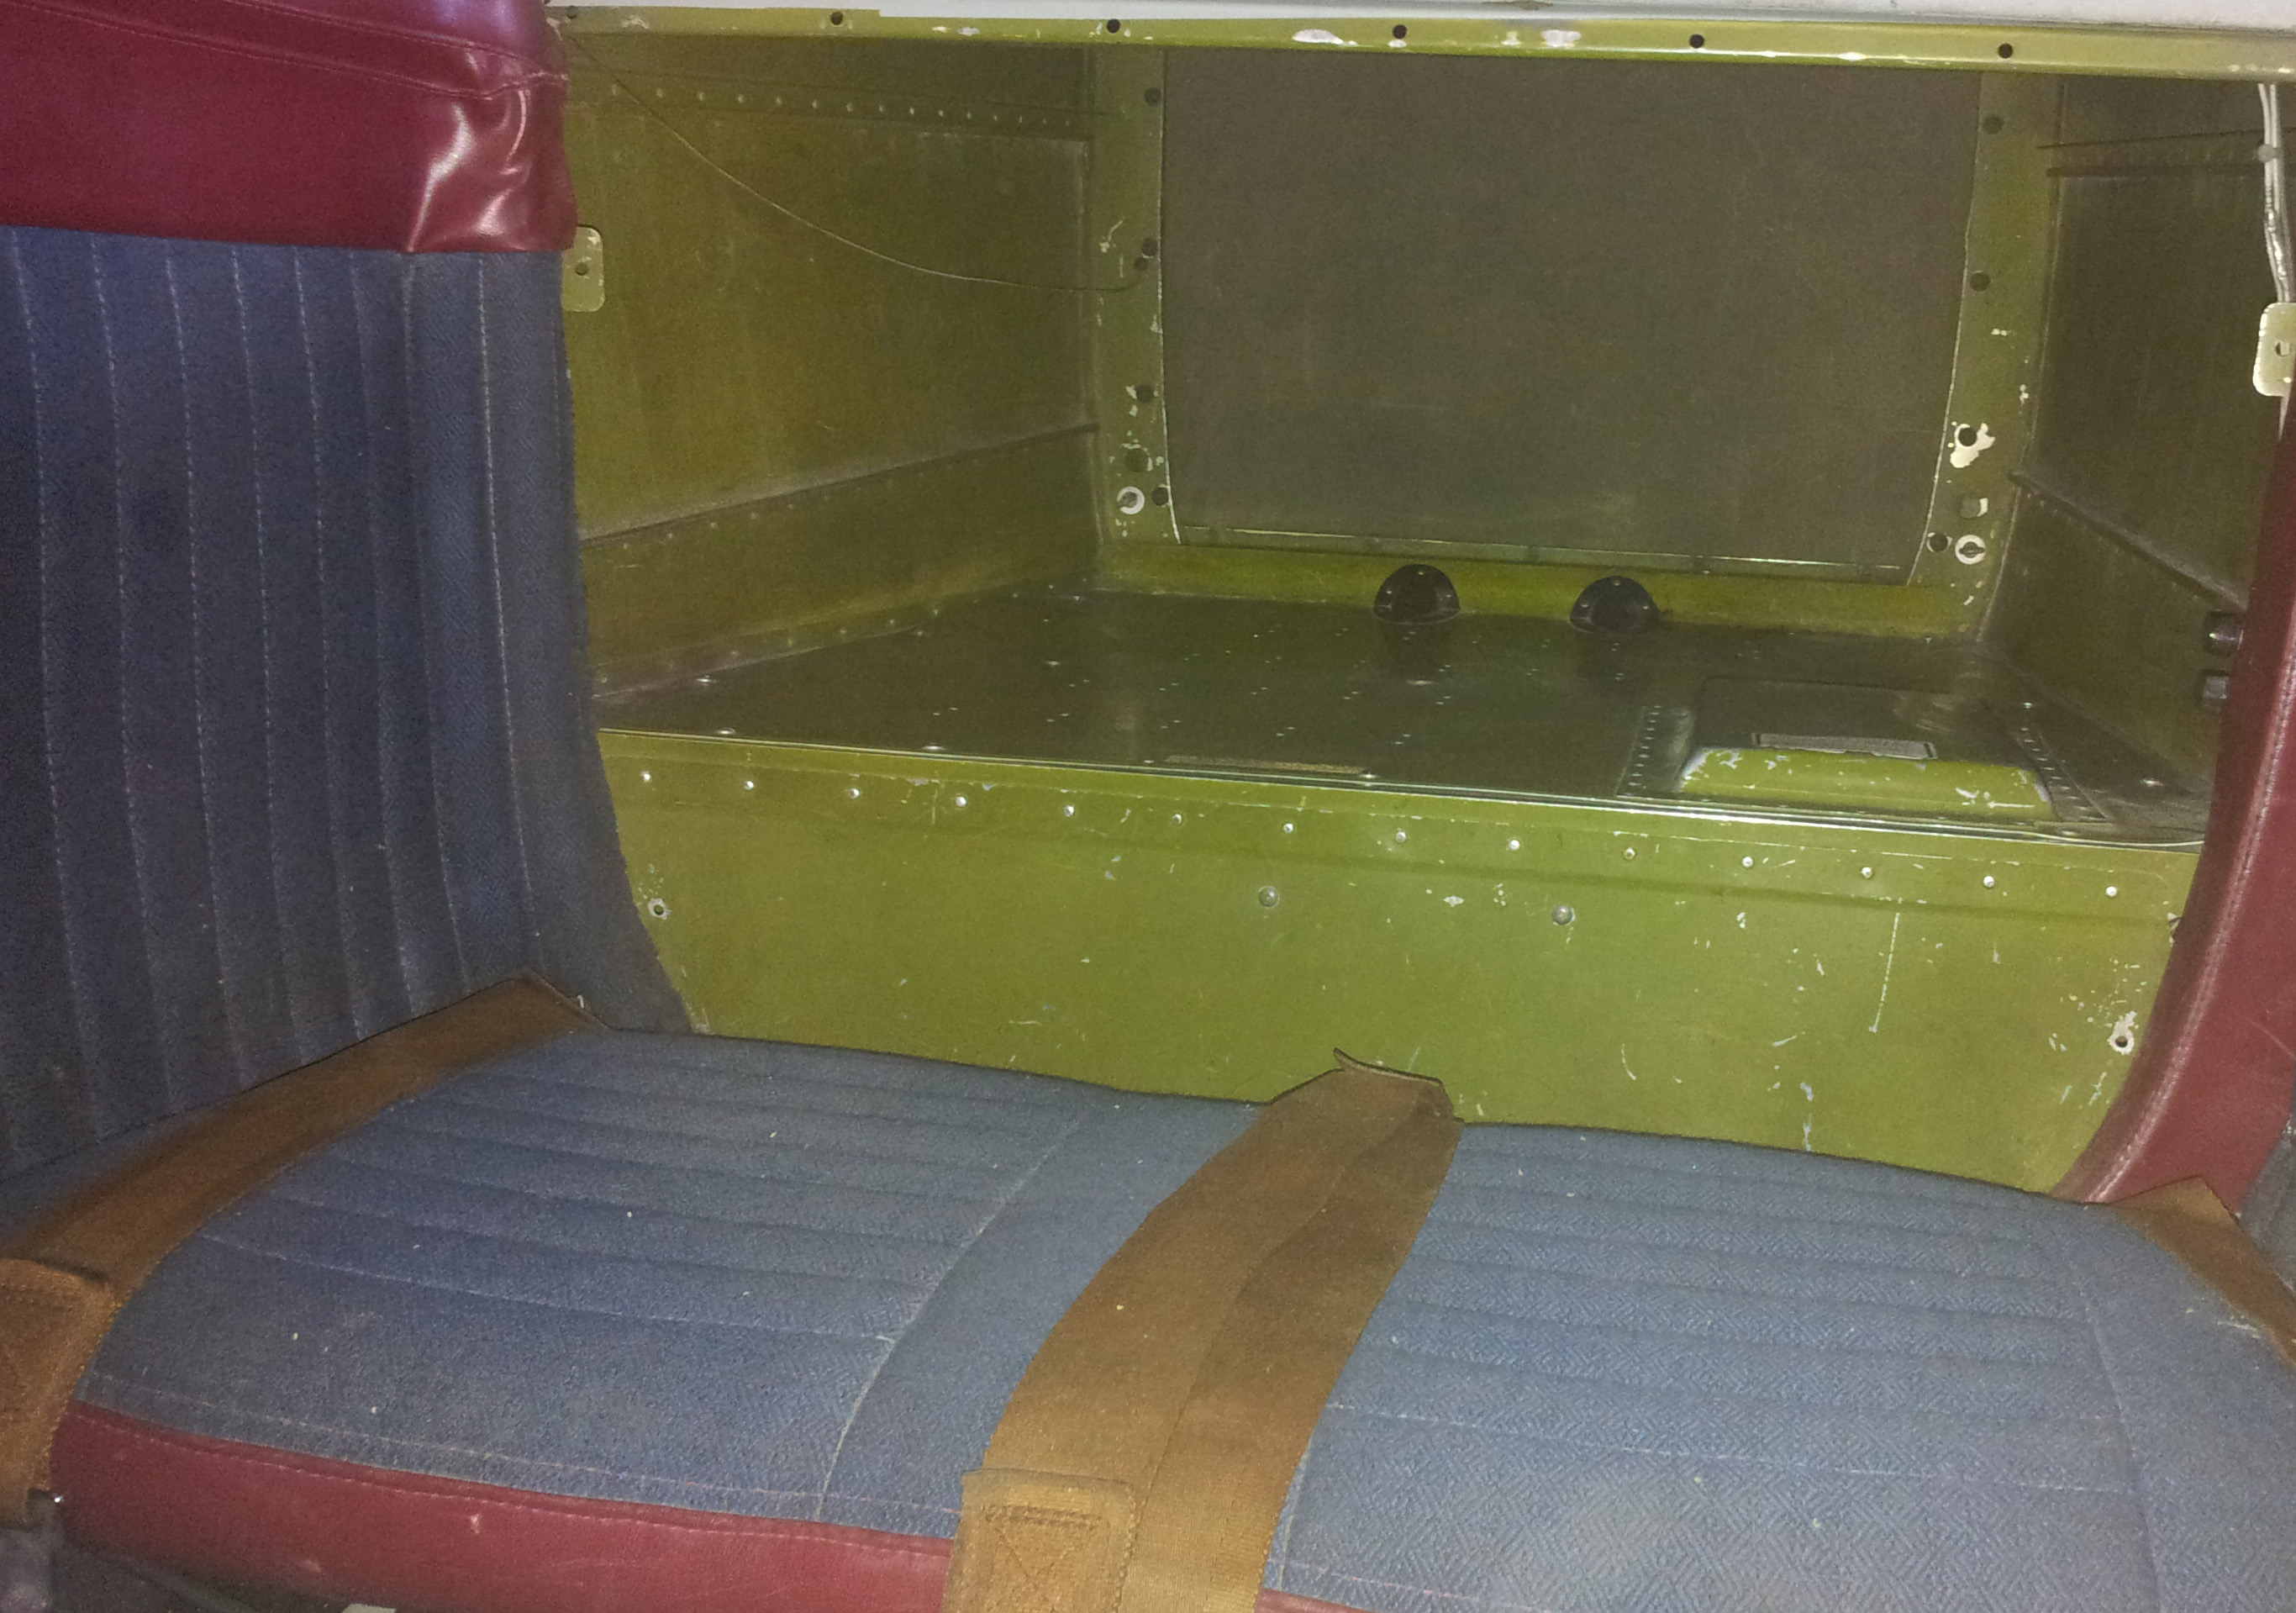 |
When carrying lots of baggage I remove the rear seat back for easier access to the large extended baggage area. Often when I have all my camping stuff laid out on the tarmac, pilots passing by shake their heads and say that there is no way I'm going to be able to fit all that stuff into the airplane. But I always do :) |
 |
 |
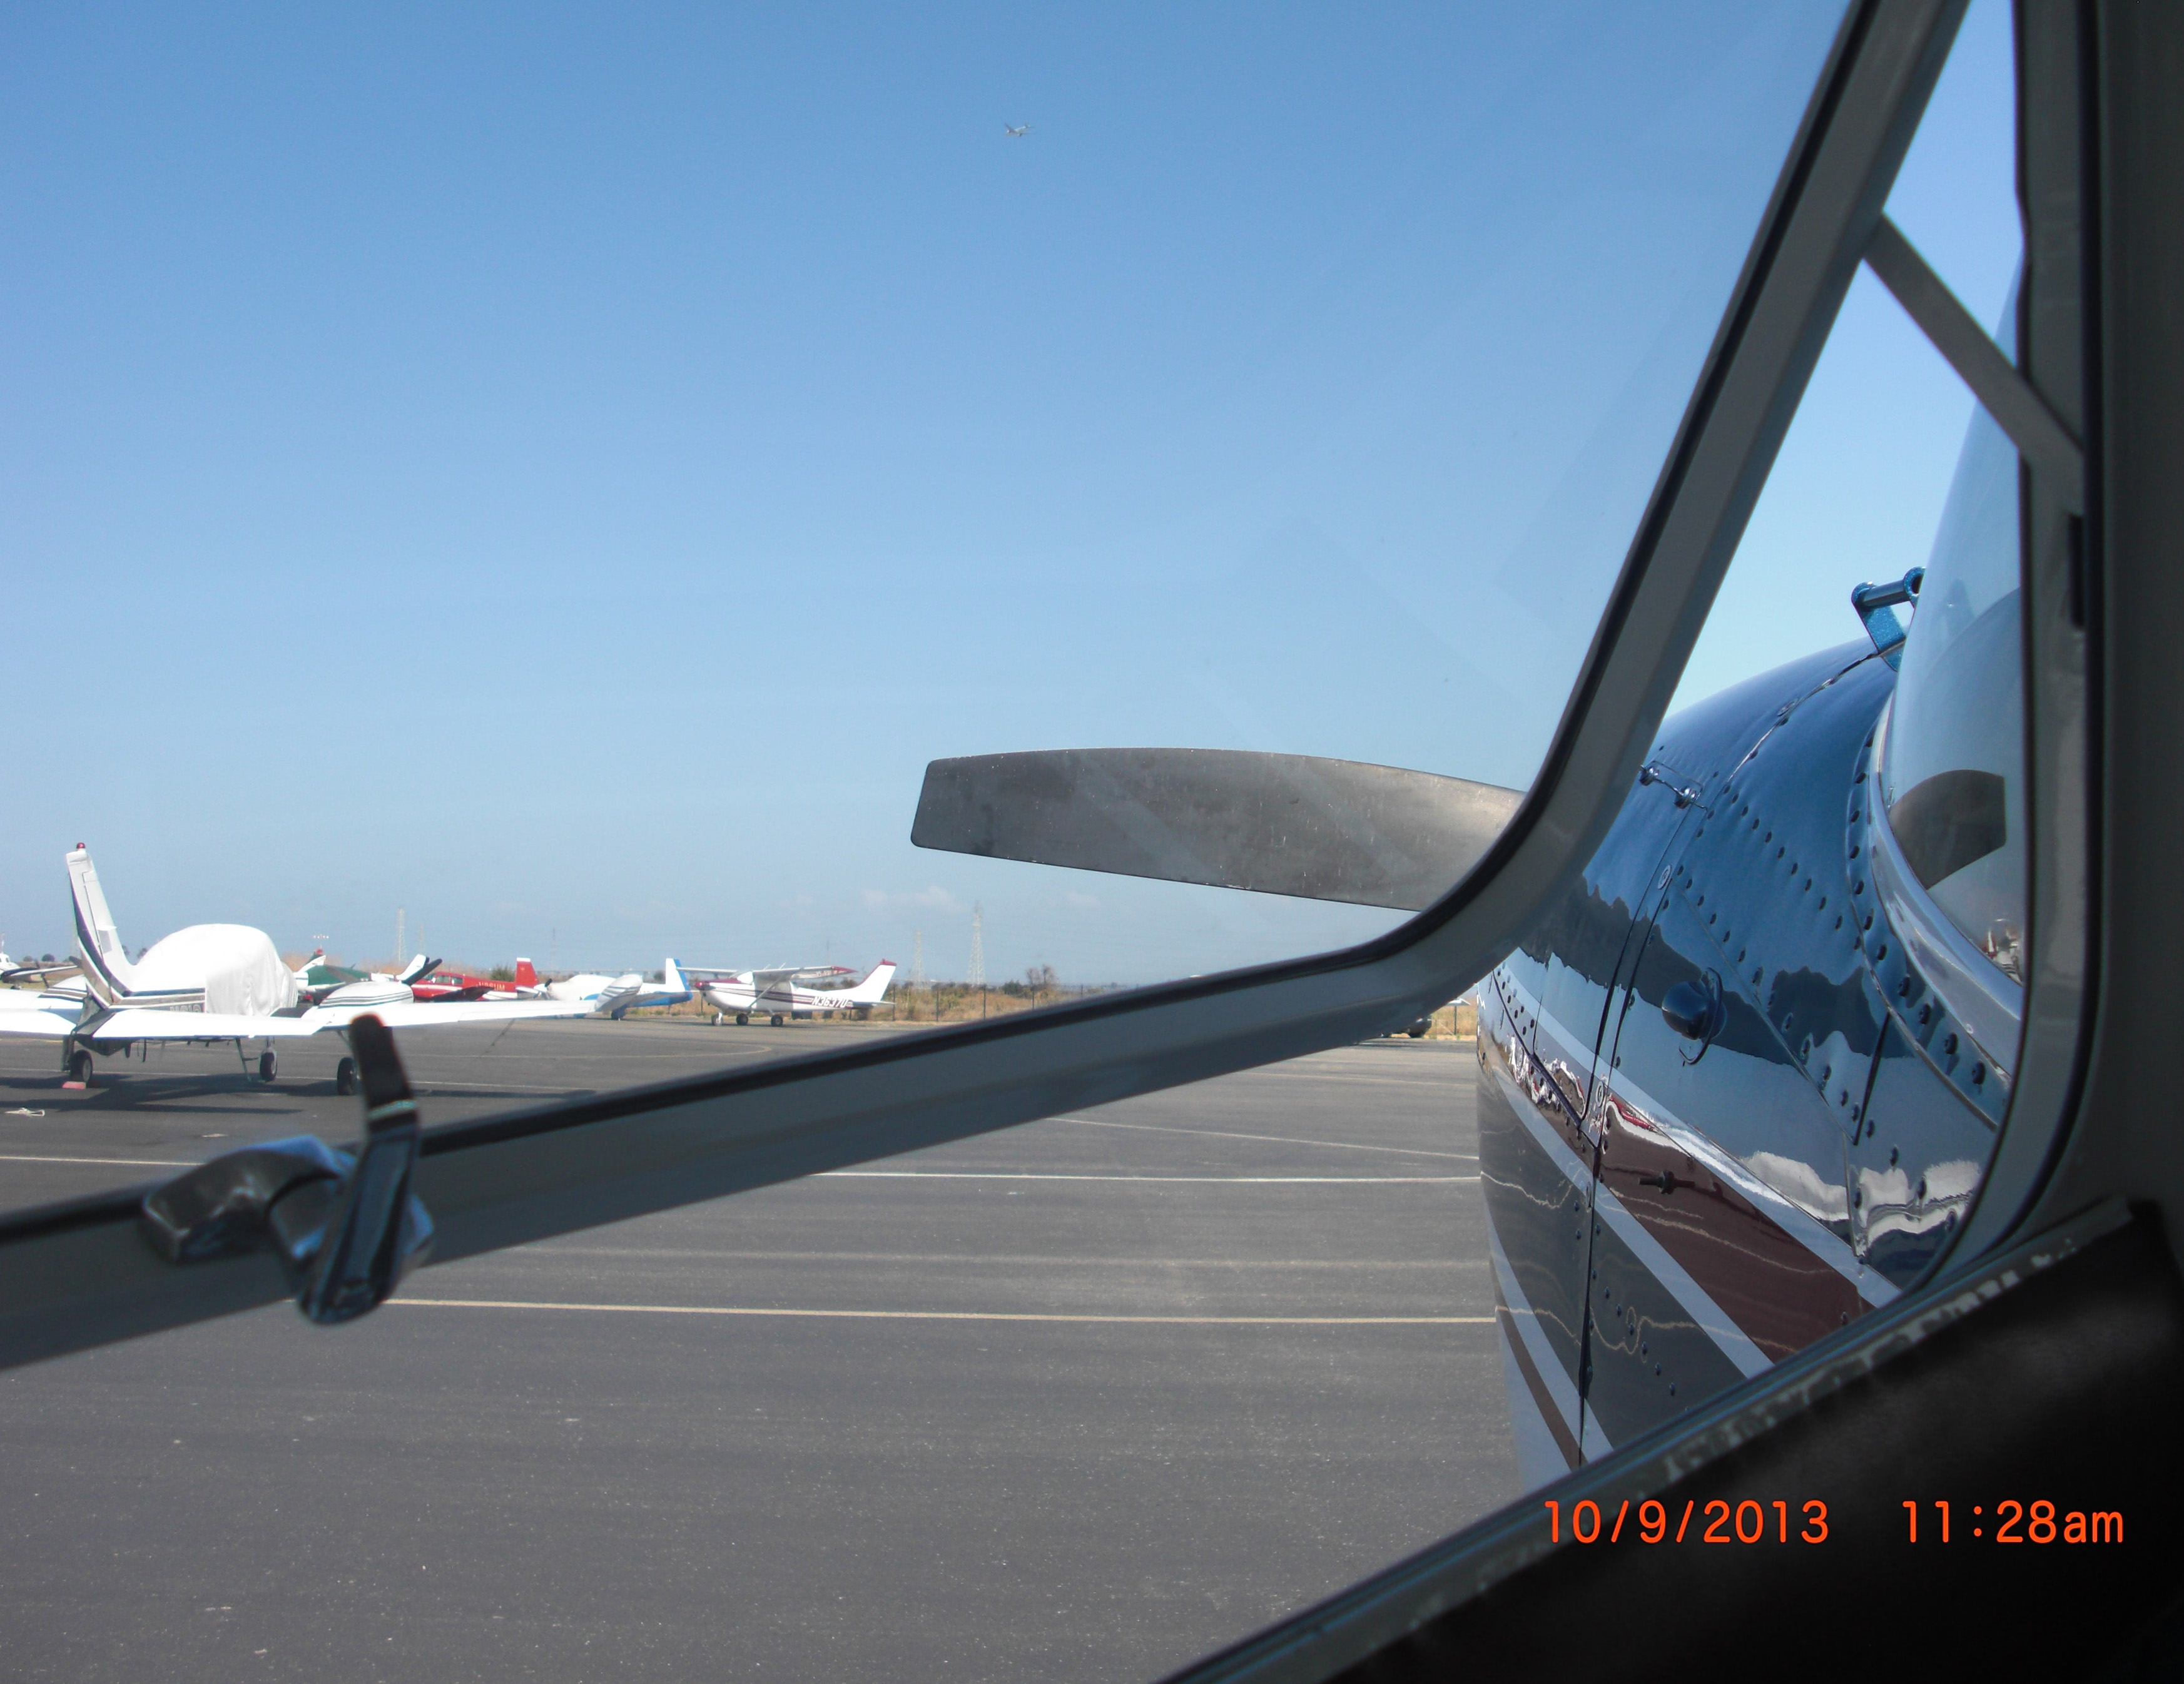
Pilot's and copilot's windows - both recently replaced | 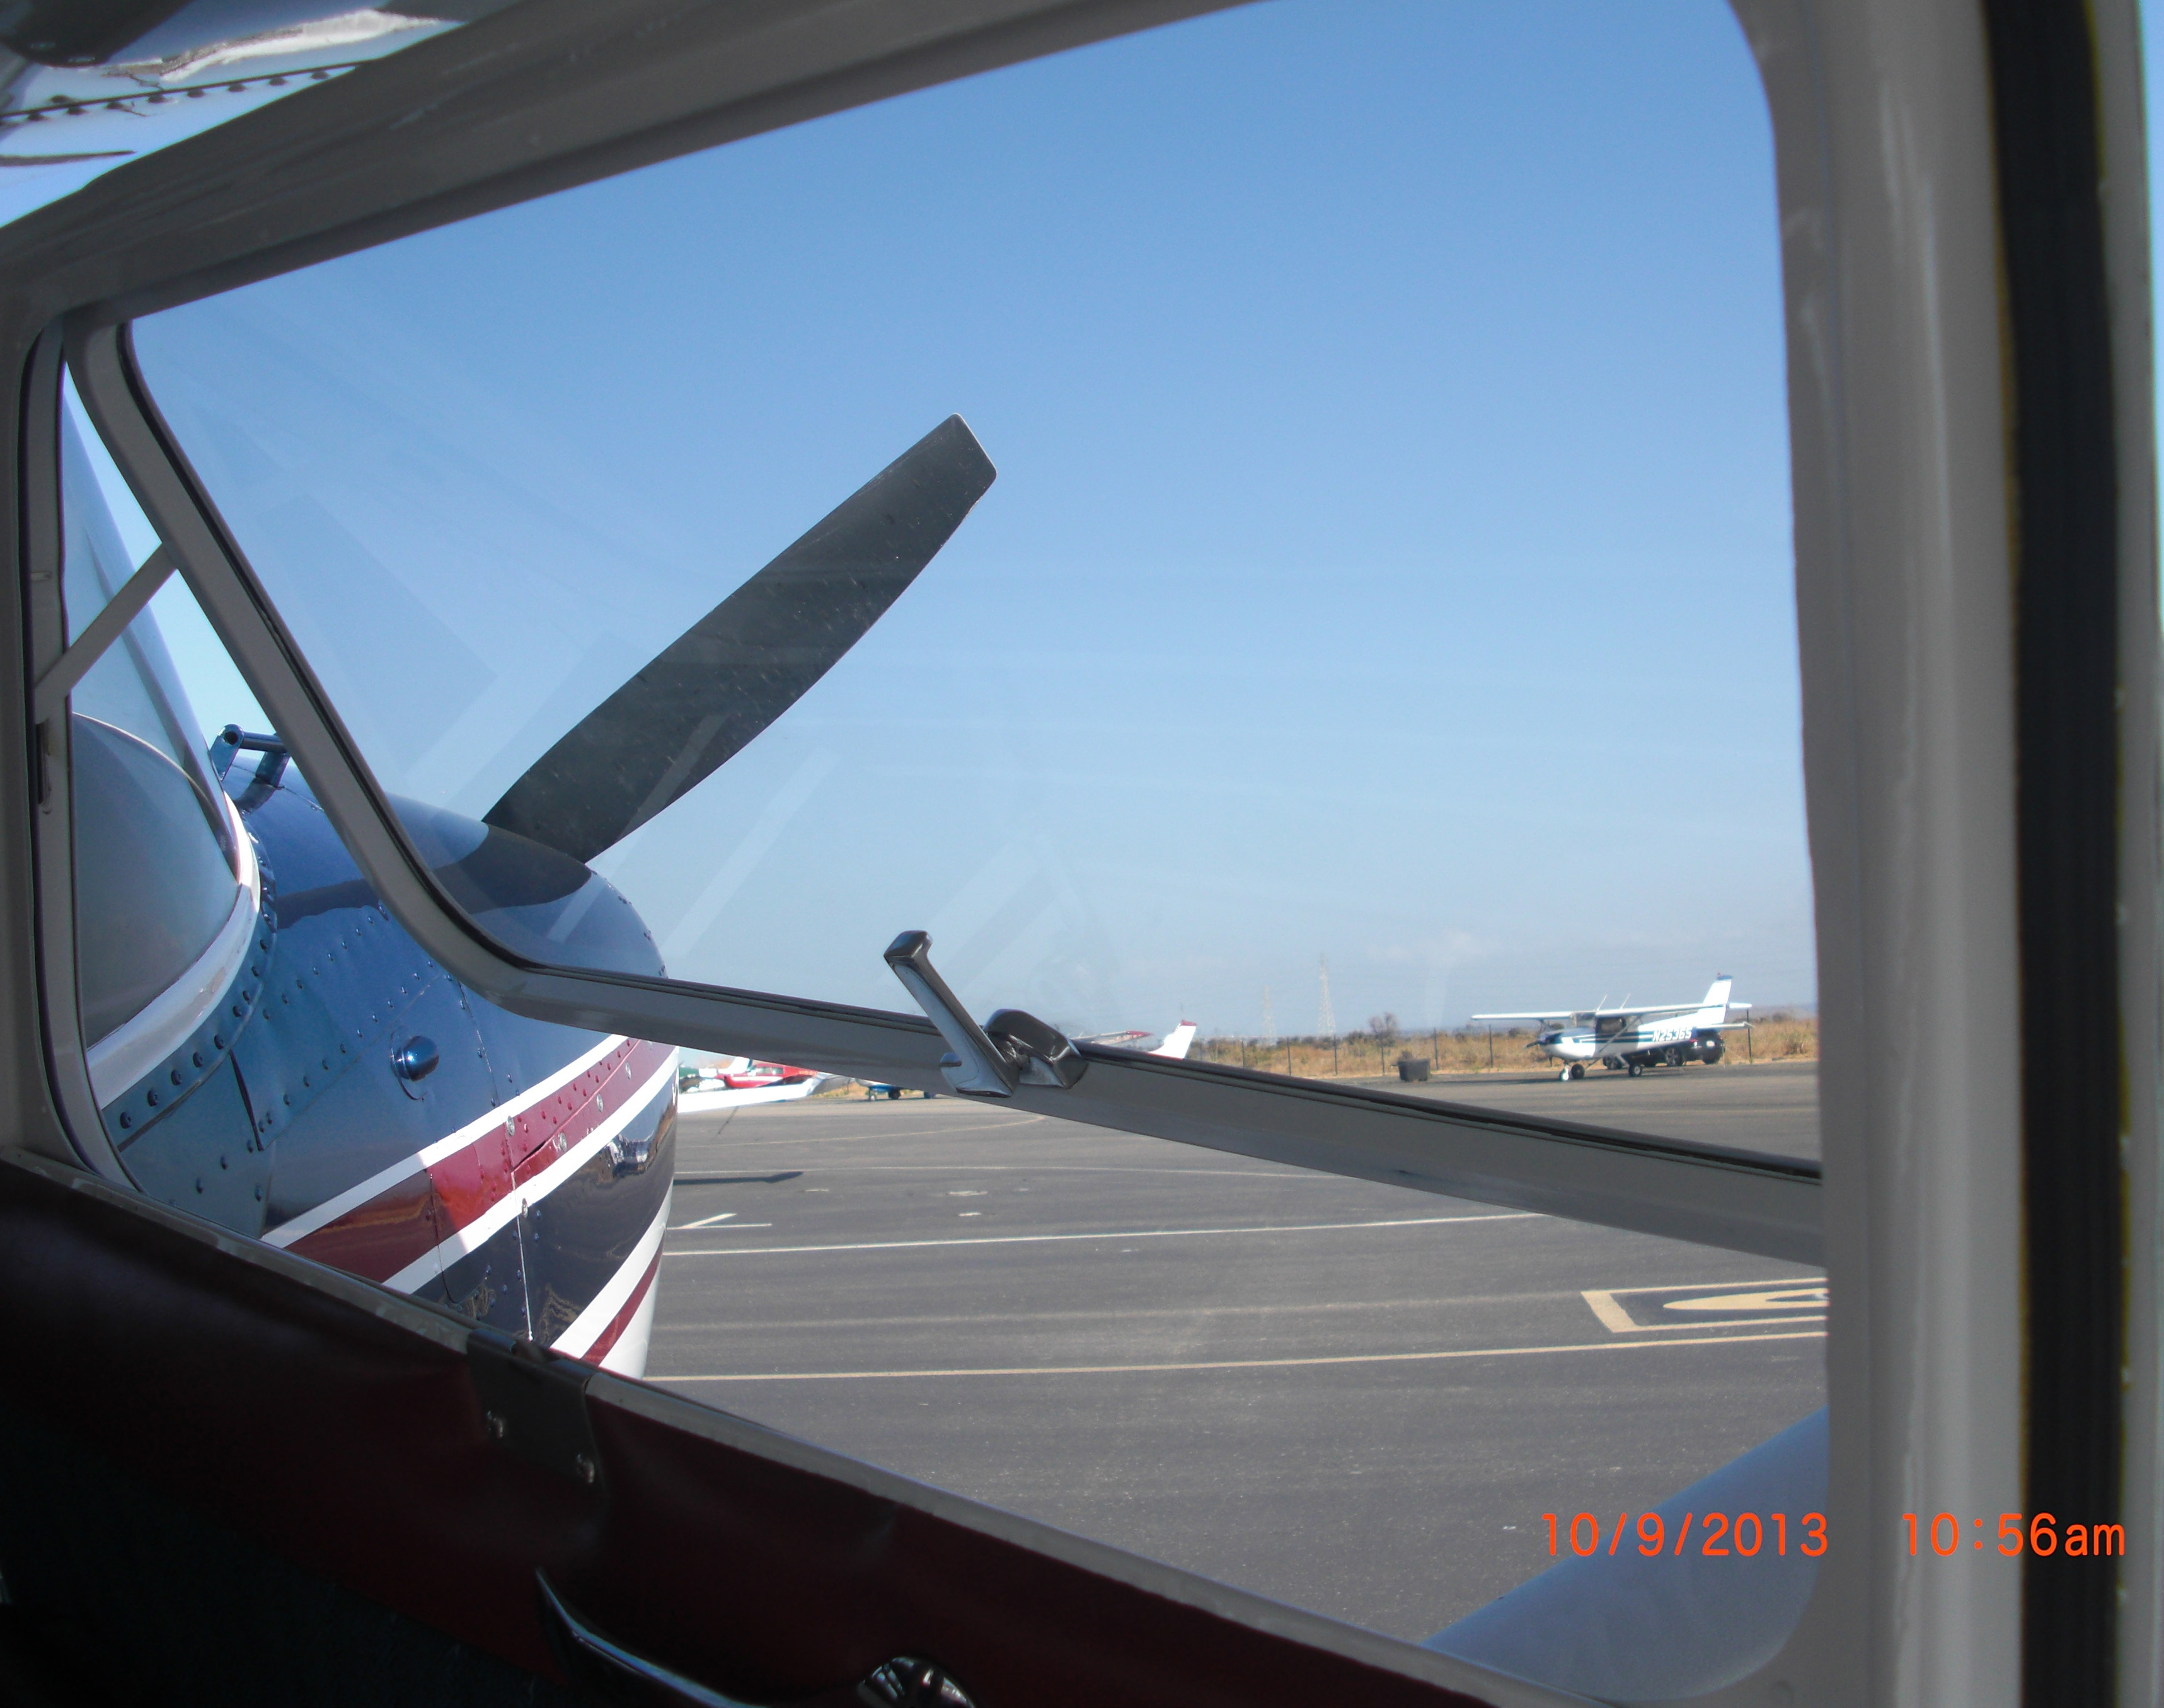 |
 |
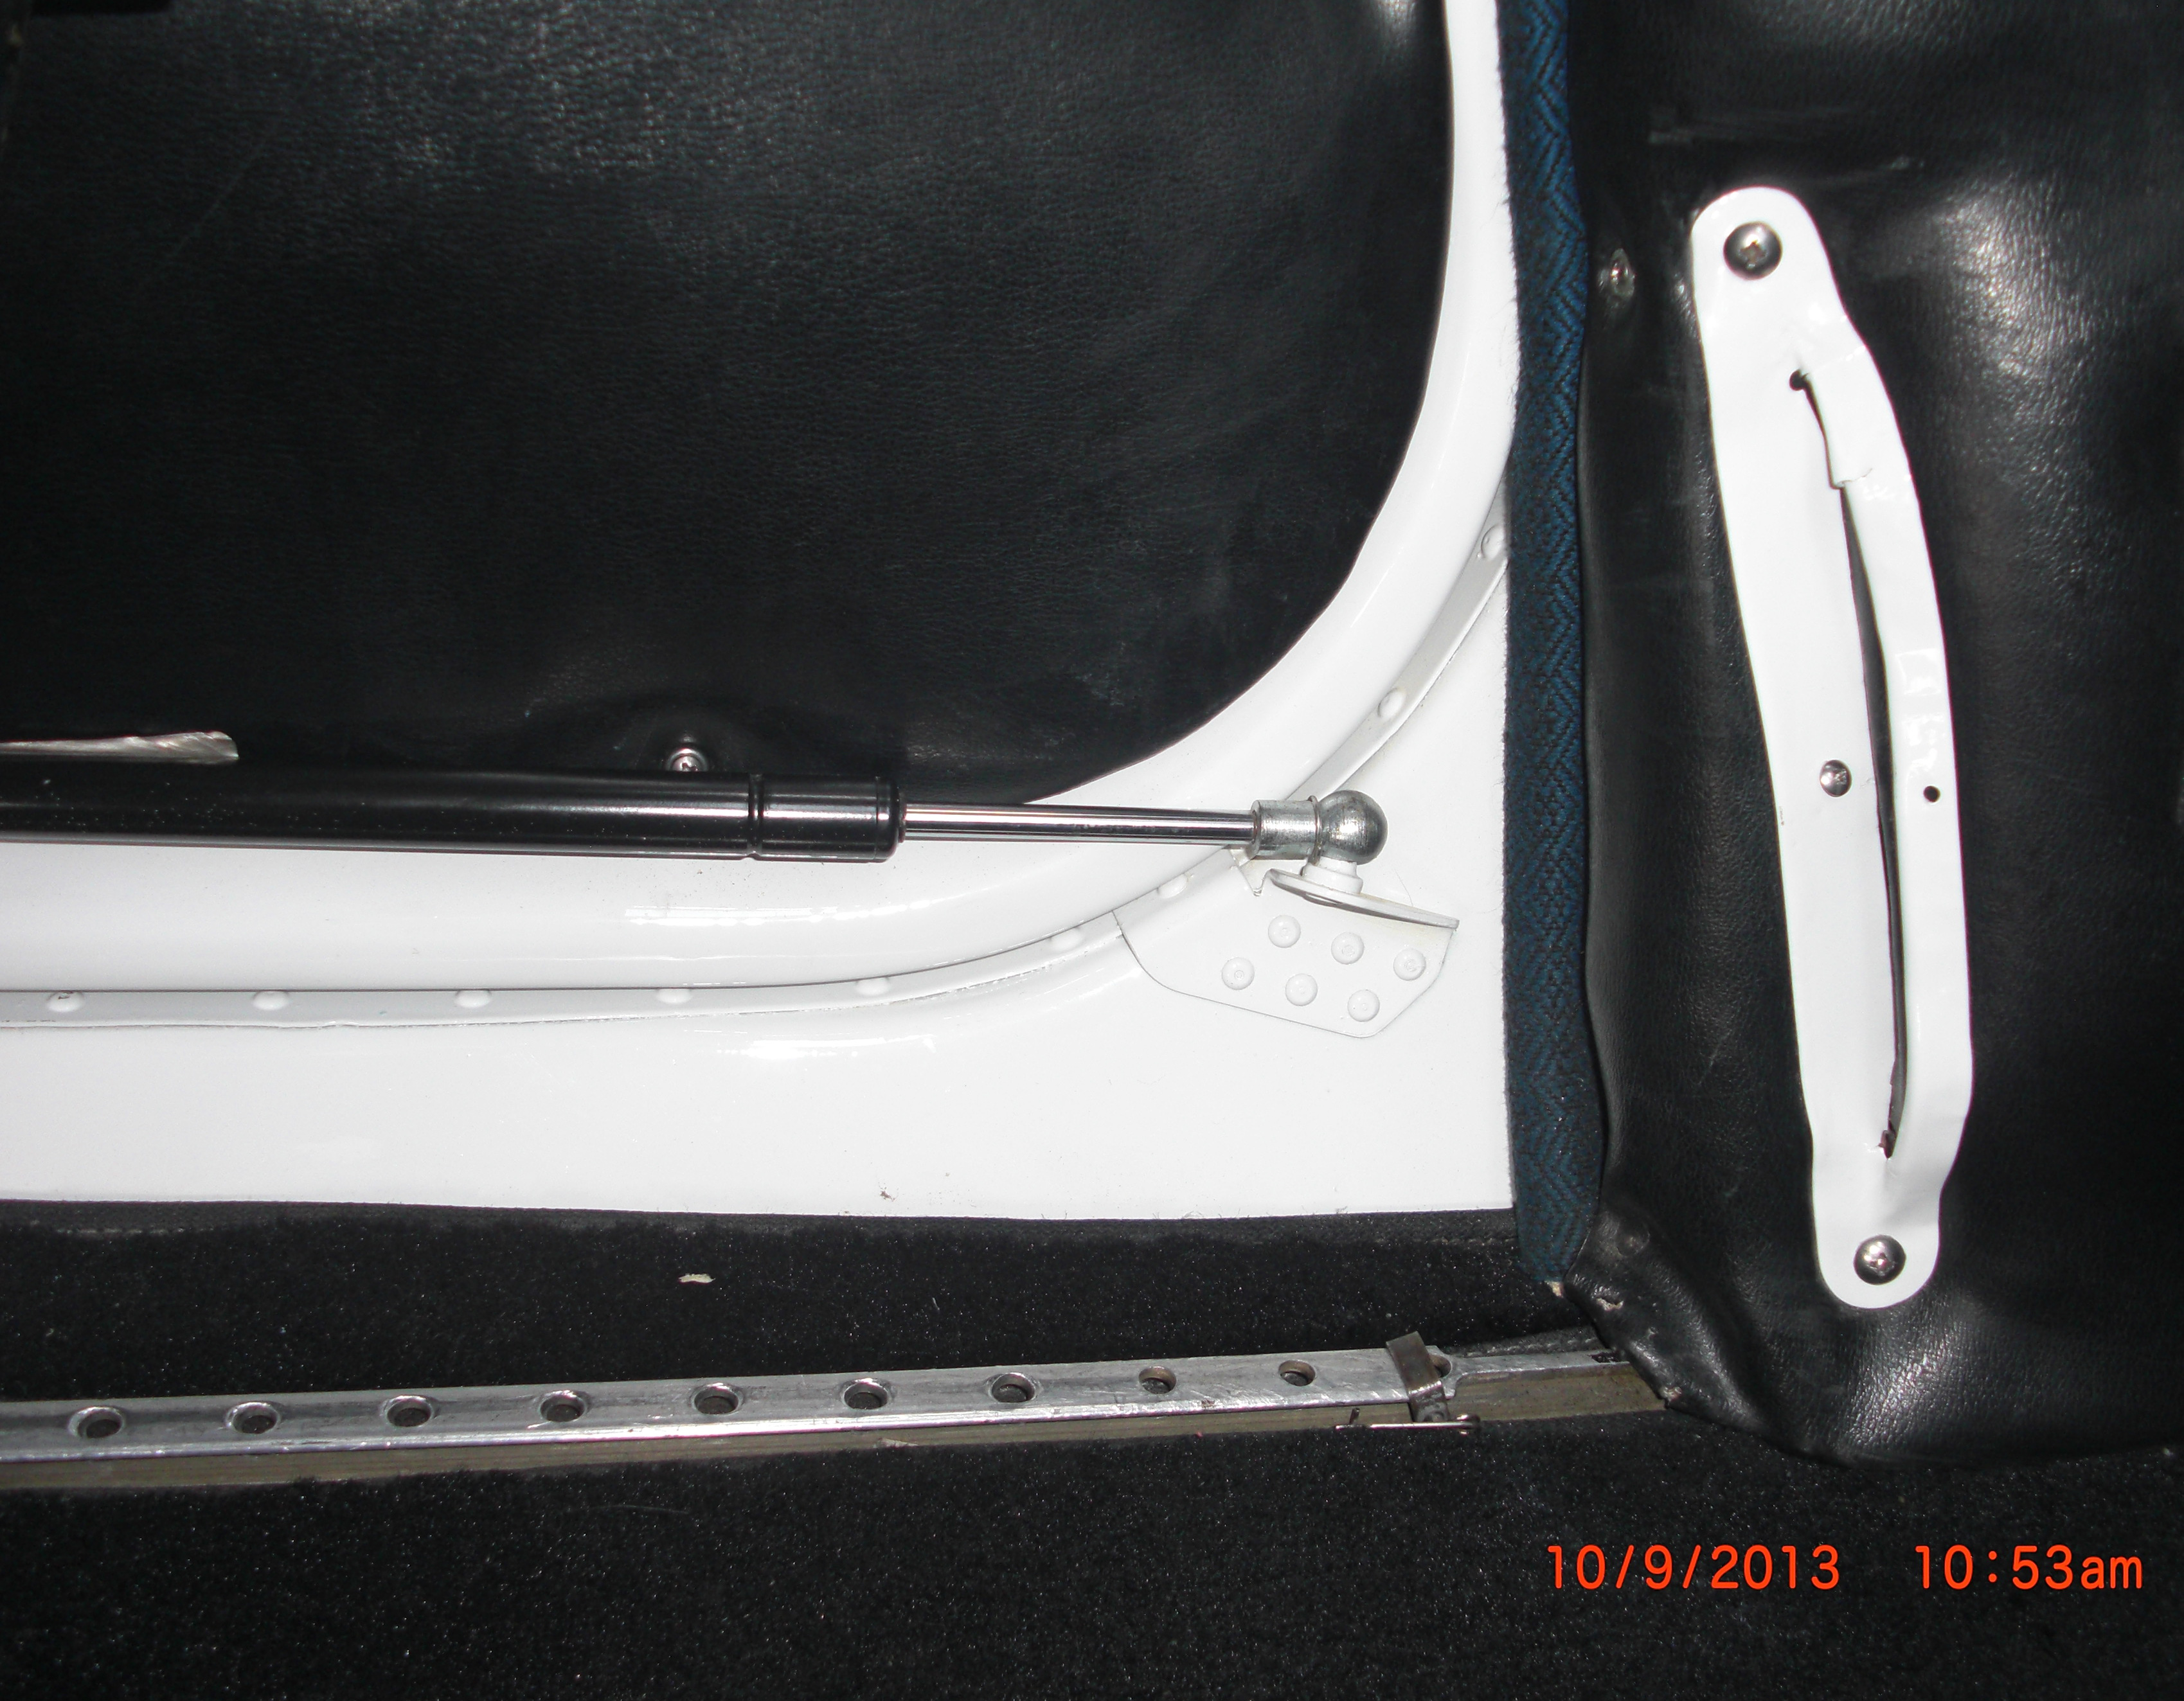 |
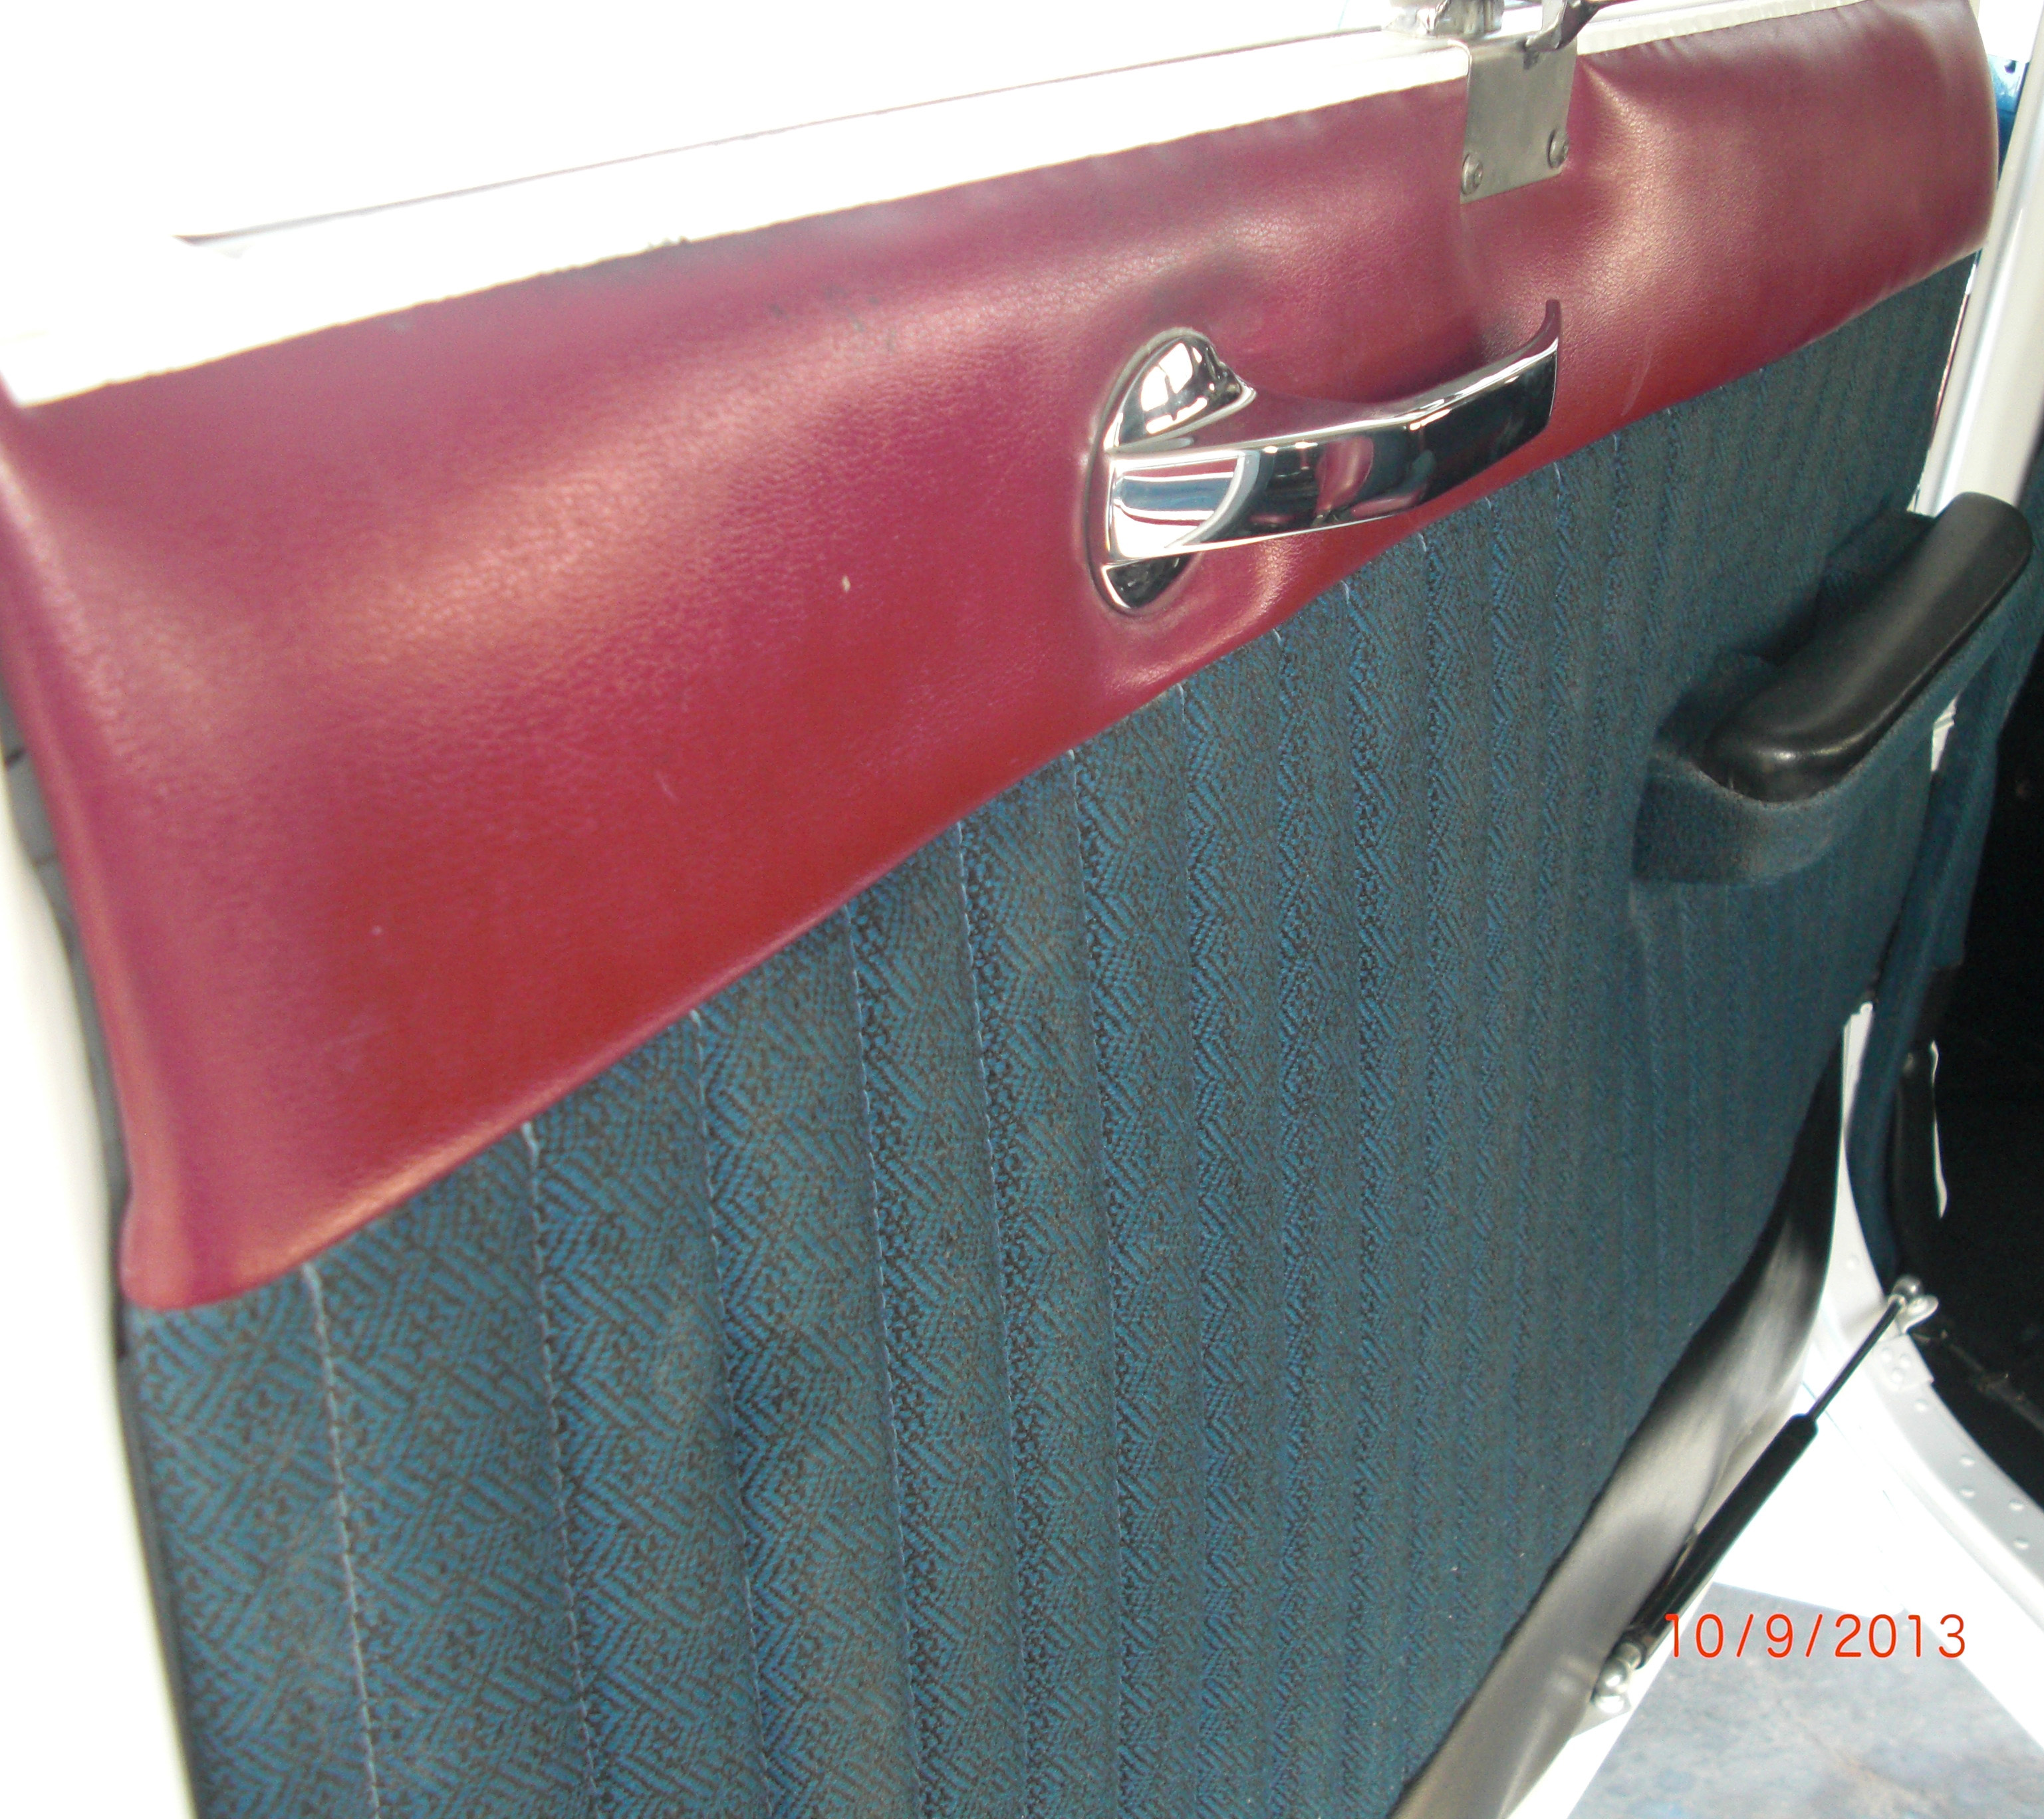
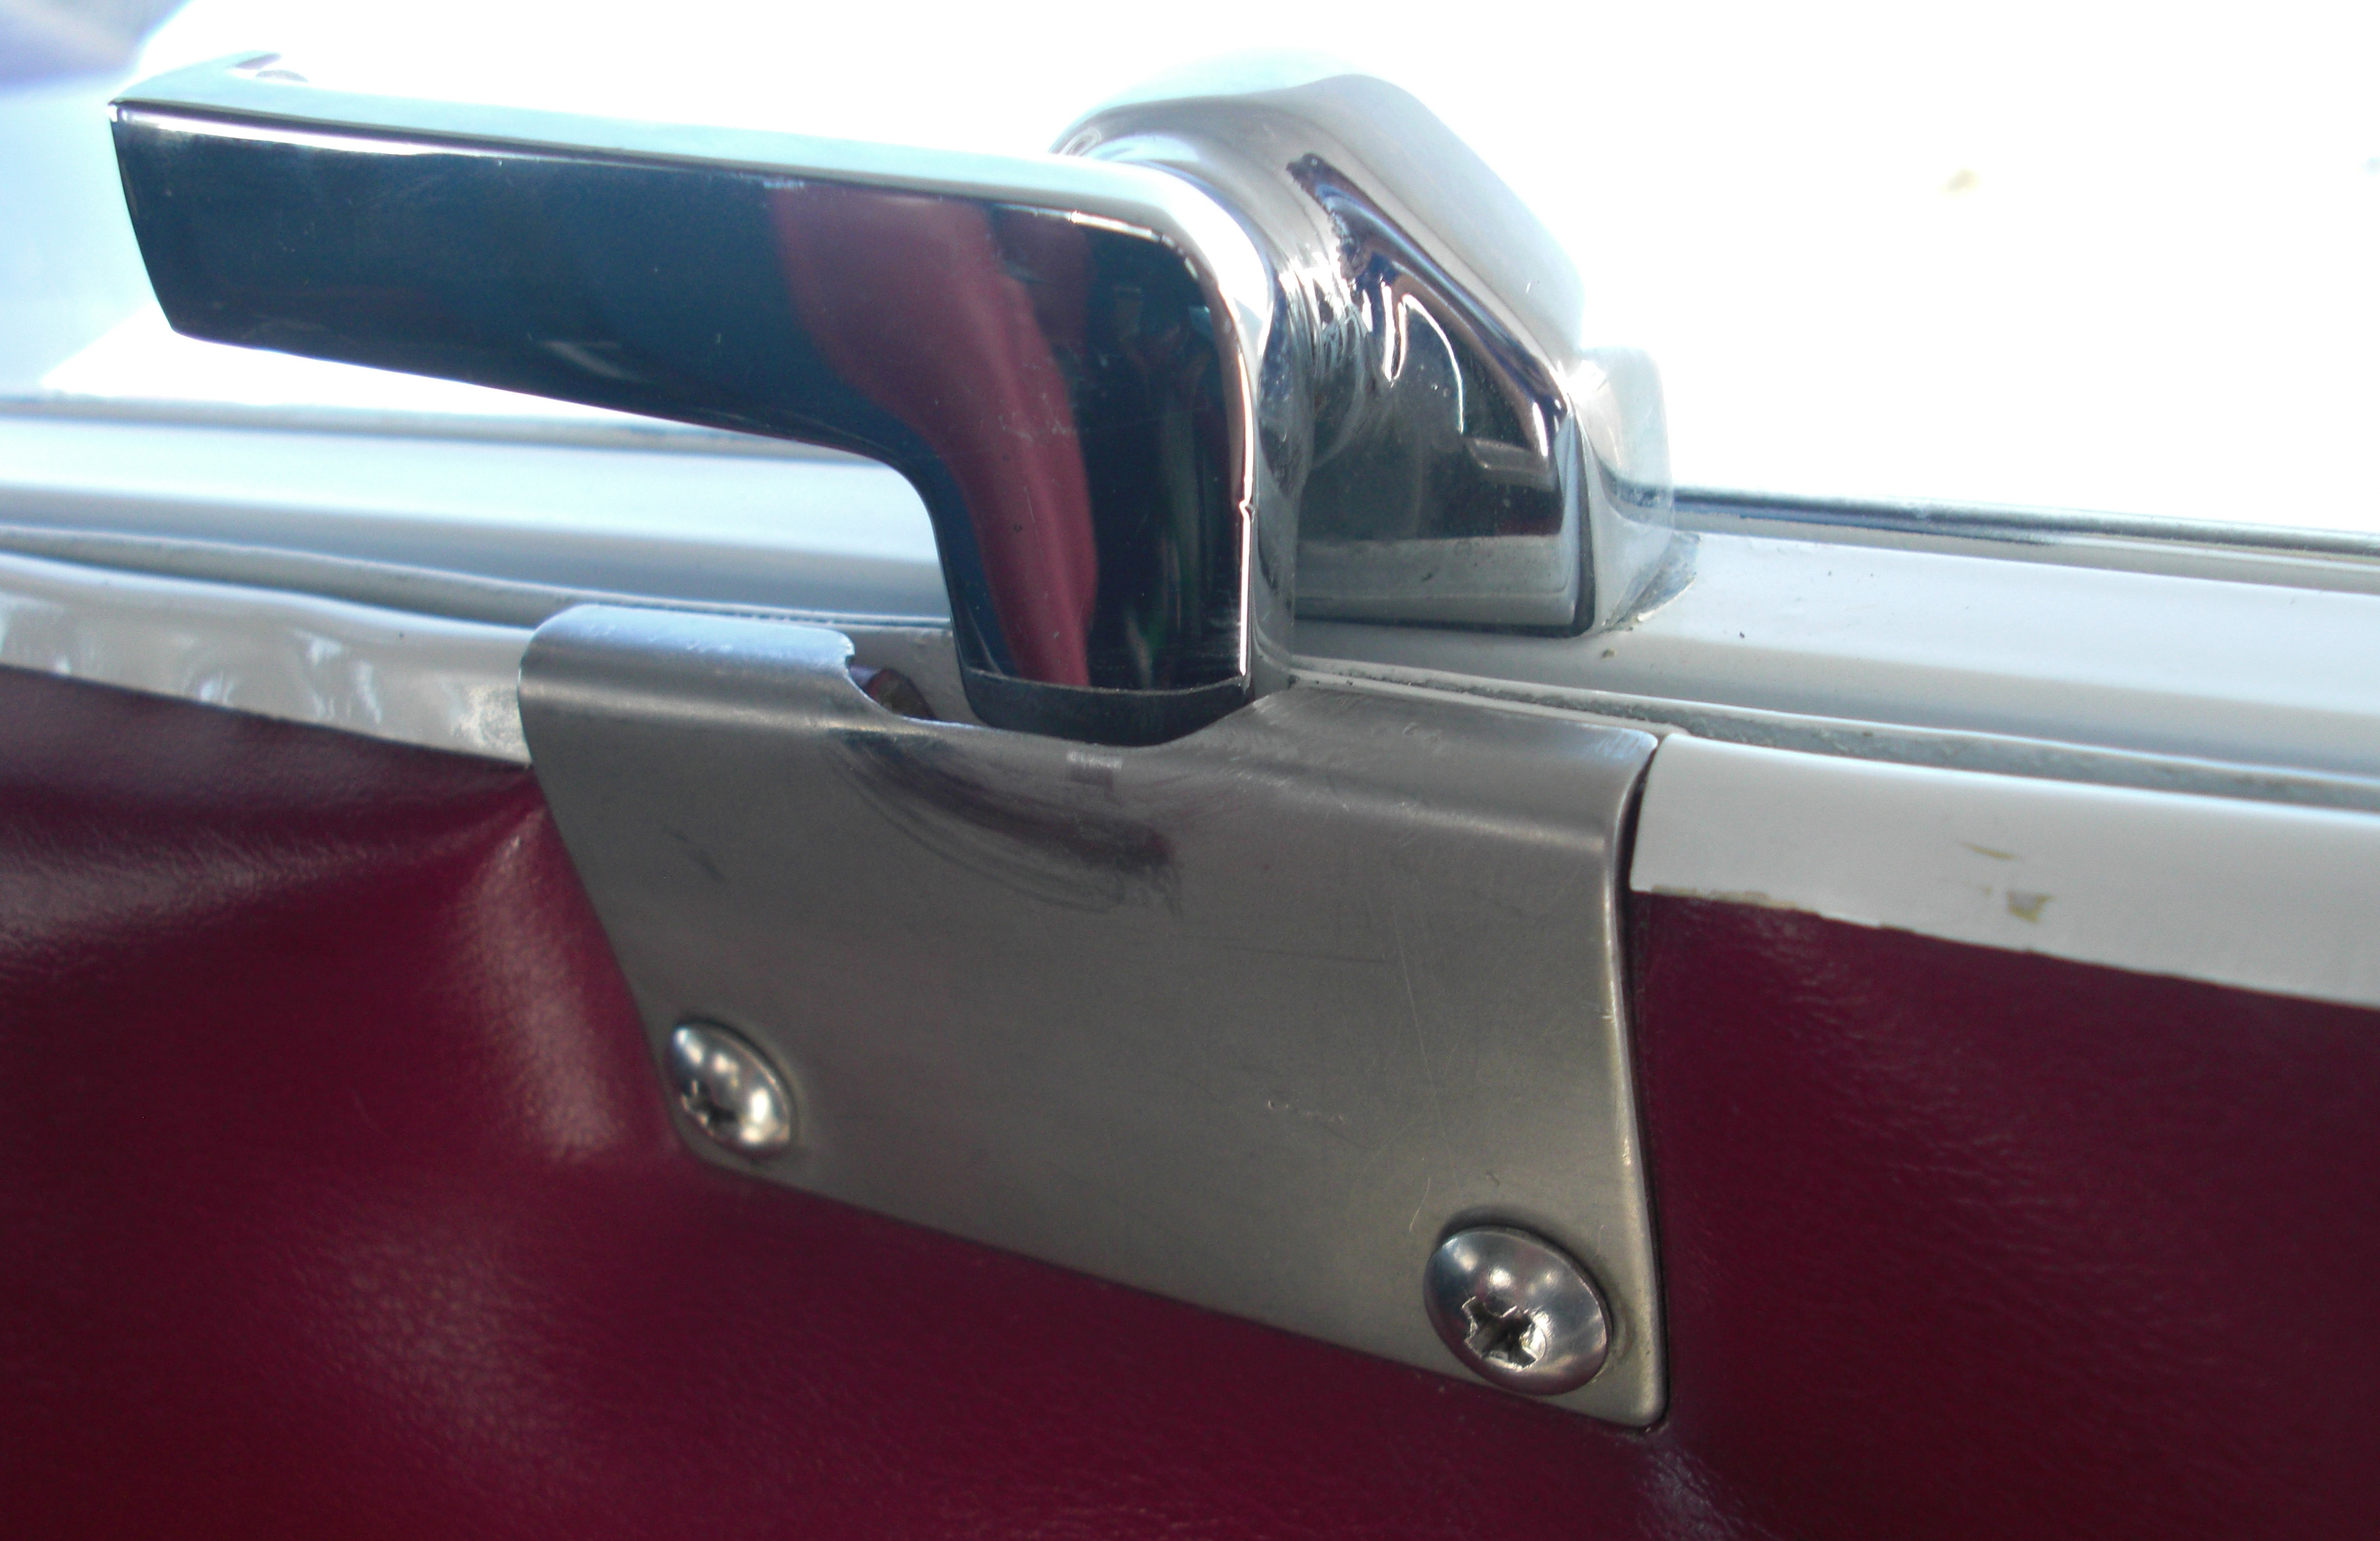
The doors are propped open with the MtnView Aviation door stewards which prevent the door from slapping you in the face in even the stiffest winds. One of the essential C185 mods in my opinion. Note the side heater vents which allow the back seat passengers to benefit from the cabin heater. |  |
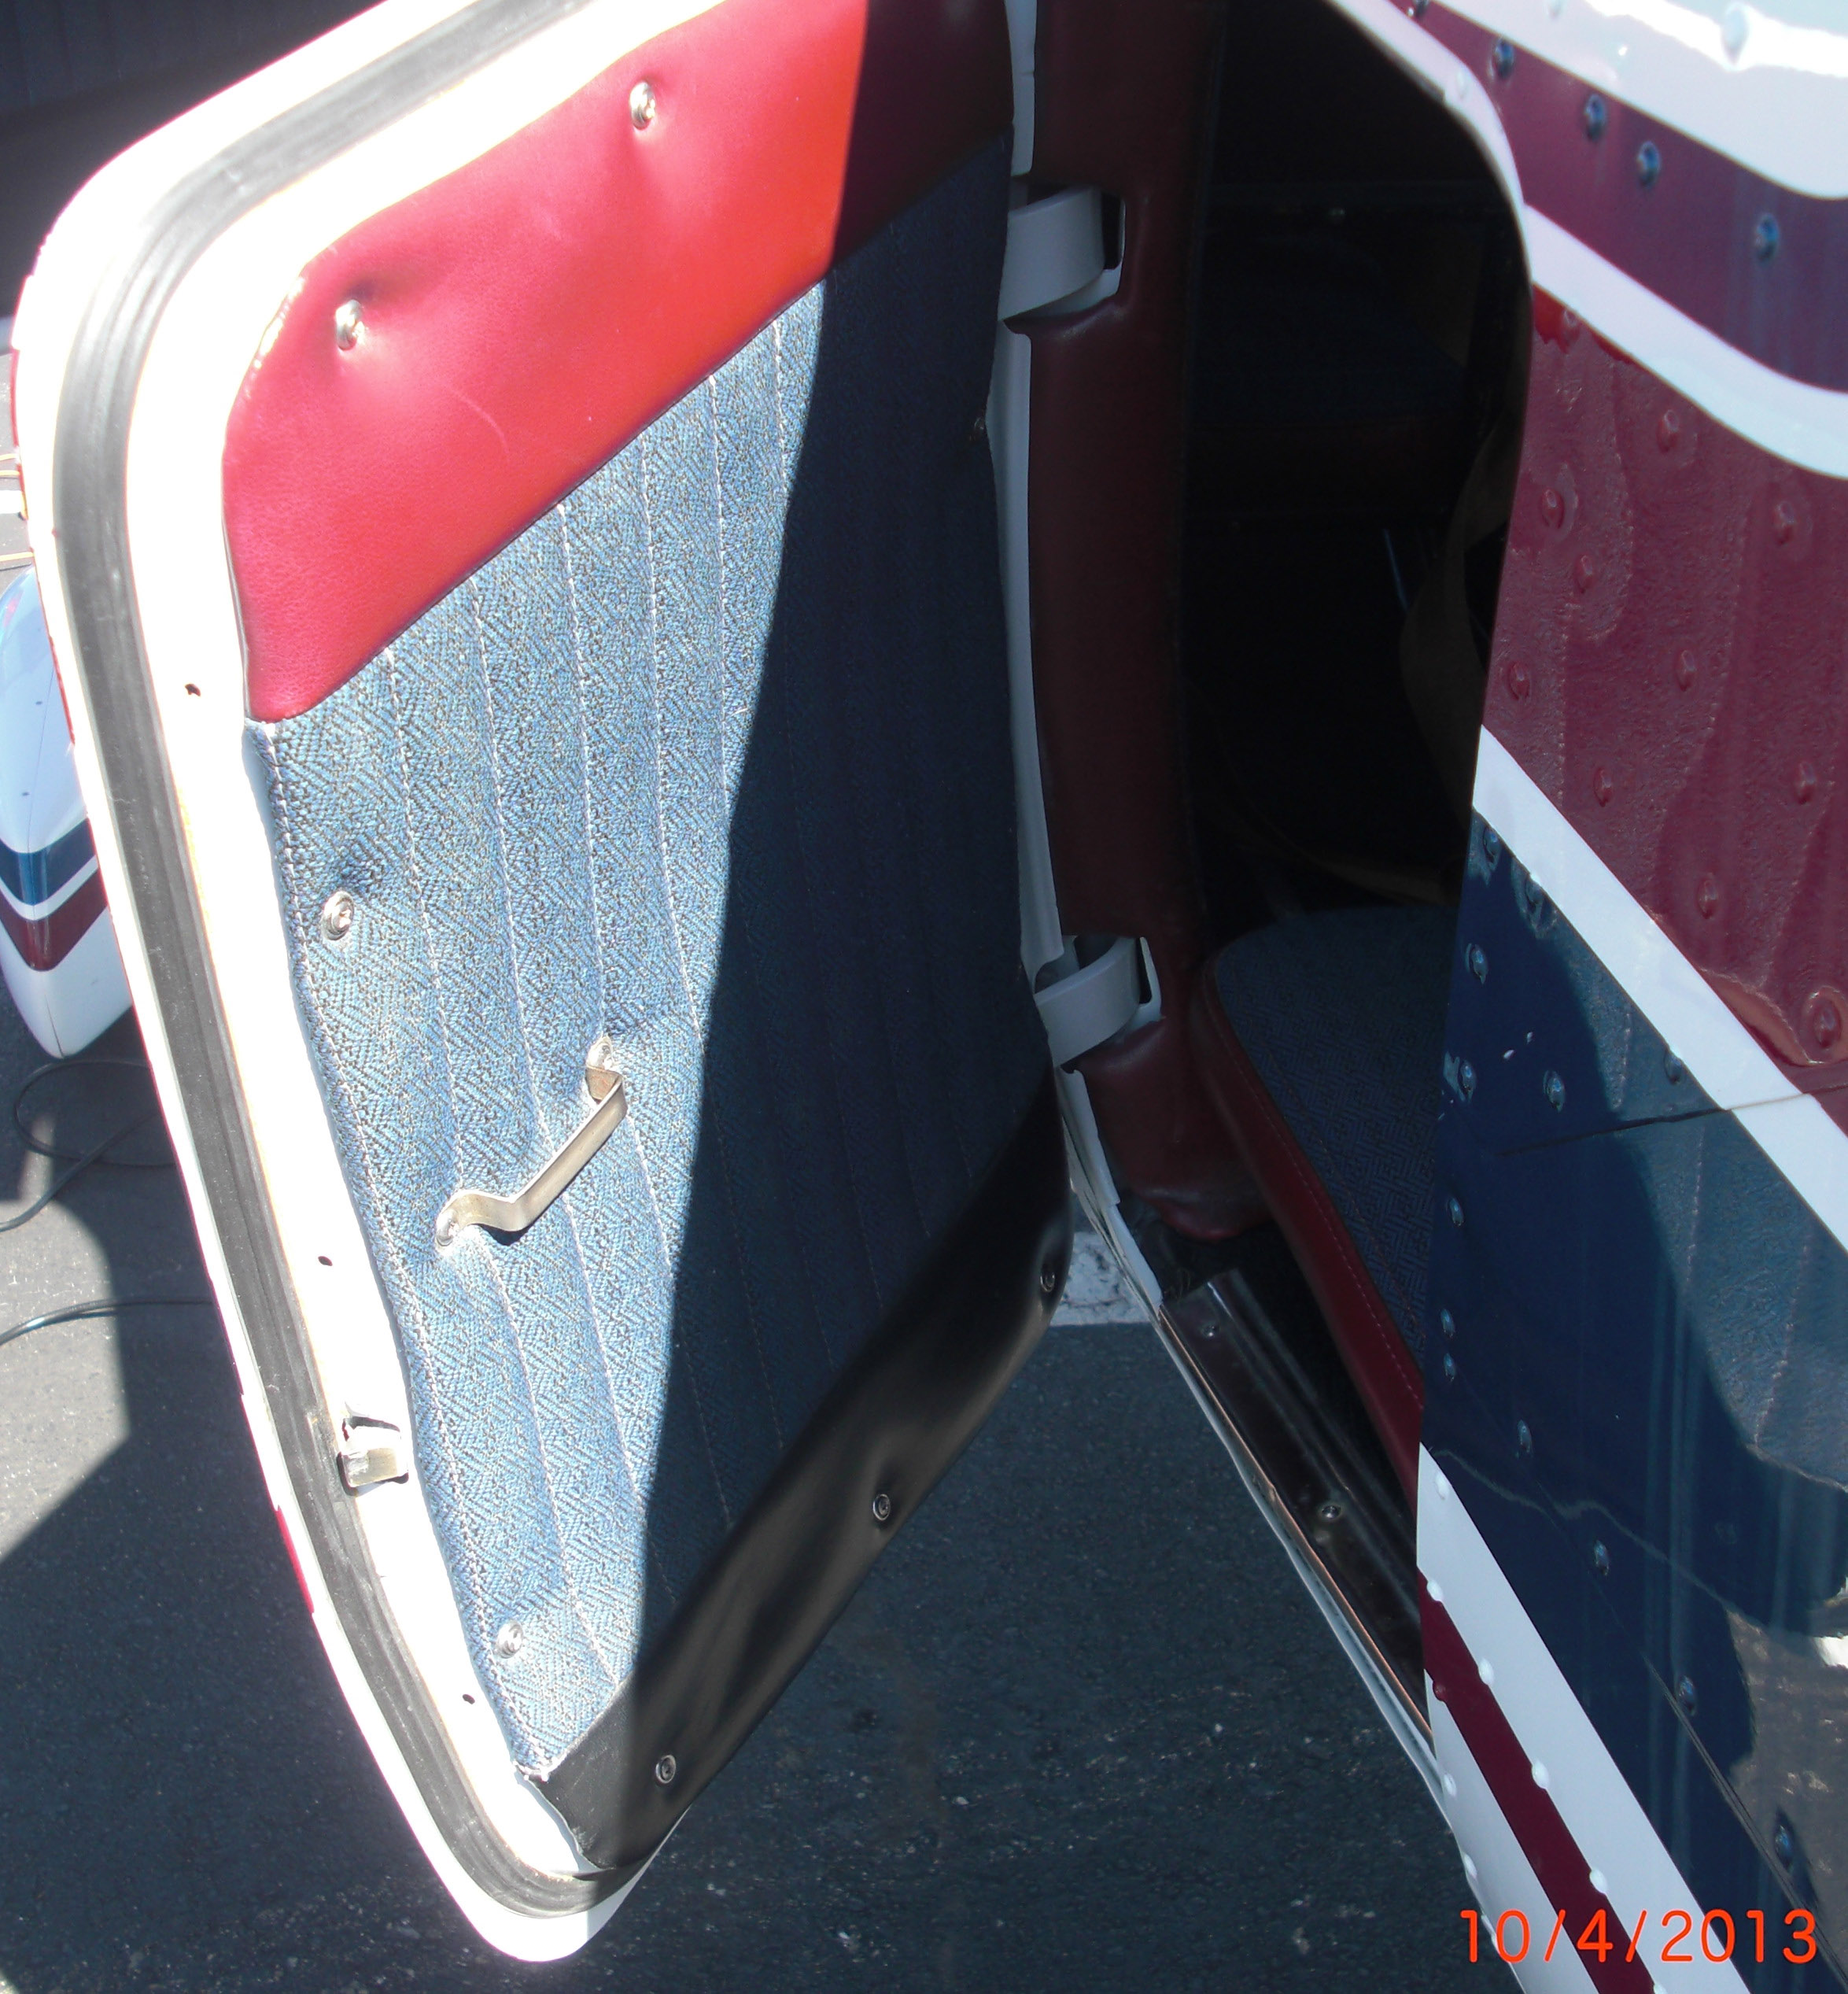 |
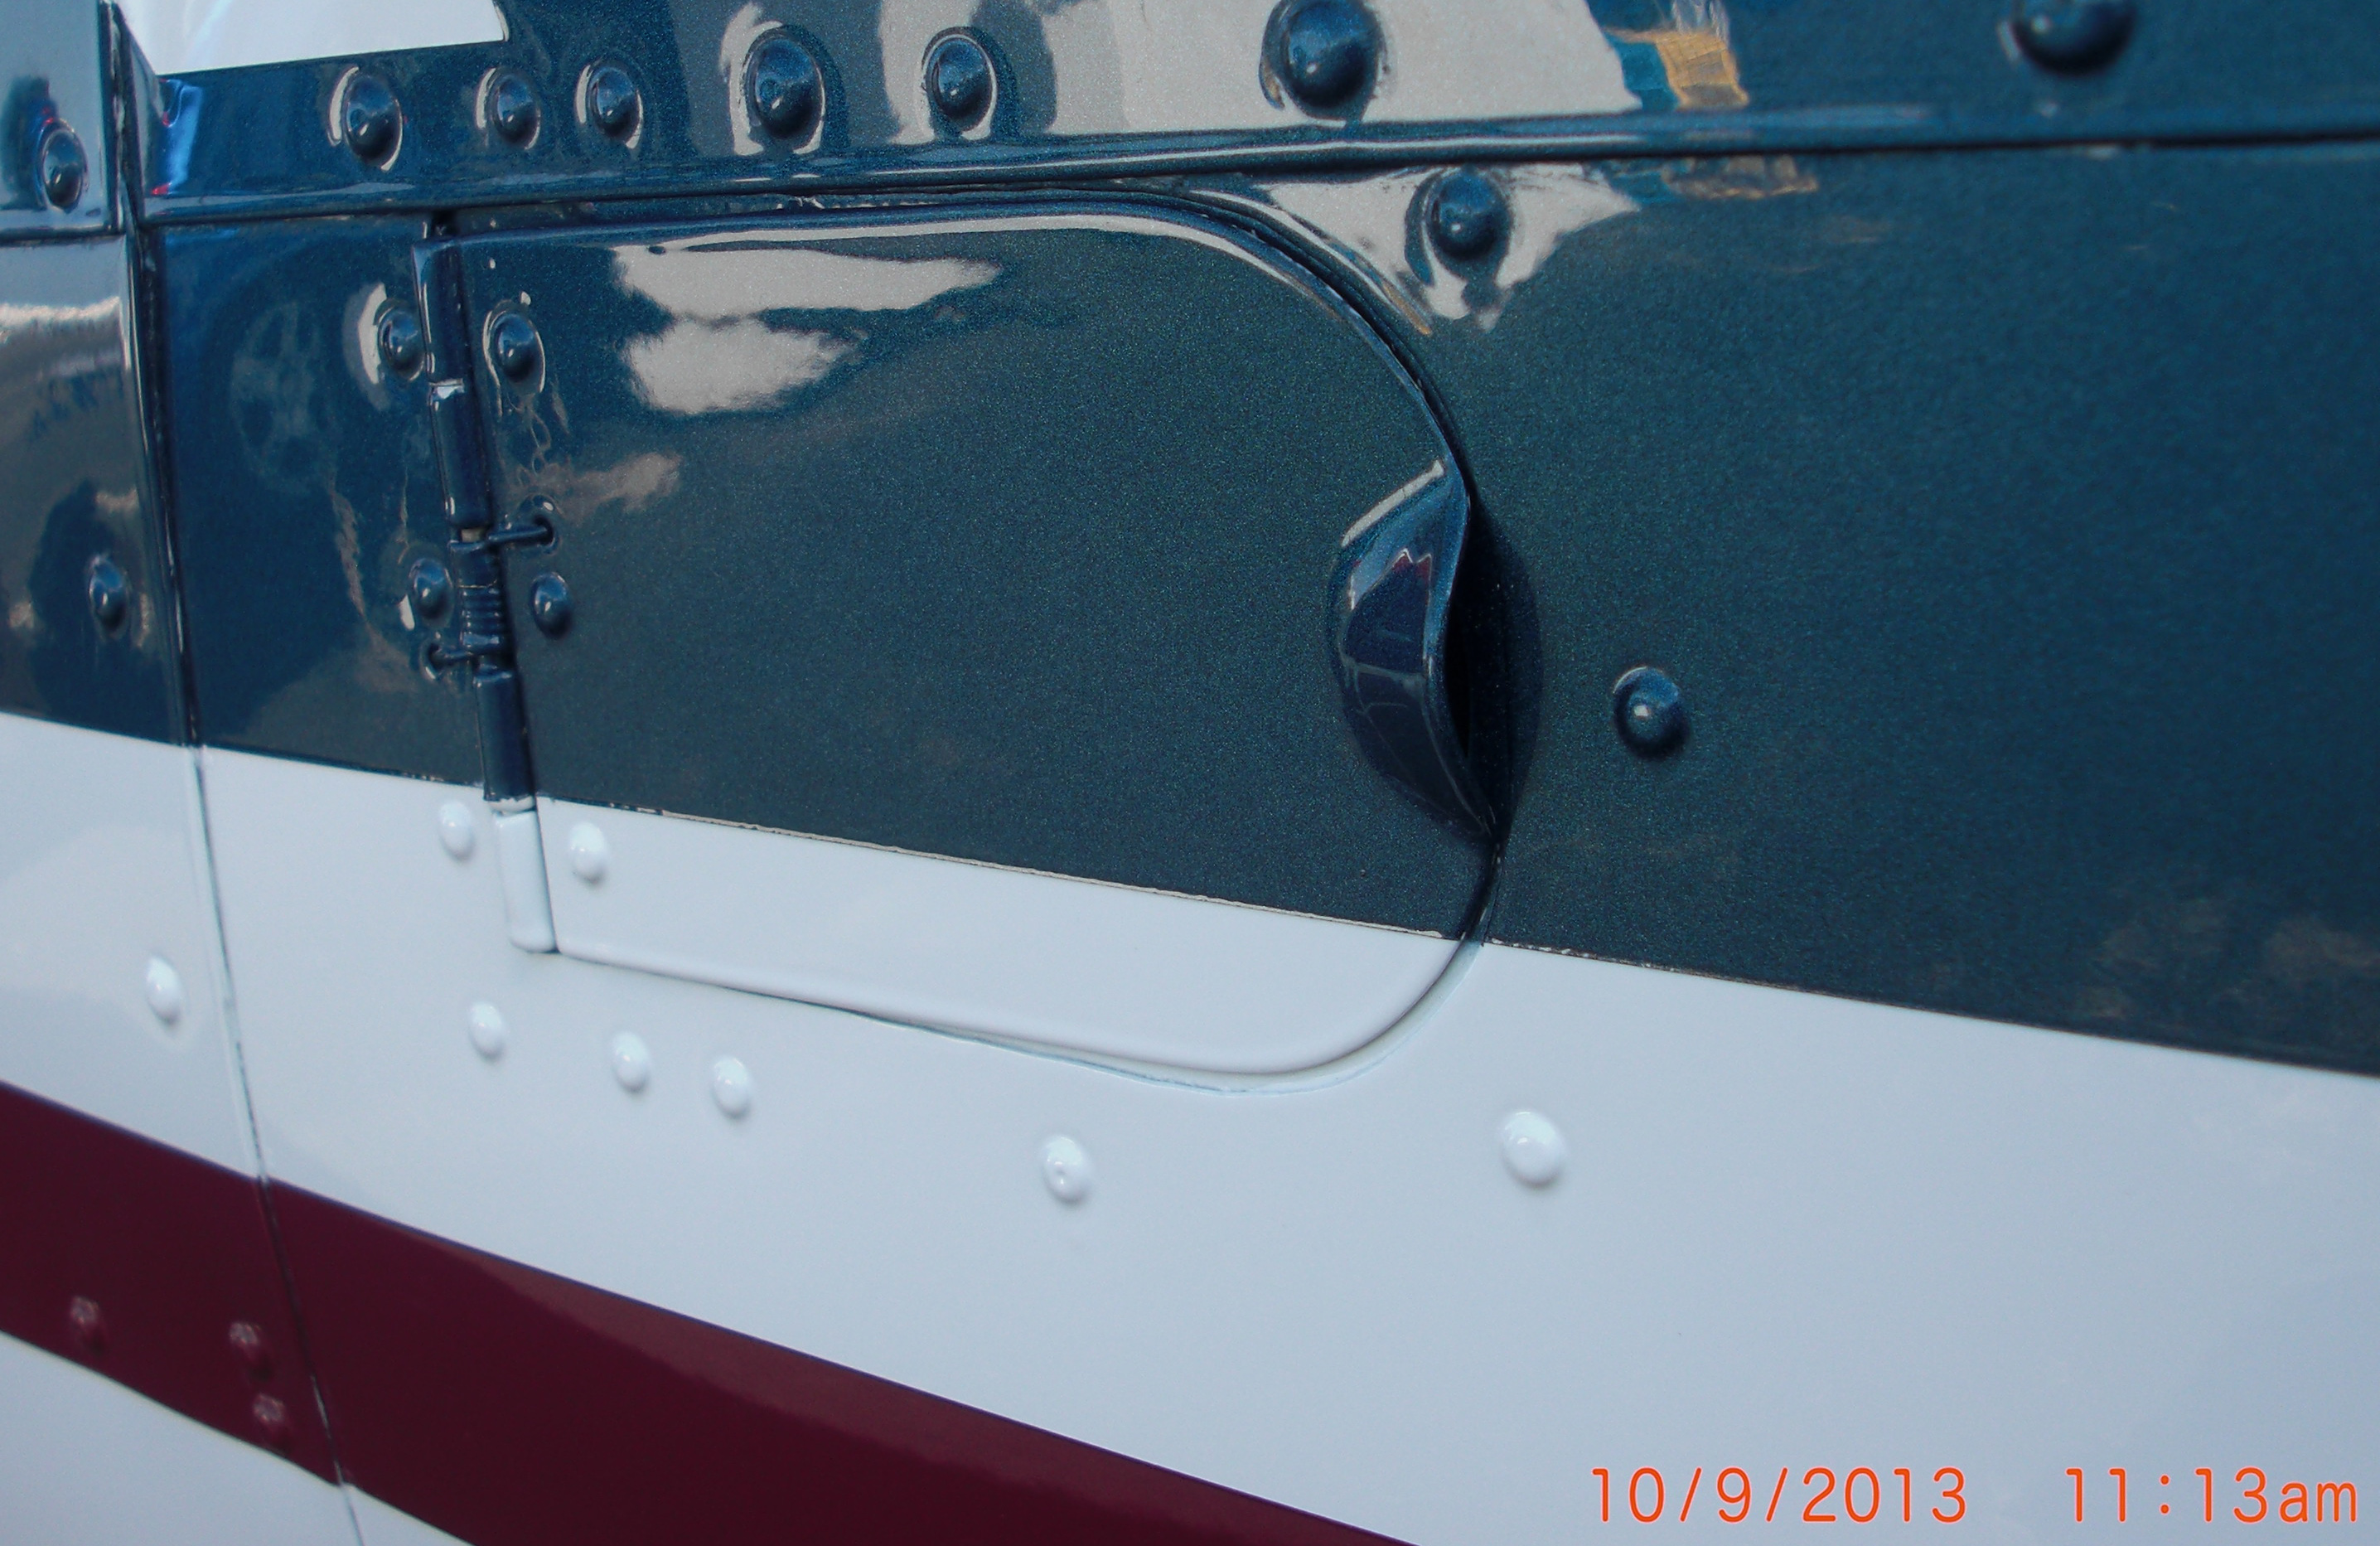
The baggage door opens with a cylindrical key which makes it very difficult to pick. For this reason when I have valuables in the cabin I pull the front door handles closed thru the baggage door so that you can't enter the cabin thru the main doors whether you have a key or not. (The Cessna door locks are notoriously easy to pick.) | 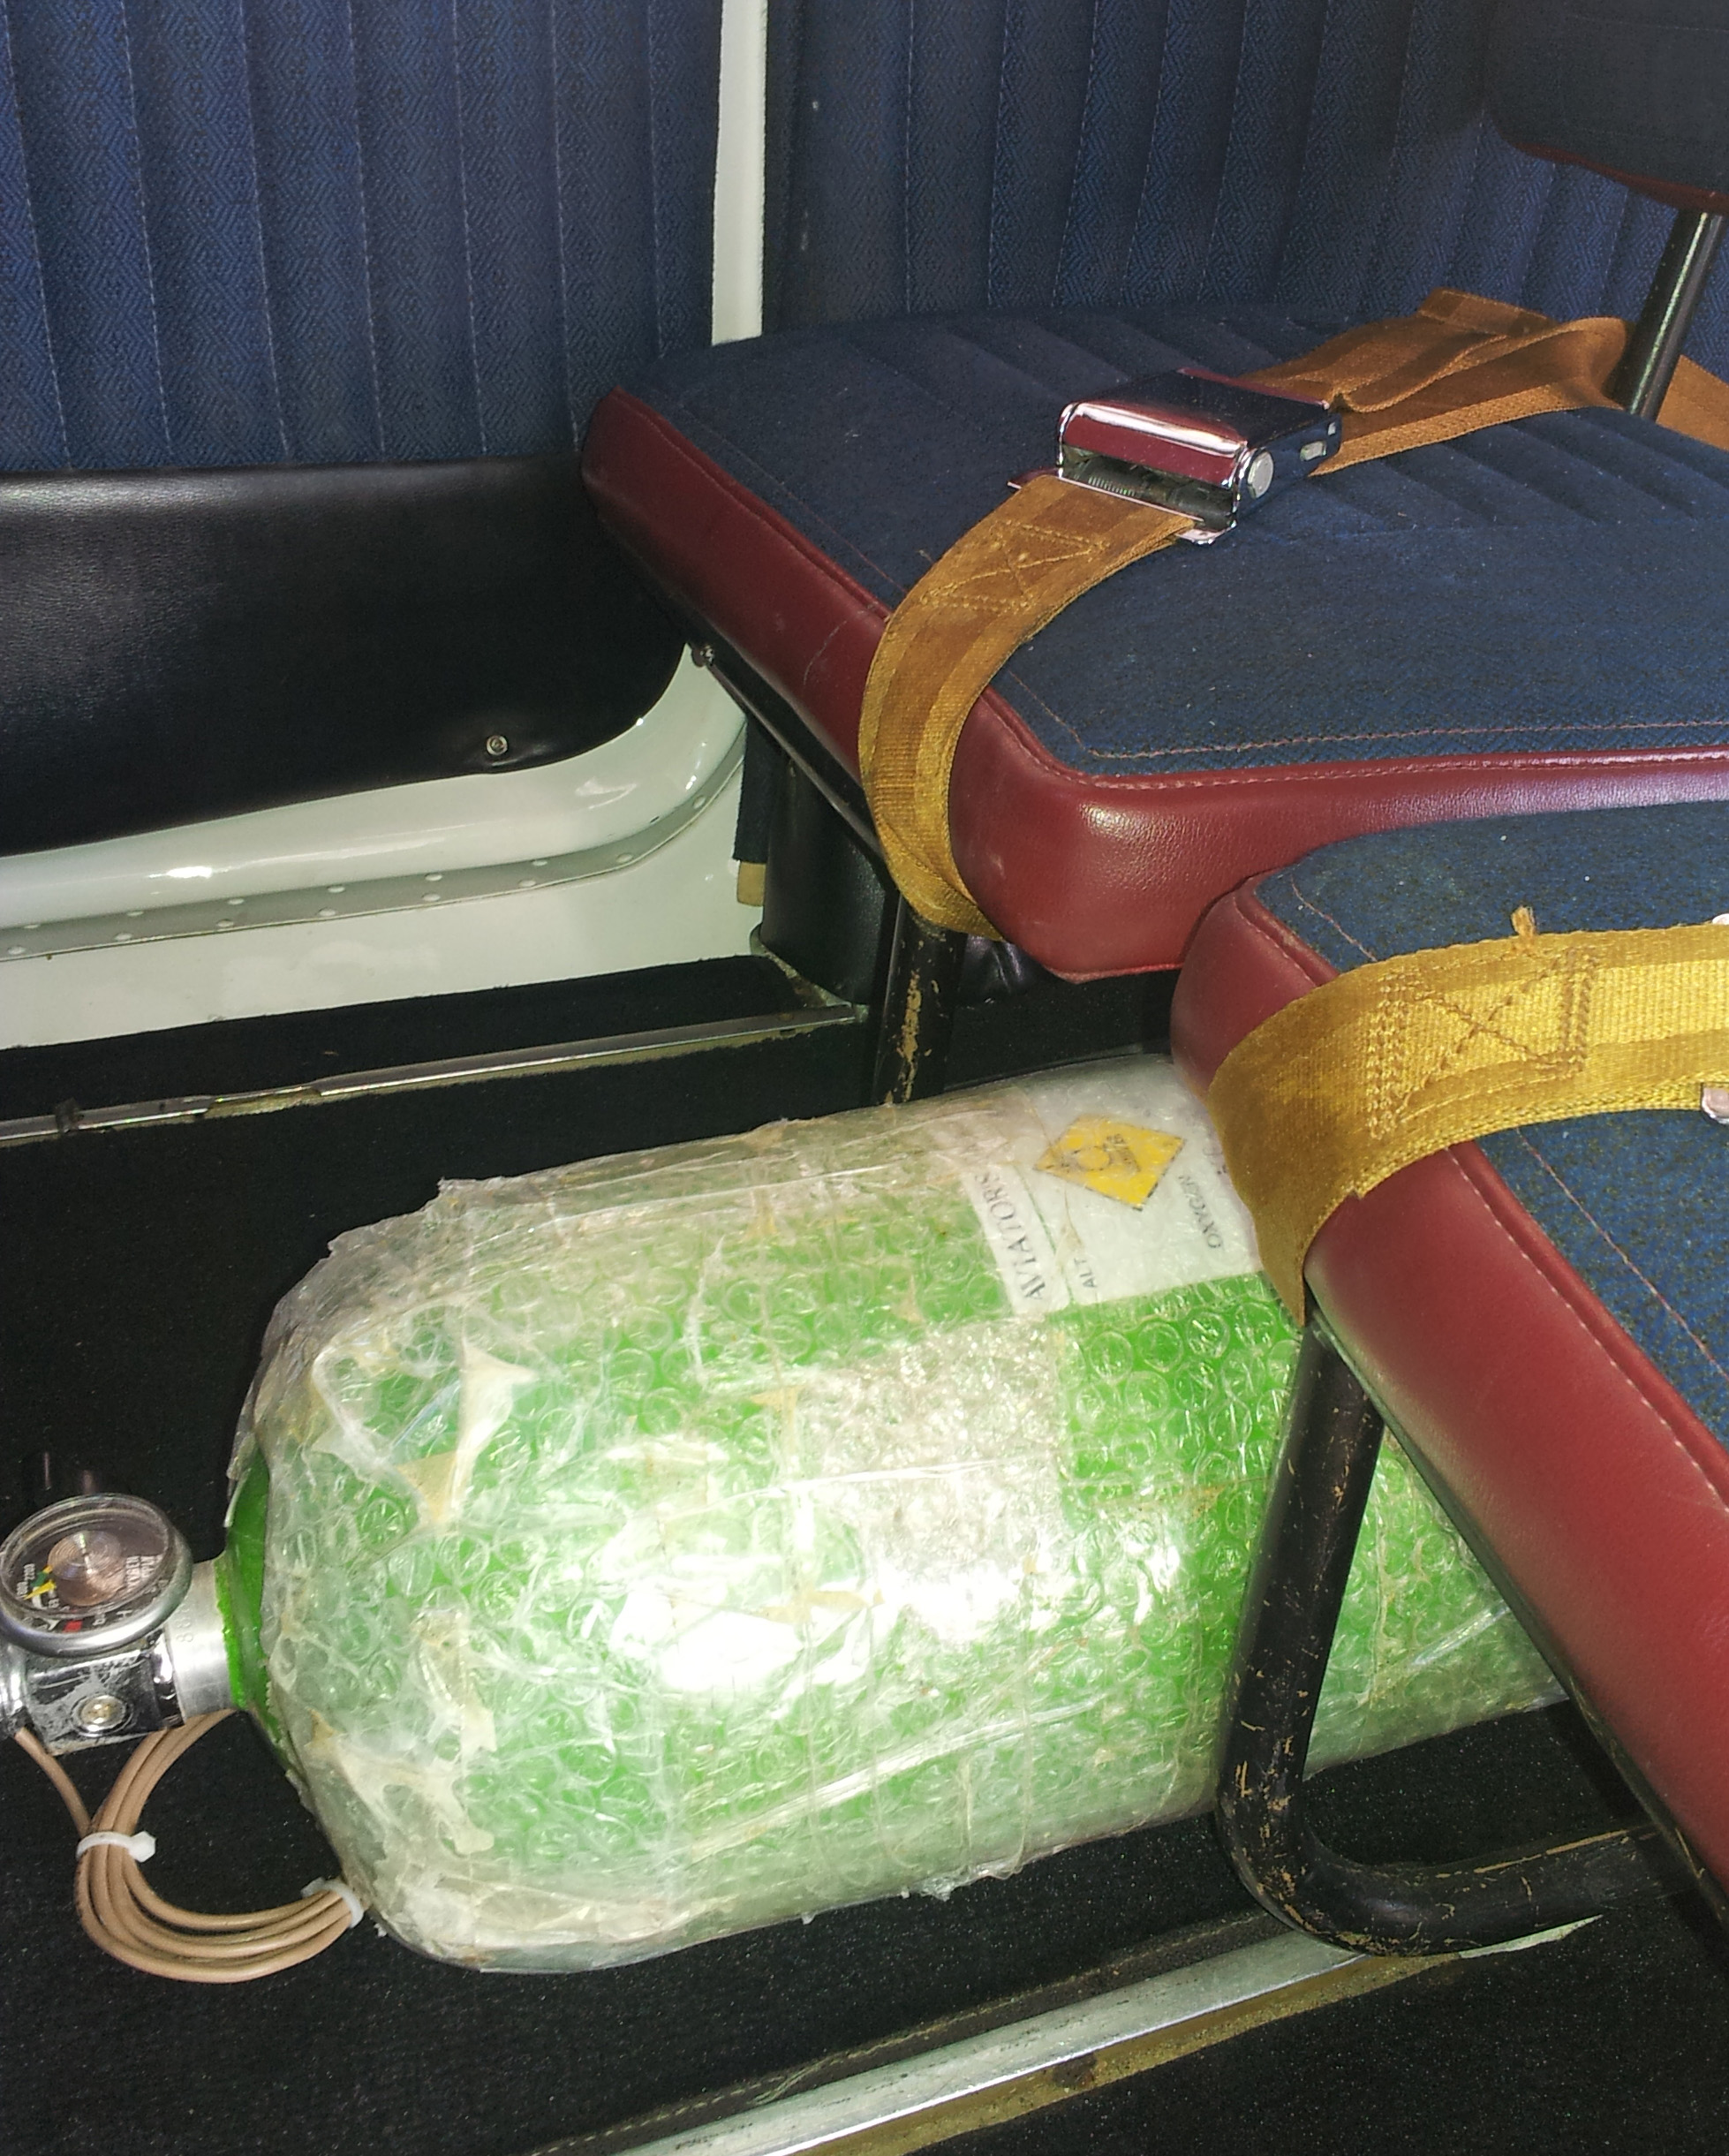 |
I normally keep the oxygen tank between the middle row seats. It's an ideal location because the regulator valve can be reached from the pilot's seat and it doesn't limit passenger legroom nor take up space that is big enough for storing baggage. |
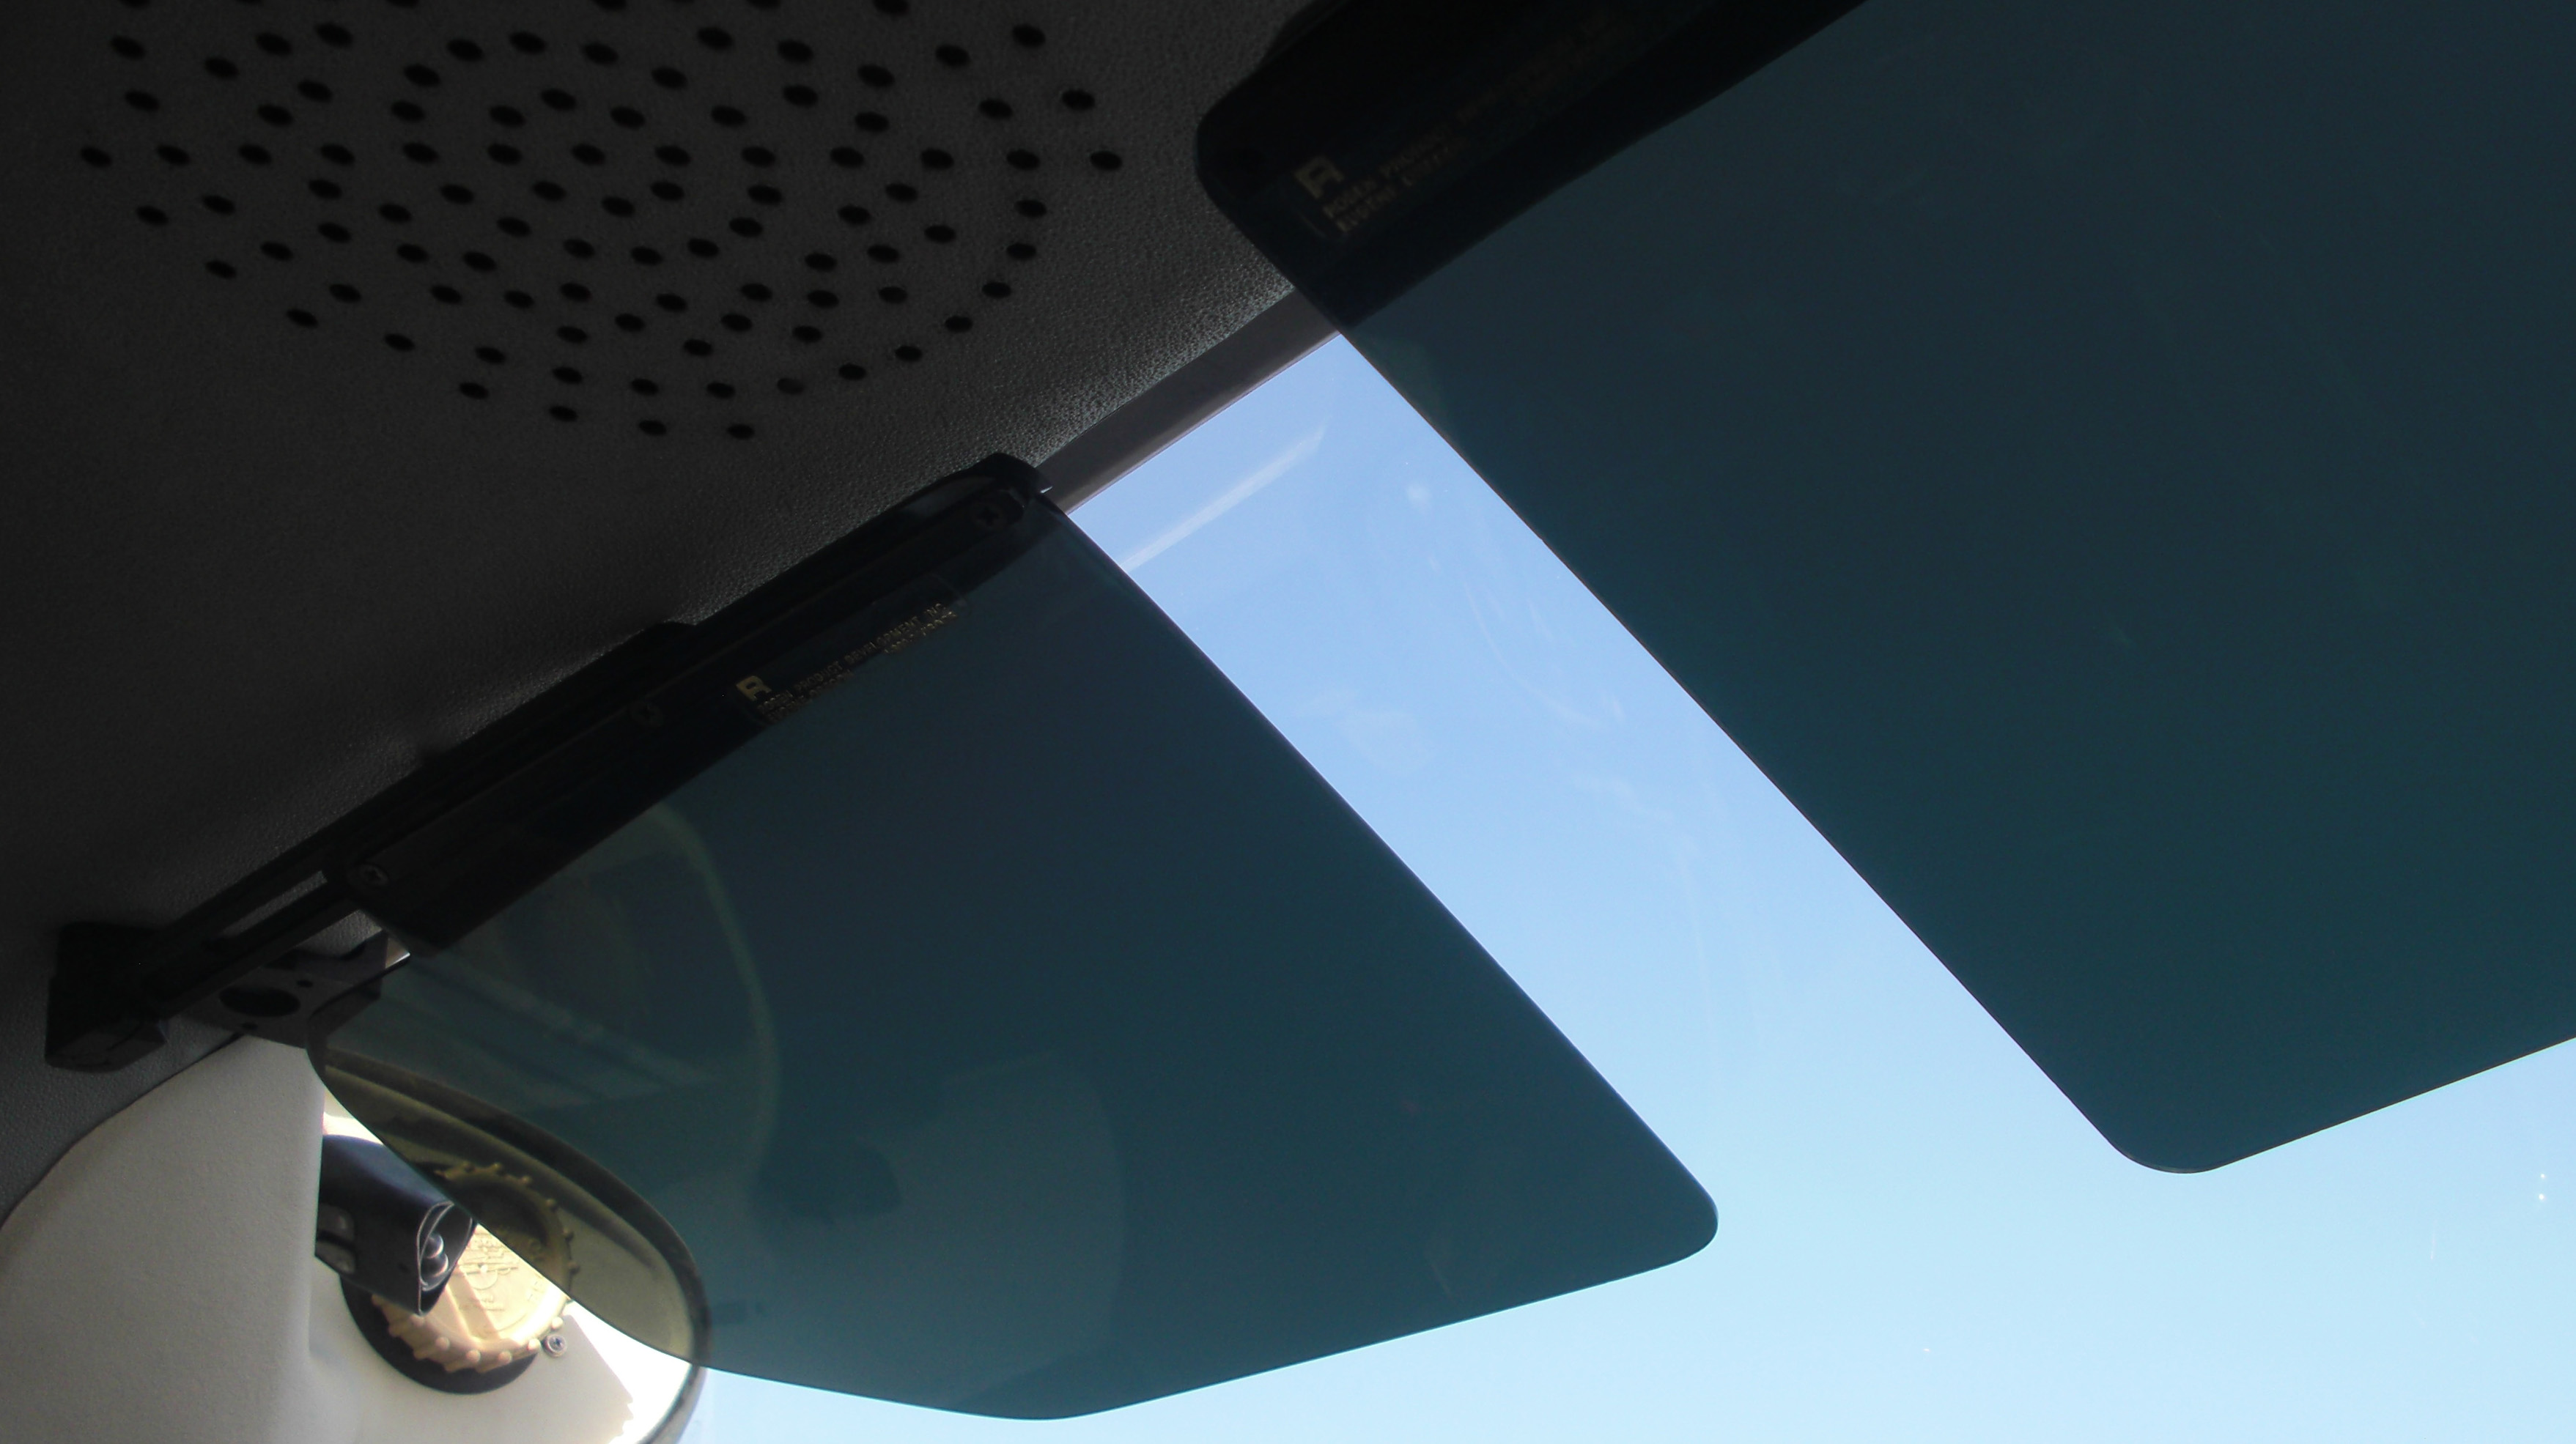 |
On your first flight into a setting sun you will already appreciate the popularity of the Rosen sun visors. They are solid mechanical marvels that can pivot, slide, and rotate every which way so you can position them where needed. Note the Soros vent tubes ... also a huge improvement over the Cessna originals. I always park the plane with these window shields which keep the cabin cool and keep the interior looking sharp. | 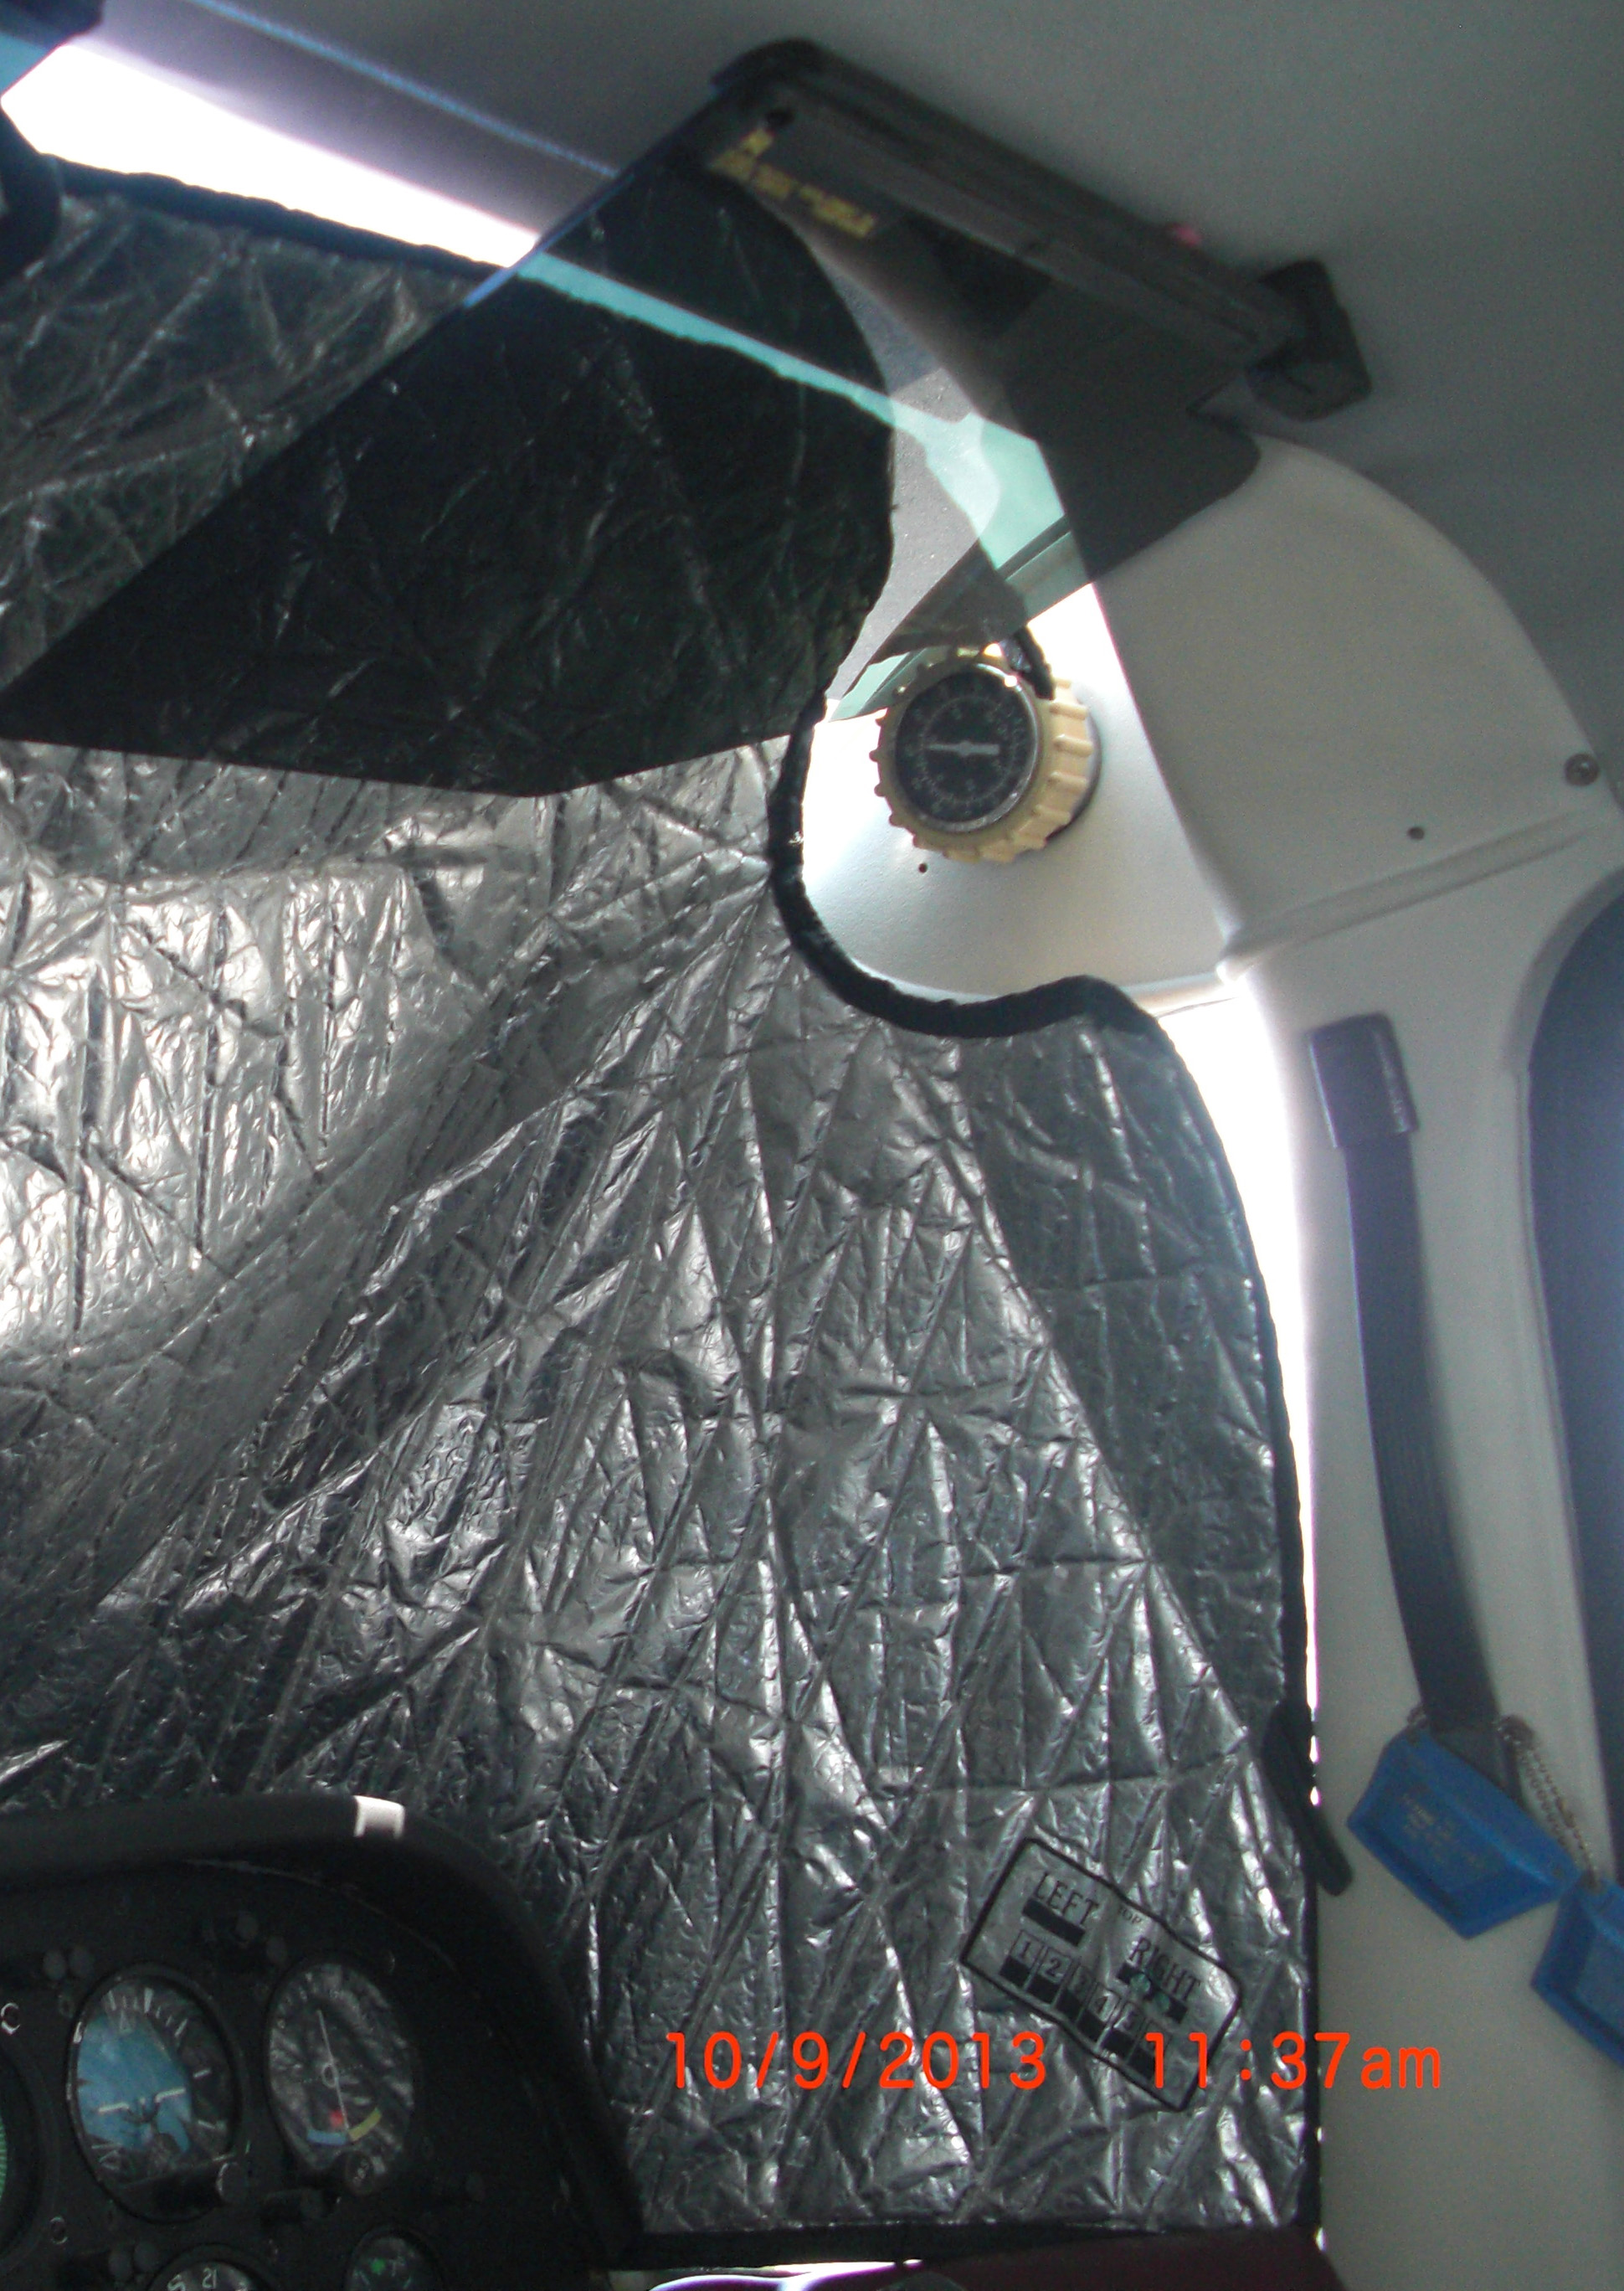 |
 |
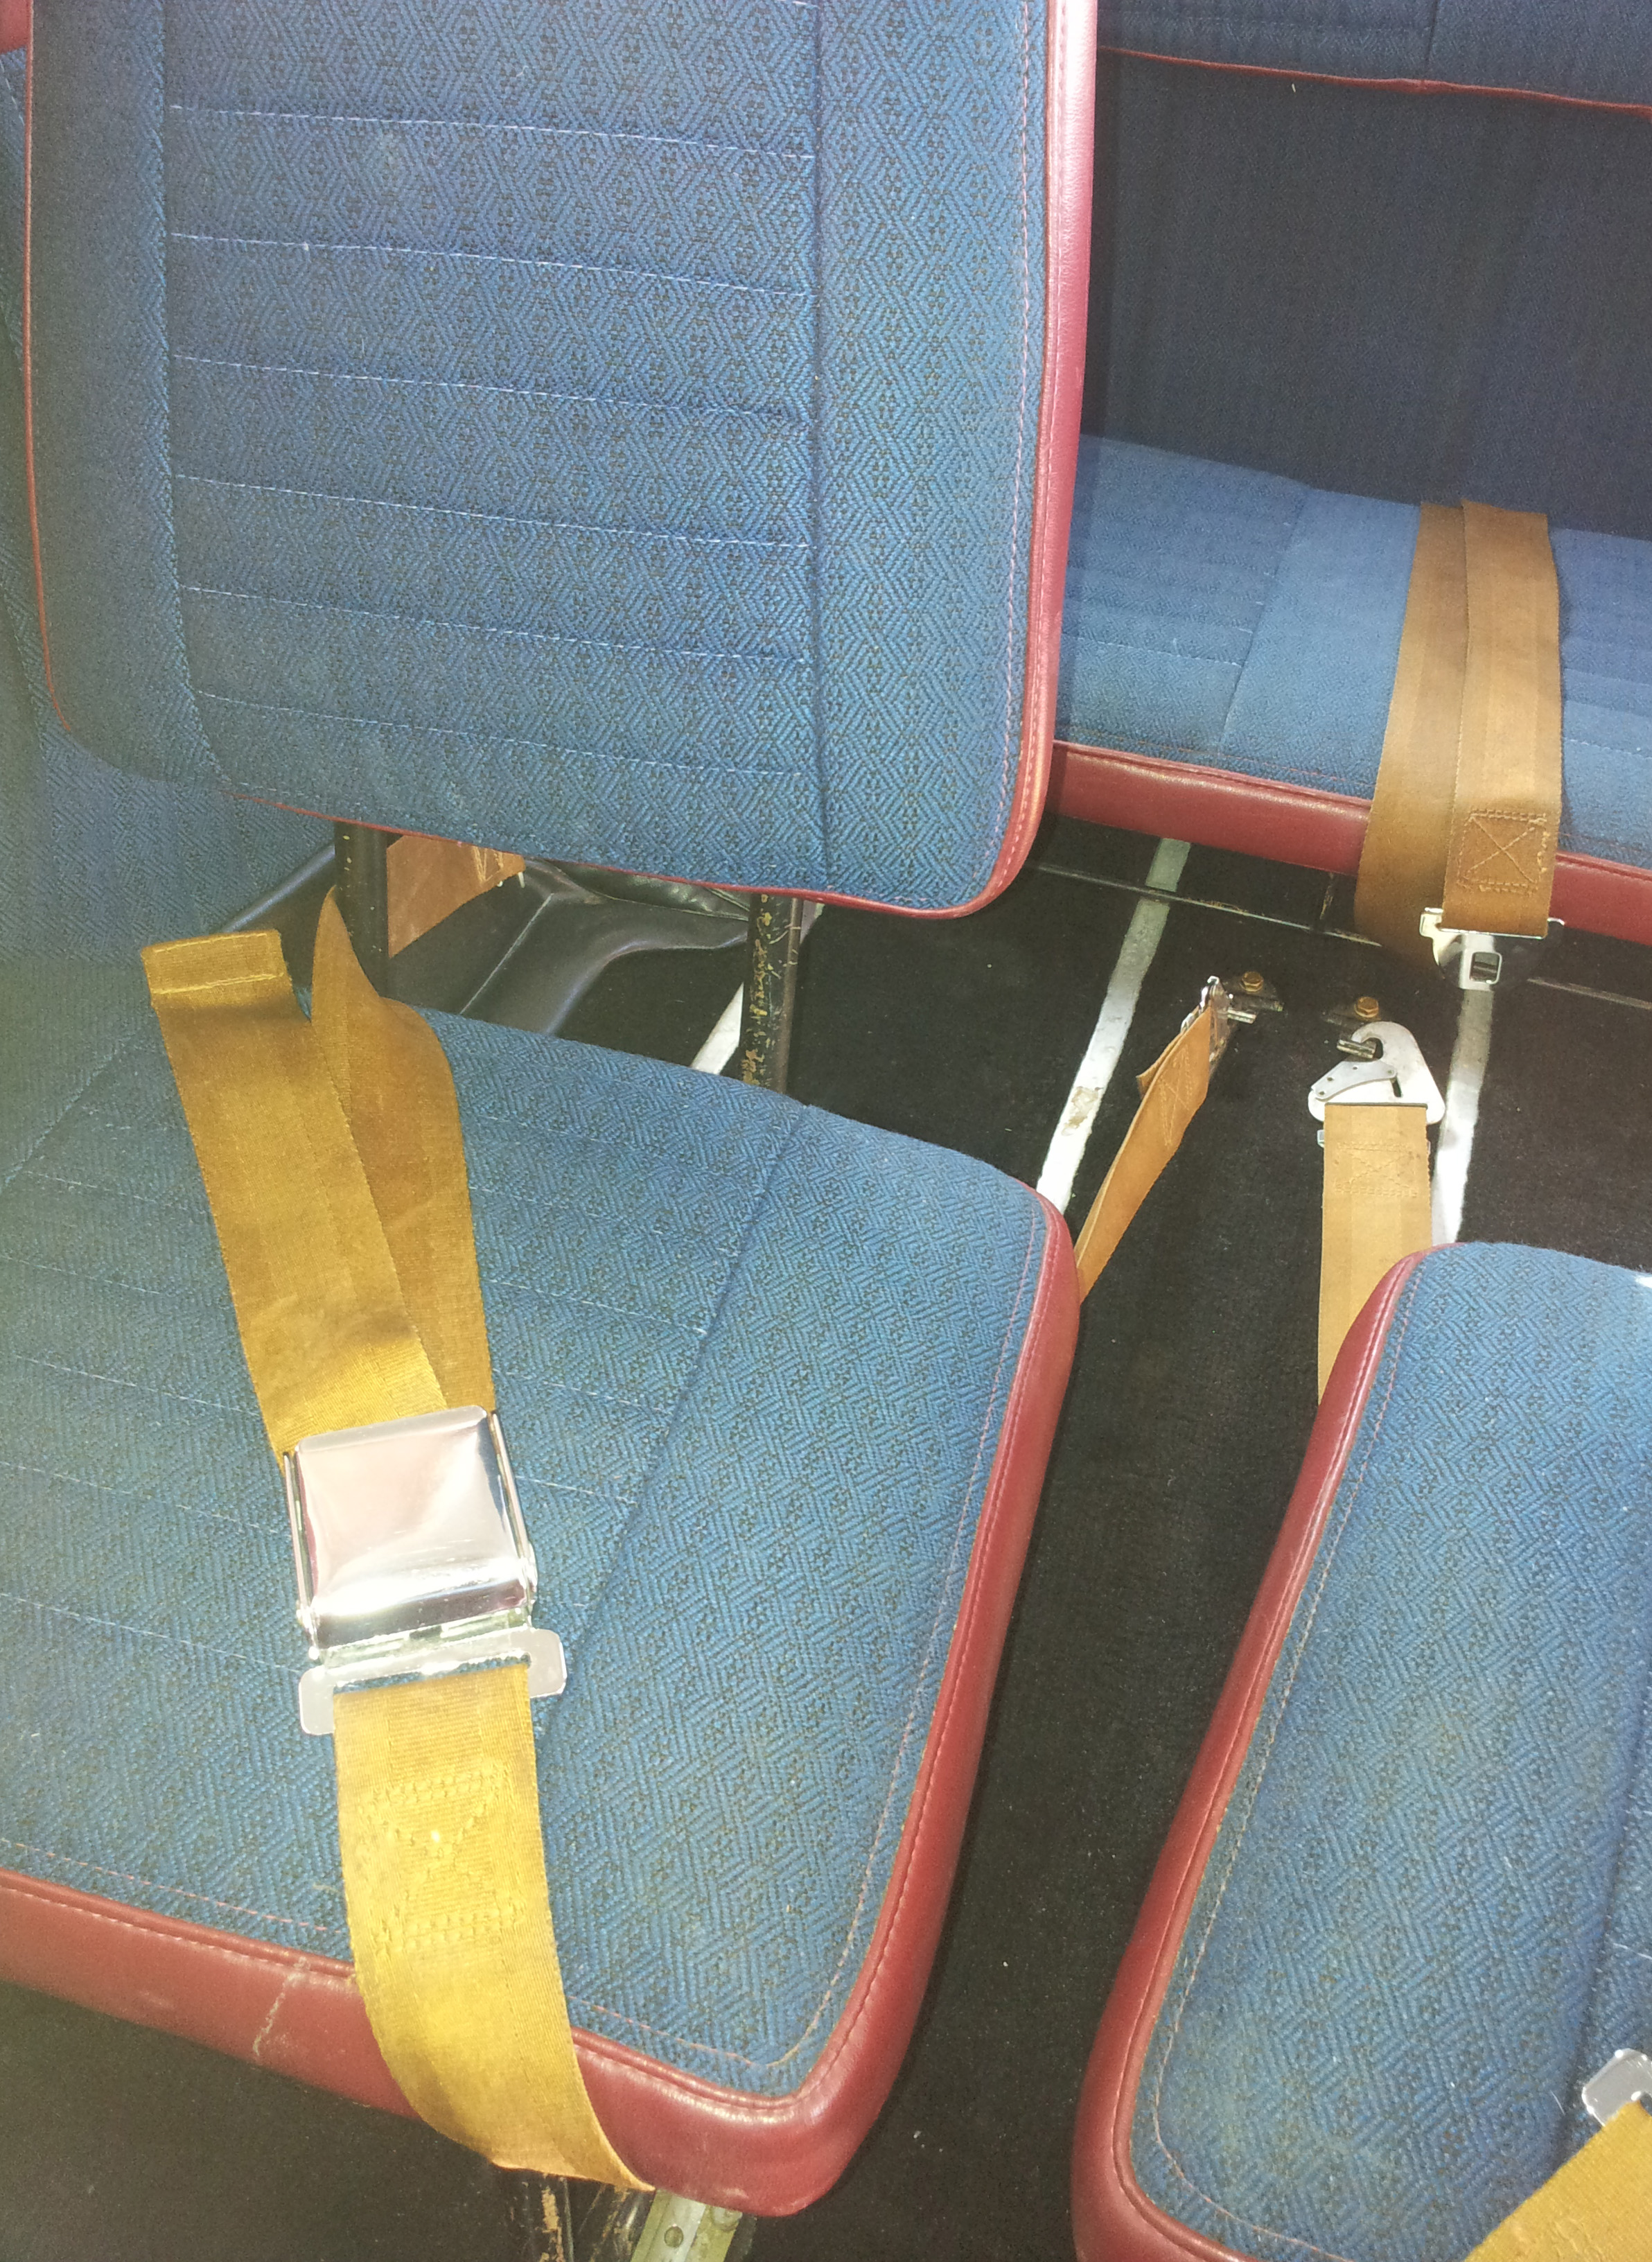
The BAS shoulder harnesses are the most popular Cessna safety modification. The original shoulder harnesses are so inconvenient they rarely get used. The inertial reel BAS shoulder harness is fastened automatically when you fasten your lap belt and you hardly know that you are wearing them. The lap belt may save your life, but it's the shoulder harness that saves your face. | 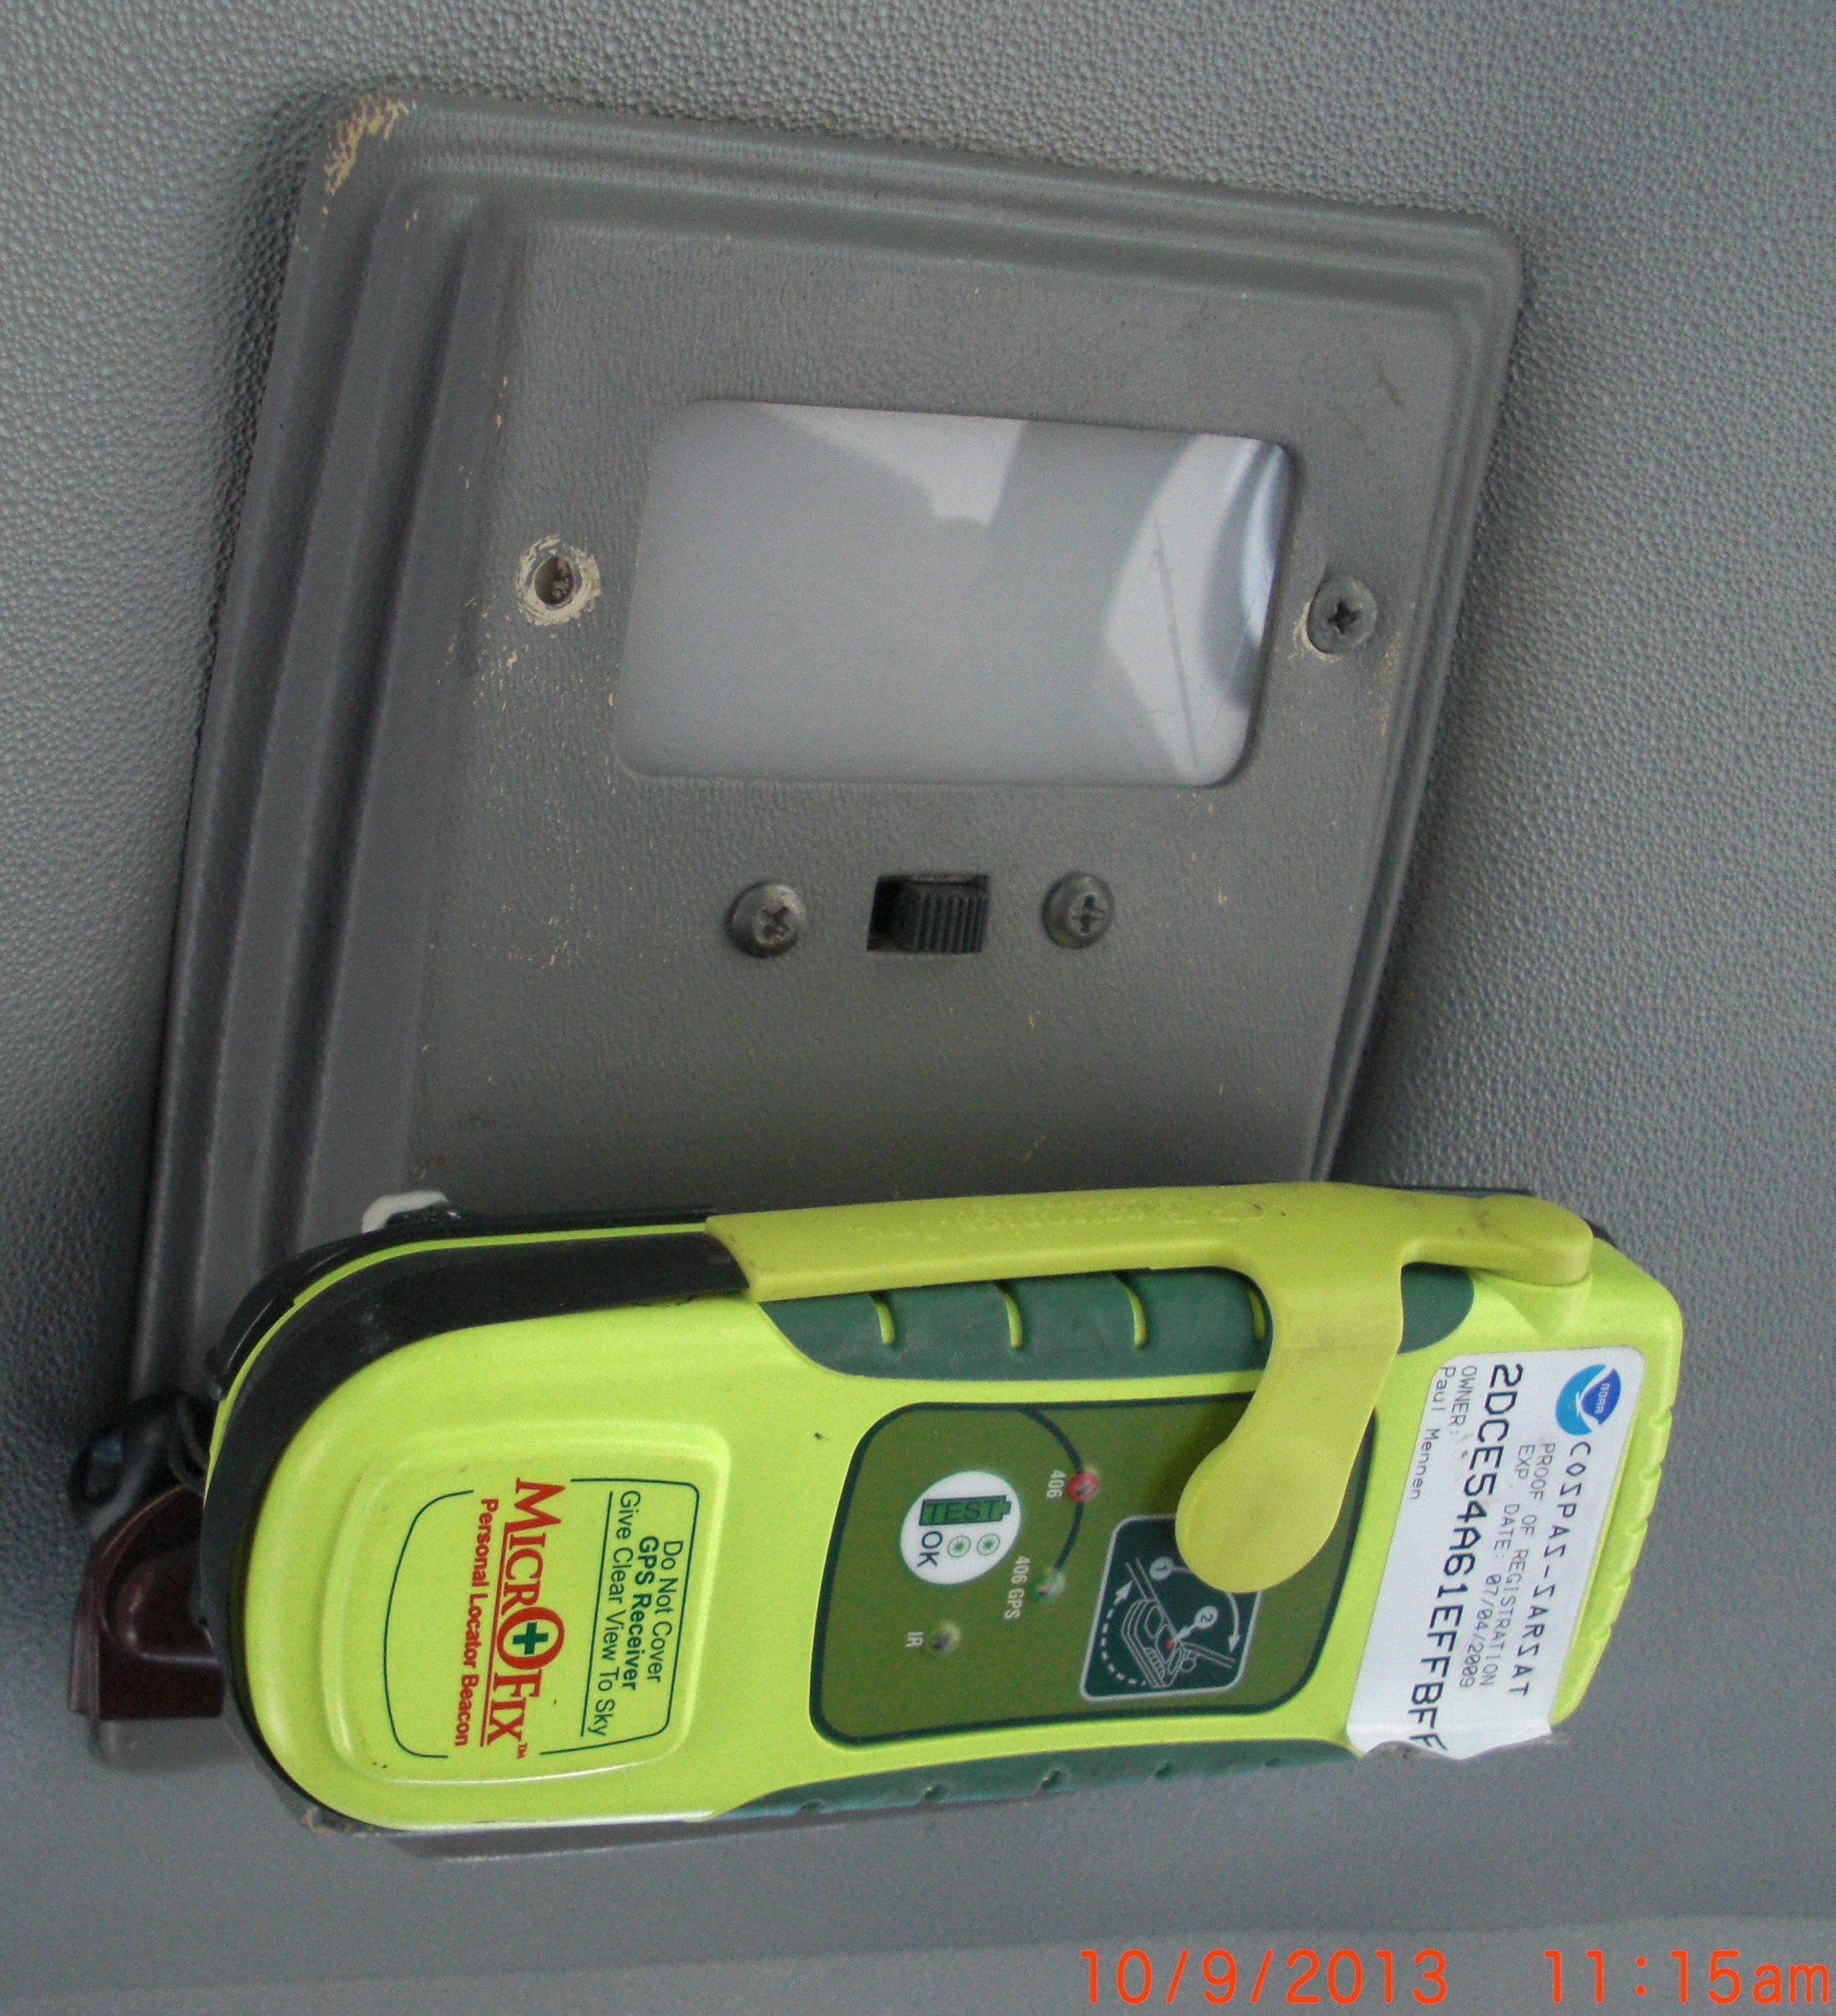 |
The ceiling map light also houses two solid state dimmers - one knob controls the brightness of the post lights and the other the instrument lighting. The Personal Locator Beacon is mounted to this panel and is easy to grab from any of the front or middle row seats. The safety experts say the pilot should wear this thing, but for me I knew this was not going to happen, so I figured this was the next best thing. |
 |
The rest of the pictures are not recent, but here is the Cessna at Truckee airport (a common destination for us since my brother owns a house up there) | 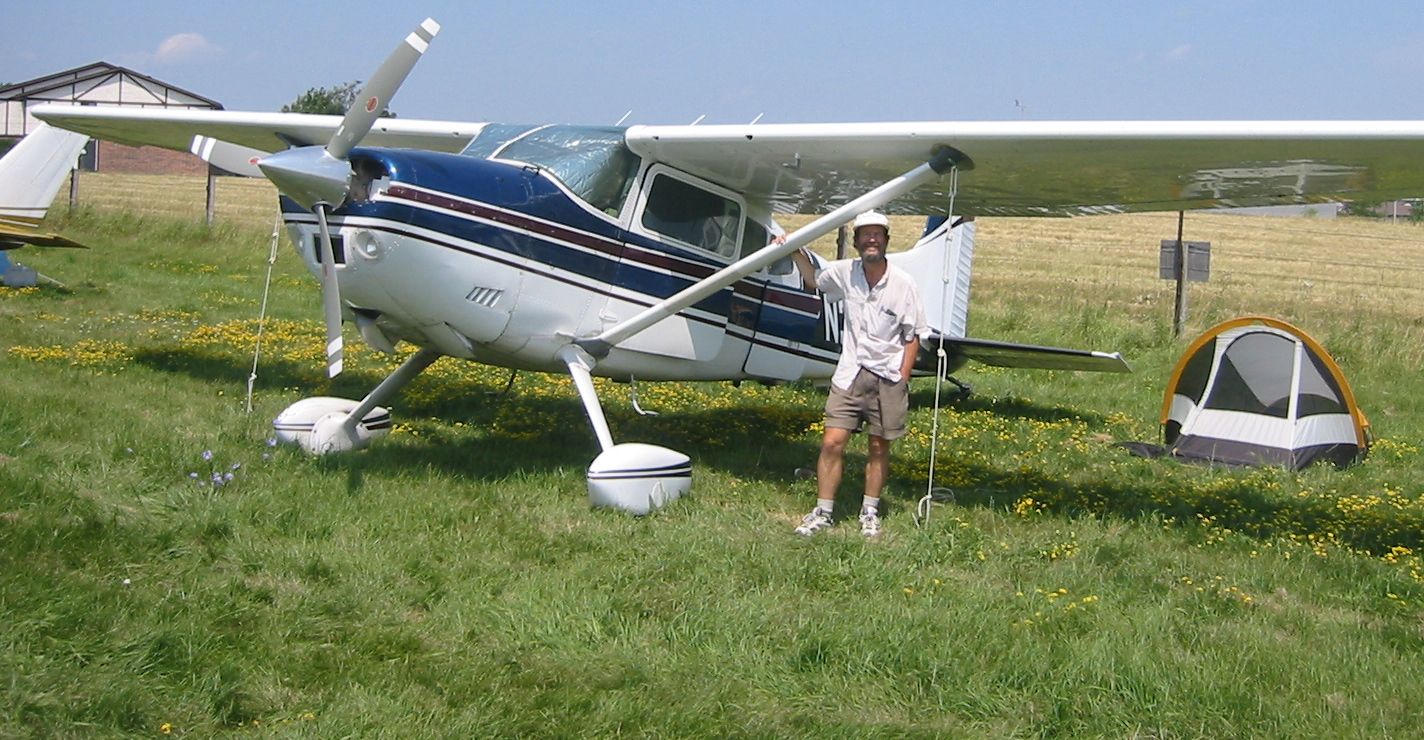 |
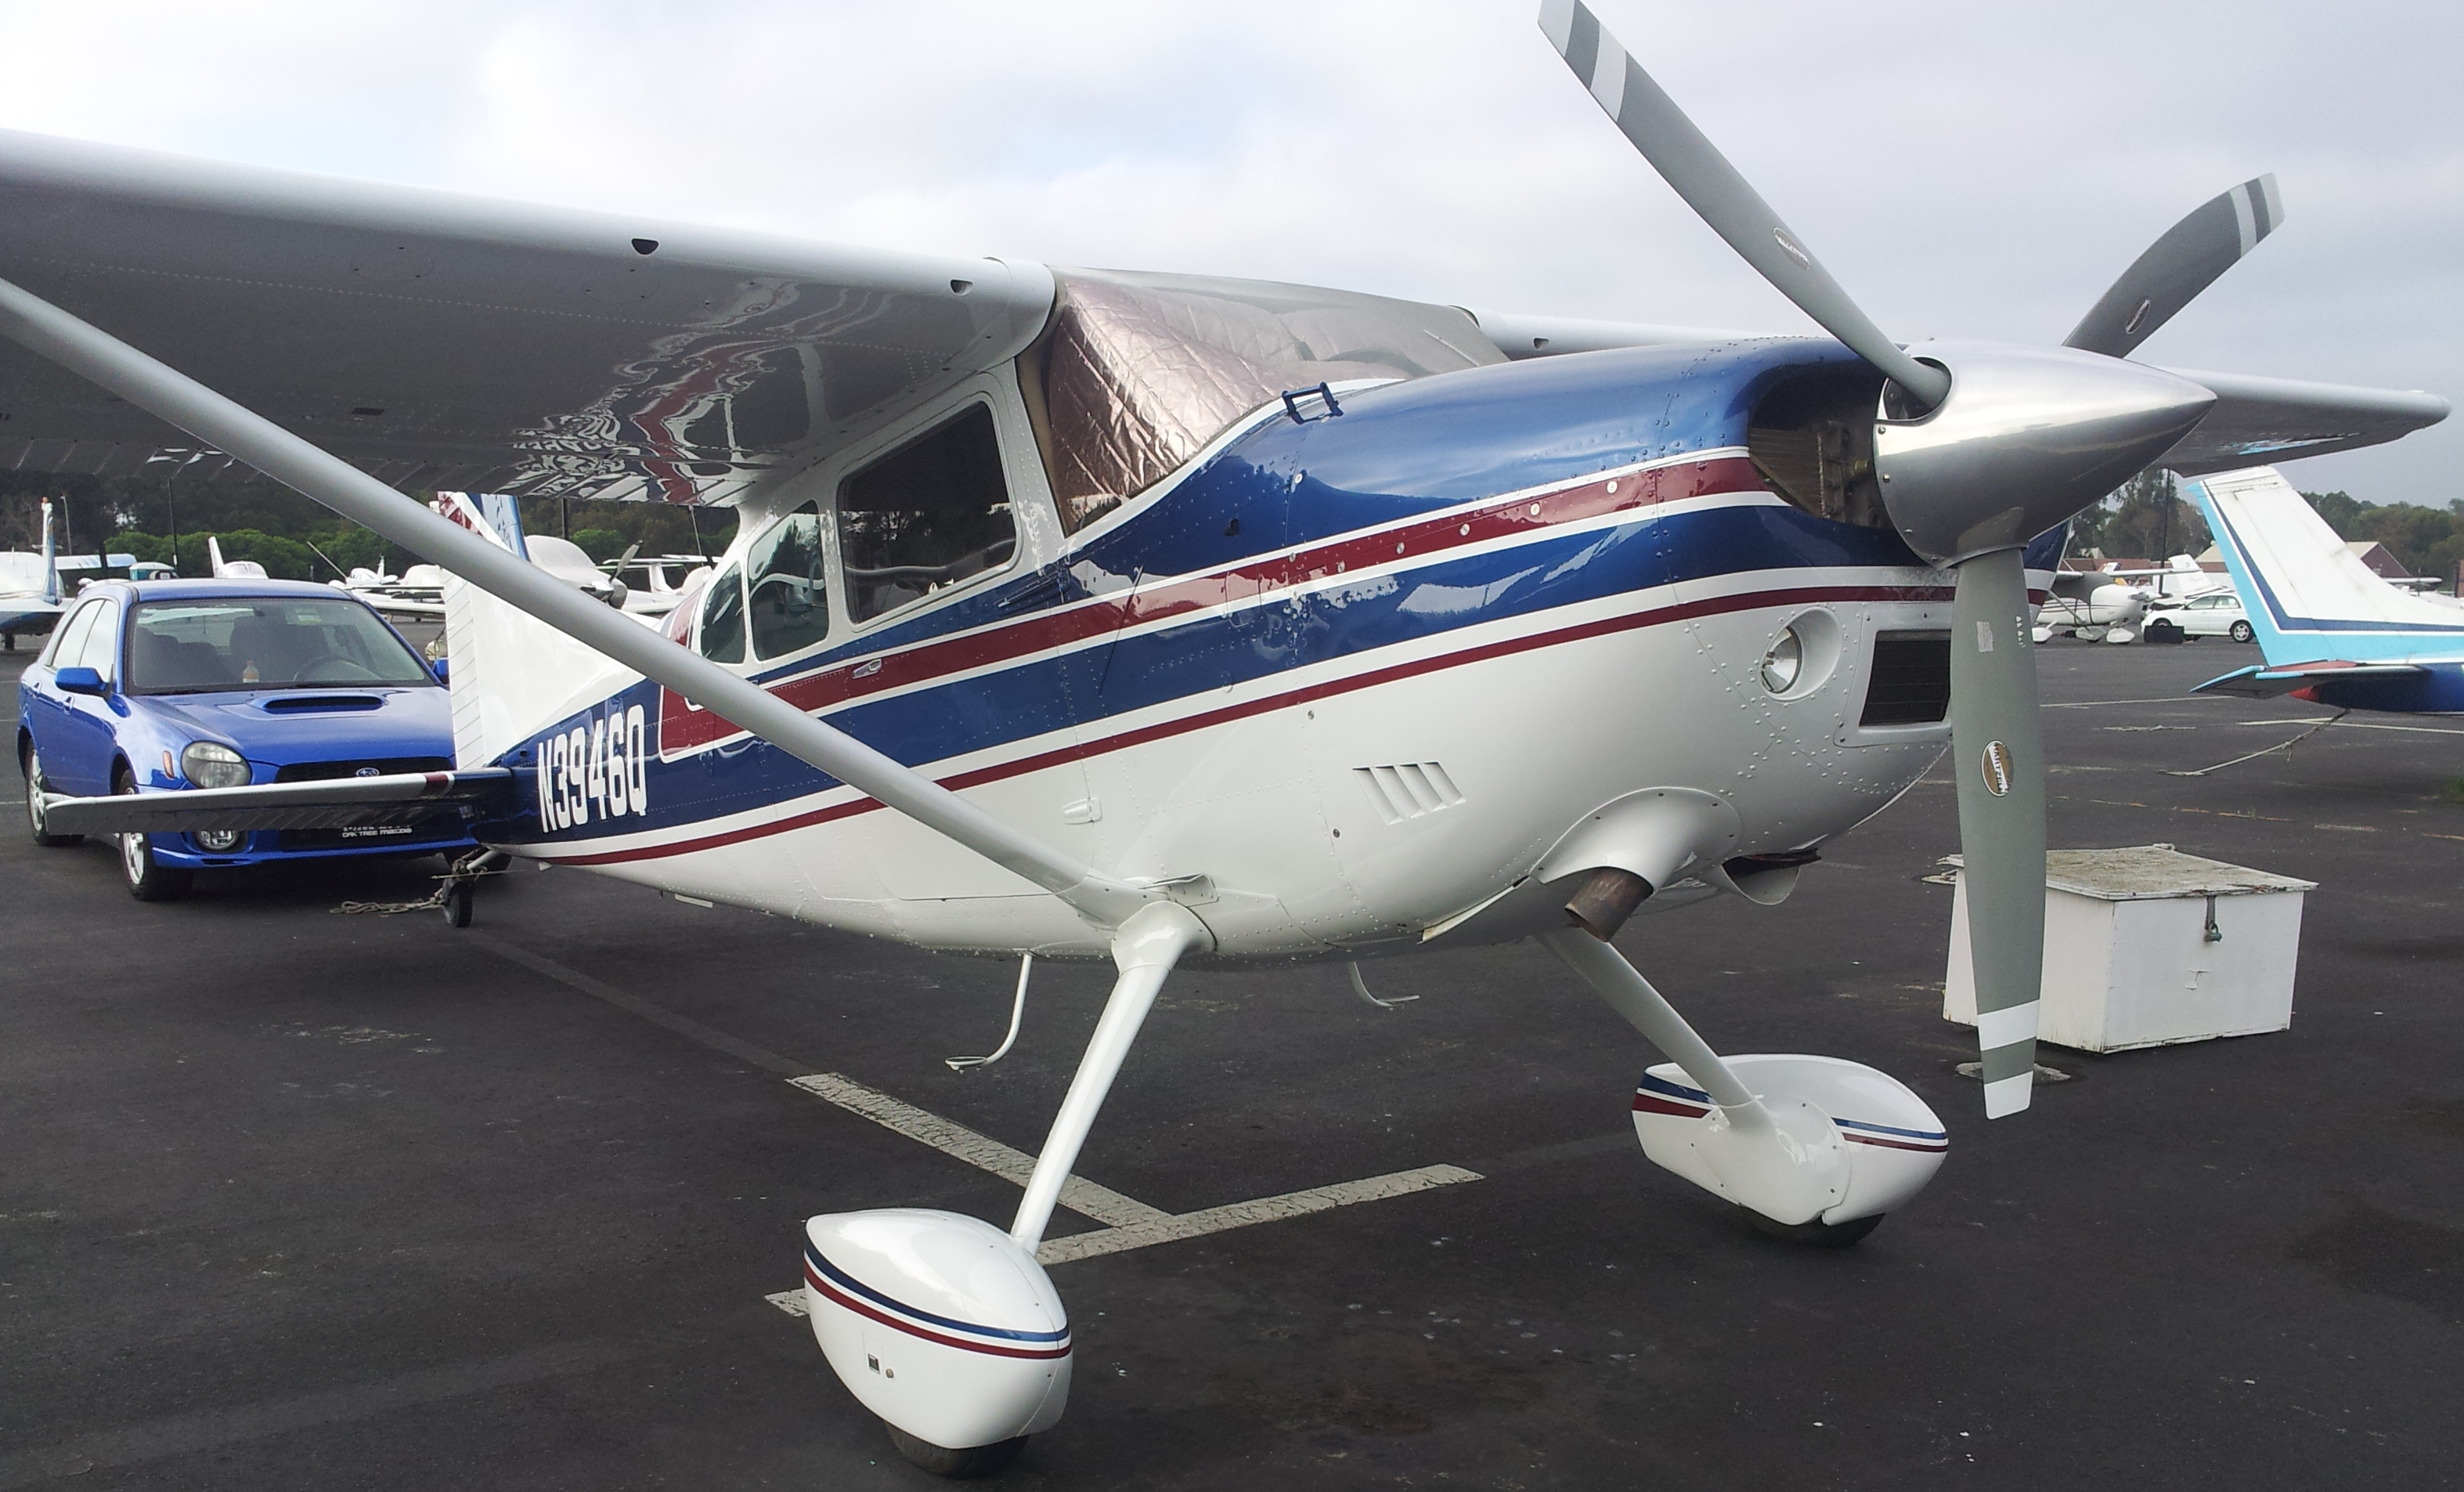
I've never seen more C185s parked at one airport than I did here at Oshkosh where I realized just how much enthusiasm we have for aviation in this country. |
